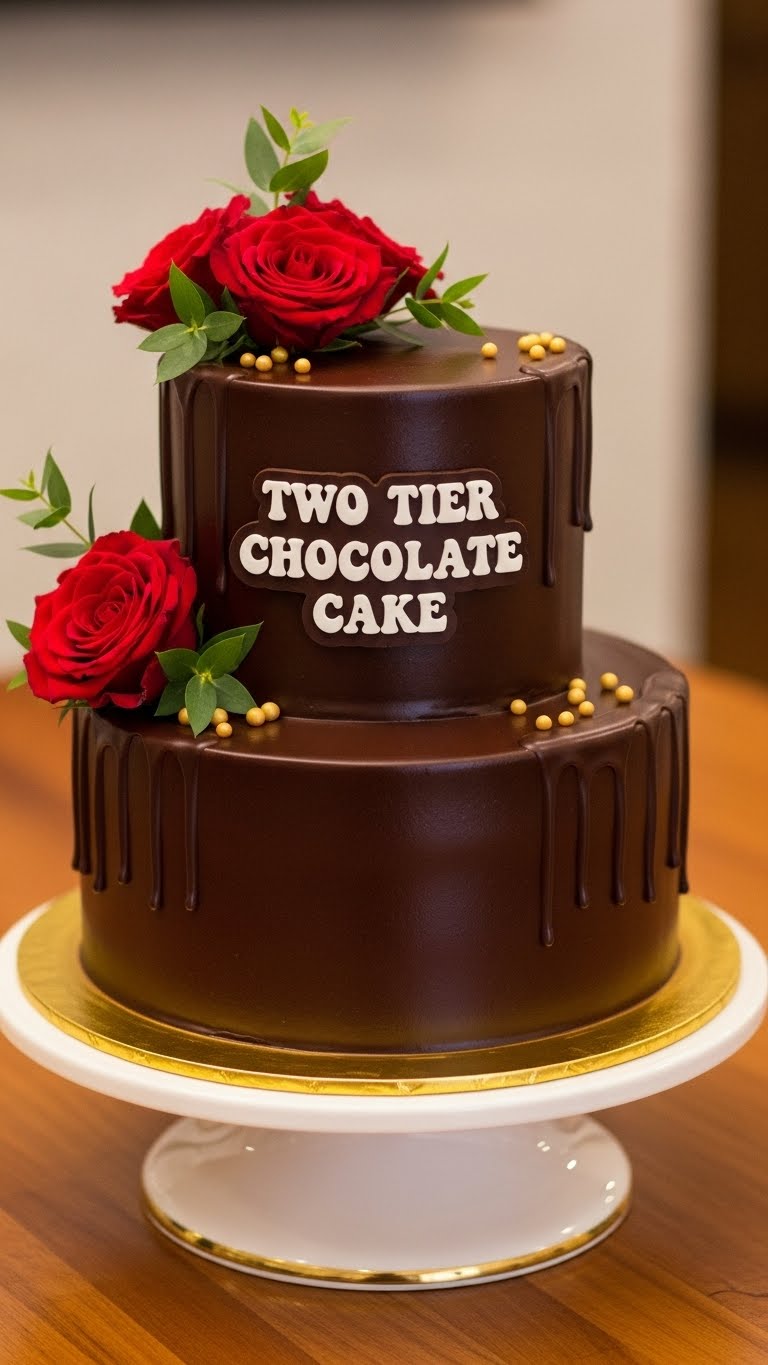
Ever found yourself staring into the abyss of your fridge, thinking, “I need chocolate, and I need it *now*, but also… effort?” Yep, me too. We’ve all been there. Today, my friend, we’re making that chocolate dream a two-tiered reality. And guess what? You don’t need a culinary degree or an entire weekend to pull it off. This isn’t just a cake; it’s a statement. A statement that says, “Yes, I can make something fancy, and yes, I will devour it all.”
Why This Recipe is Awesome
Okay, so why bother with *this* particular two-tier chocolate cake recipe out of the zillions floating around? Because, unlike most things in life, it actually delivers on its promises. It’s surprisingly **un-fussy** for something that looks this impressive. Seriously, I’m talking minimal meltdowns (mine, not the cake’s). This recipe is practically idiot-proof; even I didn’t mess it up, and that’s saying something! Plus, it tastes like a hug from a chocolate cloud. And let’s be real, who doesn’t need more of those? It’s rich, it’s moist, and it’s going to make you feel like a total baking rockstar.
Ingredients You’ll Need
Gather your chocolatey arsenal! Most of these are probably already lurking in your pantry, waiting for their moment to shine.
For the Cake:
- All-Purpose Flour: (2 ½ cups) The backbone of any good cake. Not the fancy almond flour your neighbor brags about; regular old AP is our hero today.
- Granulated Sugar: (2 cups) Sweetness incarnate. Make sure it’s not powdered sugar, unless you’re aiming for a very unique (and possibly gritty) texture.
- Unsweetened Cocoa Powder: (¾ cup) Go for good quality here. Life’s too short for bad chocolate, people! It really makes a difference.
- Baking Soda: (2 teaspoons)
- Baking Powder: (1 teaspoon) This dynamic duo gives our cake that gorgeous lift. Don’t mix them up, it’s not a chemistry experiment you want to fail!
- Salt: (1 teaspoon) Just a pinch, because even chocolate needs a little seasoning to make its flavors sing.
- Large Eggs: (2) Room temperature if you’re feeling extra fancy and want optimal fluffiness. It helps them emulsify better.
- Whole Milk: (1 cup) Because we’re not skimping on flavor or moisture here.
- Vegetable Oil: (½ cup) Or canola oil. This is key for ultimate moistness – seriously, don’t swap this for butter in the cake batter, oil makes it ridiculously tender.
- Vanilla Extract: (2 teaspoons) The good stuff, not the imitation kind that tastes like sadness.
- Hot Water or Hot Coffee: (1 cup) This is your secret weapon! Coffee, especially, really enhances the chocolate flavor without making the cake taste like a latte. If you’re not a coffee person, hot water works just fine.
For the Chocolate Buttercream:
- Unsalted Butter: (1 cup, 2 sticks) Softened, the real deal. Don’t even *think* about margarine for frosting. Seriously.
- Powdered Sugar: (3-4 cups) Sifted, unless you like lumpy frosting (you do you, I guess).
- Unsweetened Cocoa Powder: (½ cup) Same good quality as for the cake. Consistency is key!
- Milk or Heavy Cream: (3-5 tablespoons) A splash or two to get that perfect, spreadable consistency.
- Vanilla Extract: (1 teaspoon) Again, the good stuff.
- Pinch of Salt: Just a tiny bit to balance out all that sweetness.
Step-by-Step Instructions
Okay, apron on, game face ready! Let’s get baking.
First things first, get that oven fired up to 180°C (350°F). While it’s getting cozy, generously grease and flour two 8-inch round cake pans. Or, if you’re feeling extra fancy, line the bottoms with parchment paper. This tiny step saves a huge headache later, trust me.
In a large bowl, whisk together your dry cake ingredients: flour, sugar, cocoa powder, baking soda, baking powder, and salt. Give it a good whisk to make sure everything is evenly distributed. No one wants a clump of baking soda in their bite!
In a separate medium bowl, whisk together the eggs, milk, vegetable oil, and vanilla extract until well combined. This is your wet team.
Pour the wet ingredients into the dry ingredients. Mix on low speed with an electric mixer (or by hand with a whisk) until just combined. Don’t overmix! A few lumps are totally fine; overmixing leads to tough cakes, and we’re not about that life.
Now, carefully pour in the hot water or coffee. Mix on low speed until the batter is smooth. Yes, it will look super thin—don’t panic! This is exactly how it should be, and it’s the secret to its amazing moistness.
Divide the batter evenly between your prepared cake pans. Pop them into the preheated oven and bake for 30-35 minutes, or until a wooden skewer inserted into the center comes out clean. Resist the urge to open the oven door early, unless you want a sad, sunken cake.
Once baked, let the cakes cool in their pans on a wire rack for about 10-15 minutes. Then, carefully invert them onto the wire rack to cool completely. This is crucial! Frosting warm cakes is a recipe for disaster (and melted frosting).
While the cakes are chilling out, let’s make that buttercream. In a large bowl, beat the softened butter with an electric mixer until light and fluffy (about 2-3 minutes). Gradually add the sifted powdered sugar, cocoa powder, salt, and vanilla extract. Start on low speed to avoid a powdered sugar explosion in your kitchen (been there, done that, wore the sugar). Once combined, increase to medium-high speed.
With the mixer running, slowly drizzle in the milk or cream, a tablespoon at a time, until you reach your desired consistency. You want it smooth, fluffy, and easily spreadable. Beat for another 2-3 minutes until it’s wonderfully light and airy.
Time to assemble! If your cooled cakes have domed tops, use a serrated knife to level them. This makes stacking so much easier and prettier. Place one cake layer on your serving plate, spread a generous layer of buttercream, then top with the second cake layer. Frost the top and sides of the entire cake, getting as smooth or as rustic as you like. You’re the artist here!
Common Mistakes to Avoid
Even the pros make mistakes, but you can avoid these classic blunders!
- Thinking you don’t need to preheat the oven: Rookie mistake! Your cake won’t rise properly if it doesn’t hit that consistent heat from the get-go.
- Overmixing the batter: Seriously, stop when it’s *just* combined. Overmixing develops the gluten, leading to a tough, dry cake. Nobody wants that.
- Opening the oven door too early: Patience, young padawan! The sudden temperature drop can make your cake sink in the middle. Wait until at least ¾ of the way through baking.
- Not cooling your cakes completely: You *will* have a soupy, sliding mess if you try to frost warm cakes. Resist the urge, let them cool down fully.
- Using low-quality cocoa: This is a chocolate cake! The cocoa is the star. Don’t cheap out; it truly impacts the flavor depth.
- Panicking about thin batter: Remember step 5? The batter is supposed to be thin once the hot liquid is added. It’s not a mistake; it’s magic for moisture.
Alternatives & Substitutions
Feeling adventurous or missing an ingredient? No stress, we’ve got options!
- Coffee vs. Hot Water: If you’re not a coffee fan, absolutely use hot water. But FYI, coffee really amplifies the chocolate flavor without making it taste like coffee. Don’t knock it ’til you try it!
- Oil in the cake: While I highly recommend oil for moisture, if you *insist*, you can use melted butter. Just be warned, IMO, the cake won’t be as supremely moist.
- Milk options: Whole milk is best, but 2% will work. For a slight tang and even more tenderness, swap regular milk for buttermilk.
- Frosting variations: Not feeling buttercream? You could totally go for a silky chocolate ganache (heavy cream + chocolate) or even a fluffy cream cheese frosting for a different vibe.
- Gluten-Free: Many all-purpose gluten-free flour blends work wonderfully in this recipe. Just be sure it’s a blend that includes xanthan gum.
- Dairy-Free: Swap whole milk for your favorite plant-based milk (almond, soy, oat), and use vegan butter sticks for the buttercream. Look for brands specifically made for baking.
FAQ (Frequently Asked Questions)
Got questions? I’ve got (casual) answers!
- Can I make this a one-tier cake? Absolutely! Just bake the batter in a single 9×13 inch pan. Adjust baking time, probably around 40-45 minutes. You’ll still have plenty of deliciousness.
- How long does this cake keep? Covered at room temperature, it’s usually good for 3-4 days. In the fridge, it can stretch to a week. Just make sure it’s well-sealed so it doesn’t dry out.
- Do I need a fancy mixer? Nope! A hand mixer works perfectly, or if you’re feeling old-school (and want a bicep workout), you can absolutely do it by hand with a whisk and spatula.
- My cake is dry, what happened? Usually, a dry cake means one of two things: you either overmixed the batter (developing too much gluten) or you overbaked it. Use a timer and that skewer test!
- Can I freeze the cake? Yes! Unfrosted cake layers can be individually wrapped in plastic wrap and then foil, and frozen for up to 3 months. Thaw in the fridge, then frost. Frosted cake can also be frozen, just make sure it’s well-protected.
- What if my cakes dome in the middle? Totally normal! If it’s a significant dome, just grab a serrated knife and gently level them off once completely cool. It makes stacking much tidier.
- Can I use margarine instead of butter for the frosting? Well, technically yes, but why hurt your soul like that? Butter gives buttercream its rich flavor and structure. Margarine just won’t give you the same dreamy results. You’ve been warned!
Final Thoughts
You did it! You conquered the two-tier beast, and now you have a magnificent chocolate cake to prove it. Whether you’re sharing it with loved ones, impressing guests, or just treating your glorious self (my personal preference), savor every single, chocolatey bite. This cake is proof that you don’t have to be a professional chef to create something utterly delicious and beautiful. Now go forth and bask in your baking glory – you absolutely earned it!
