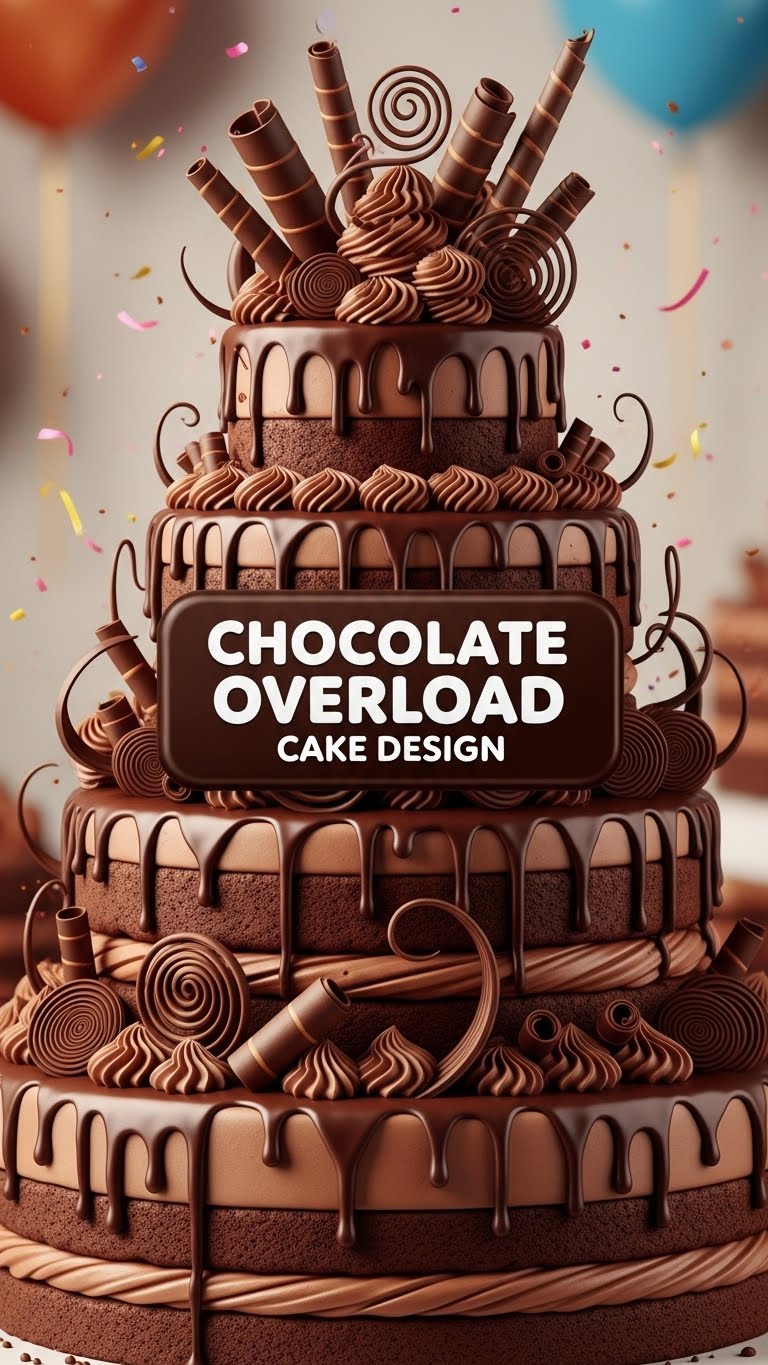
So, you’ve had *one of those days*, haven’t you? The kind where only a serious chocolate intervention will do the trick? Yeah, me too. But not just any chocolate – we’re talking a full-blown, no-holds-barred, chocolate-on-chocolate-on-chocolate kind of fix. Good news, my friend, because today we’re diving headfirst into the glorious mess that is the “Chocolate Overload Cake Design.” And trust me, it’s easier than trying to pick a movie on a Friday night.
Why This Recipe is Awesome
First off, it’s a “design,” which sounds super fancy, right? But in our world, that just means we’re throwing a party on a cake and all the guests are chocolate. It’s also ridiculously forgiving. Mess up a bit? No worries, just strategically place another chocolate bar over it! Nobody will ever know your secret. This cake screams, “I tried really hard and I adore you/myself immensely,” but in reality, you probably just spent an hour having a blast in the kitchen. Total win-win, IMO. Plus, who doesn’t love a mountain of chocolate?
Ingredients You’ll Need
Get ready to raid the candy aisle – it’s your personal art supply store today!
- **Your favorite chocolate cake:** Seriously, don’t overthink this. Grab a pre-made one from the store, use a box mix, or whip up your go-to recipe. We’re about fun, not stress!
- **1 cup (2 sticks) unsalted butter, softened:** Because we’re fancy, but if you only have salted, go for it. Life’s too short.
- **4 cups powdered sugar:** For that cloud-like, sweet frosting.
- **¾ cup good quality cocoa powder:** This is where the chocolatey magic happens. Don’t skimp!
- **½ cup heavy cream:** For ultimate indulgence and creamy goodness.
- **1 teaspoon vanilla extract:** A little secret weapon to boost the flavor.
- **A metric ton of chocolate goodies for topping:** This is the fun part! Think chopped chocolate bars (milk, dark, white – go wild!), chocolate chips, chocolate truffles, chocolate-covered pretzels, KitKats, Oreos, M&Ms, chocolate wafers, mini chocolate doughnuts, whatever your chocolate-loving heart desires. The more variety, the better!
Step-by-Step Instructions
- **Prep Your Cake:** If you’re baking from scratch or a box, do that first! Make sure your cake is completely, utterly, absolutely cool before you even *think* about frosting it. A warm cake + frosting = a sad, melting disaster. You’ve been warned!
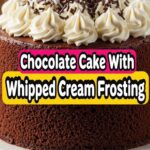
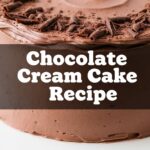
- **Whip Up the Frosting:** In a large bowl, beat the softened butter until it’s light and fluffy. Slowly add the powdered sugar and cocoa powder, alternating with the heavy cream. Once it starts coming together, add the vanilla extract. Beat until smooth, creamy, and gloriously chocolatey. If it’s too thick, add a tiny bit more cream; too thin, add a touch more powdered sugar.
- **Frost Your Masterpiece:** Once your cake is chilled and ready, slather on that glorious chocolate frosting. Don’t be shy! We’re not going for perfection here; we’re going for delicious. A crumb coat isn’t necessary unless you’re feeling extra.
- **The Chocolate Overload Begins!** Now for the grand finale! Arrange all your chosen chocolate goodies on top of and around the sides of the cake. This is where you get to be an artist. Pile ’em high! Stick some in the frosting, lean others against each other. **The goal is maximum chocolate impact.** There’s no right or wrong way – just go with your gut (and your cravings).
- **Admire Your Handiwork (and then devour it):** Step back and marvel at your creation. Take a picture, brag to your friends. Then, grab a fork (or just your hands, I won’t judge) and dig in!
Common Mistakes to Avoid
- **Not cooling your cake enough:** This is the cardinal sin of cake decorating. Unless you want your frosting to slide off like a sad, chocolatey avalanche, **let that cake chill completely.**
- **Being shy with the chocolate toppings:** Remember the name of the cake? “Chocolate Overload.” This isn’t “Chocolate Adequate” cake, folks. Go big or go home! You can always eat the leftover toppings. (What leftover toppings?!)
- **Overmixing the frosting:** While you want it smooth, overmixing can incorporate too much air, making it less stable. Beat until just combined and fluffy.
- **Forgetting to taste test:** I mean, how will you know it’s good if you don’t sample the frosting? It’s practically a requirement.
Alternatives & Substitutions
Life happens, and sometimes you gotta adapt. Here are some quick fixes:
- **No heavy cream?** You can use milk (whole milk works best) but you might need to adjust the powdered sugar slightly to get the right consistency. It won’t be quite as rich, but still delicious!
- **Vegan version?** Easy peasy! Use a vegan chocolate cake mix, plant-based butter, and dairy-free heavy cream or full-fat coconut milk (chilled, just use the thick cream part). And, of course, make sure all your chocolate toppings are vegan-friendly.
- **Gluten-free?** Grab a good gluten-free chocolate cake mix or recipe. The frosting is naturally GF, just double-check your topping labels.
- **Less intense chocolate?** If you’re not a fan of super-dark chocolate, stick to milk chocolate for your frosting cocoa and toppings. Or, if you want it extra rich, use dark cocoa and darker chocolates!
FAQ (Frequently Asked Questions)
- **”Can I use store-bought frosting?”** Duh! Absolutely. We’re about fun, not stress. Just make sure you grab a couple of tubs because you’ll want plenty for the “overload” effect.
- **”How long does this chocolate masterpiece last?”** In my house? About 5 minutes. But properly covered and stored in the fridge, it’ll last 3-4 days. Though I doubt it will make it that long.
- **”Do I *really* need all those different kinds of chocolates?”** Is the sky blue? Yes, you do. It’s in the name! The variety in texture and taste is what makes it so exciting.
- **”Can I make the cake ahead of time?”** Totally! Bake the cake a day or two in advance, wrap it tightly, and keep it at room temp or in the fridge. Frost and decorate closer to serving time for maximum freshness.
- **”What if I mess up the decoration?”** Sweet friend, that’s the beauty of it! It’s an “overload” cake, not a “precision” cake. Just add more chocolate! No one will ever notice a wonky piece when there’s a mountain of deliciousness.
Final Thoughts
So there you have it, your very own masterpiece of chocolatey indulgence! You’ve conquered the Chocolate Overload Cake Design, and frankly, you deserve a medal (and a slice). Now go forth, share your creation (or don’t, I won’t tell), and bask in the glory of your epic baking skills. You’ve earned it, champ! Happy chocolate-ing!
