So, you’ve got a chocolate craving so intense it’s practically a personality trait, huh? And you’re eyeing that leftover Easter chocolate (or let’s be real, you bought it specifically for this)? Excellent. We’re about to transform those unassuming chocolate bunnies into the star of the show. Get ready for a cake so ridiculously good, it’s practically a hug in dessert form. No fancy pastry chef skills required, just a love for all things chocolate and a willingness to have some fun in the kitchen.
Why This Recipe is Awesome
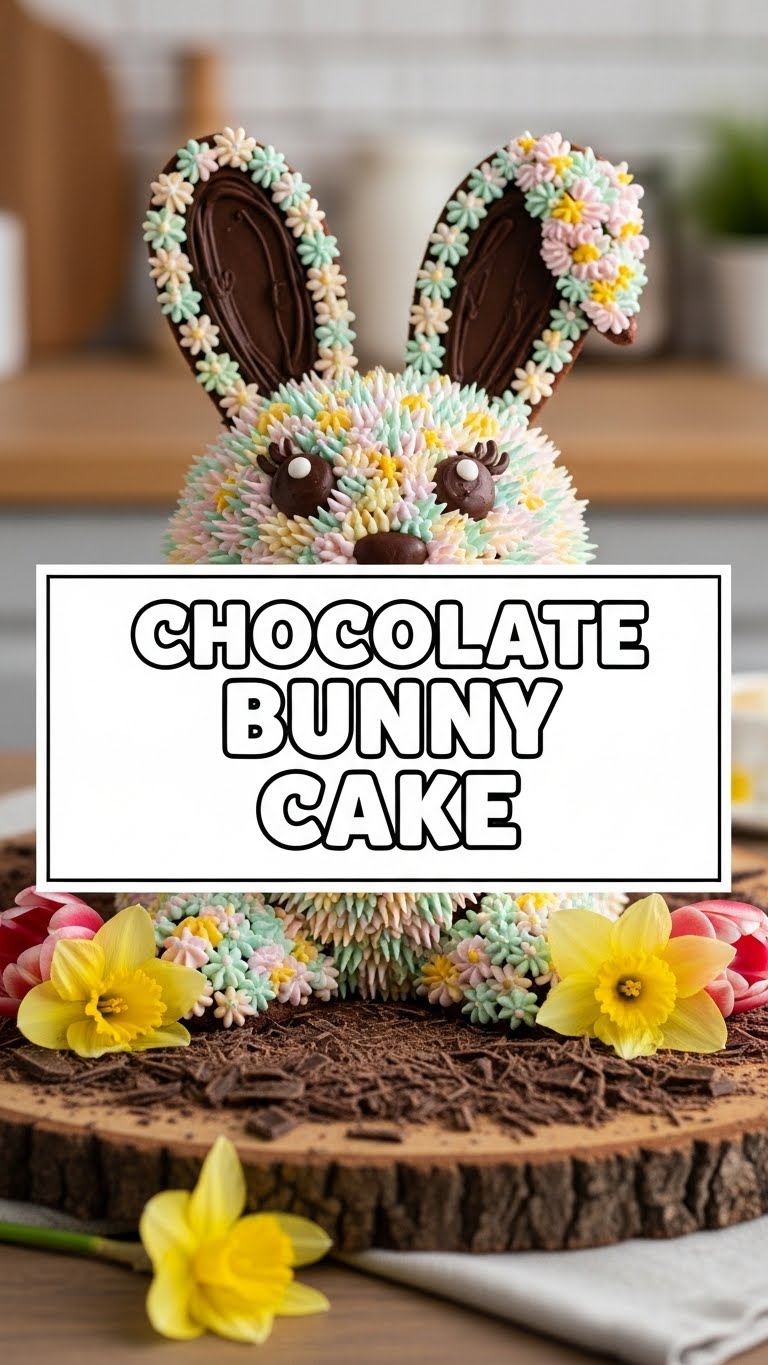
This isn’t just *any* chocolate cake, my friend. This is the **Chocolate Bunny Cake**, a celebration of everything fudgy, sweet, and adorable. Why is it awesome? Let me count the ways:
- It’s ridiculously moist and chocolatey. Like, “lick the bowl clean” chocolatey.
- It’s surprisingly easy to whip up. Seriously, if I can do it without setting off the smoke detector, you definitely can.
- It’s the perfect excuse to buy more chocolate bunnies. You’re welcome.
- **It’s a guaranteed crowd-pleaser.** Or a “treat yo’self” pleaser, which, let’s be honest, is even more important.
- You get to smash things (chocolate bunnies) in the name of baking. Therapeutic, much?
Ingredients You’ll Need
Gather your troops, folks! Most of these are probably chilling in your pantry already.
- 1 ½ cups all-purpose flour: The standard stuff. Don’t go getting fancy with almond flour unless you want a science experiment.
- 1 ½ cups granulated sugar: Sweetness incarnate. Because life’s too short for unsweetened cake.
- ¾ cup unsweetened cocoa powder: The good stuff! Dark cocoa powder works too if you’re feeling dramatic.
- 1 ½ teaspoons baking soda: Our magical leavening agent. No flat cakes allowed!
- 1 teaspoon salt: Just a pinch to balance out all that sweetness. Think of it as a flavor enhancer.
- 1 cup whole milk: Or 2% if that’s all you’ve got. The fat helps keep things moist.
- ½ cup vegetable oil: Or canola oil. Another moisture hero.
- 2 large eggs: Room temp is best, but if you forget, don’t stress.
- 1 teaspoon vanilla extract: The secret weapon for making everything taste better. Don’t skip it!
- 1 cup boiling water (or hot coffee): Trust me on this one. It makes the chocolate bloom and intensifies the flavor like crazy. If you use coffee, it just makes it even richer, not coffee-flavored.
- For the frosting:
- ½ cup (1 stick) unsalted butter: Softened, not melted. This is important for fluffy frosting.
- 2 cups powdered sugar: Sift it if you’re feeling fancy, but I rarely do.
- ¼ cup unsweetened cocoa powder: For that rich, chocolatey frosting goodness.
- ¼ cup milk or cream: To get that perfect spreadable consistency.
- ½ teaspoon vanilla extract: Frosting needs love too!
- For the bunny fun:
- 2-3 chocolate bunnies (hollow or solid, your choice!): These are for decorating. Break ’em up, stand ’em up, get creative!
- Optional: Green food coloring (for grass frosting), shredded coconut (for “fur”), mini chocolate eggs.
Step-by-Step Instructions
Alright, apron on! Let’s get this show on the road.
- **Preheat Your Oven & Prep Your Pan:** First things first, get that oven to **350°F (175°C)**. Grease and flour a 9×13 inch baking pan, or two 8-inch round cake pans if you’re feeling stacked. Don’t skip this, unless you enjoy a good scraping challenge later.
- **Mix the Dry Stuff:** In a large bowl, whisk together your flour, sugar, cocoa powder, baking soda, and salt. Make sure there are no lumpy bits of cocoa. This is your dry team.
- **Add the Wet Stuff (Mostly):** To your dry ingredients, add the milk, oil, eggs, and vanilla extract. Beat everything on medium speed with an electric mixer for about 2 minutes, until it’s all smoothly combined. Scrape down the sides of the bowl to make sure everything gets in on the action.
- **Bring the Heat:** Carefully pour in the boiling water (or hot coffee). The batter will be thin, but **don’t panic!** That’s exactly how it should be. Stir it in gently until just combined. Overmixing at this stage can lead to a tough cake, and nobody wants that.
- **Bake It Up:** Pour your super-thin batter into your prepared pan(s). Bake for 30-35 minutes for a 9×13, or 25-30 minutes for round pans. You’ll know it’s done when a toothpick inserted into the center comes out clean.
- **Cool Down Time:** Let the cake cool in the pan for about 10-15 minutes before inverting it onto a wire rack to cool completely. **This is crucial!** Trying to frost a warm cake results in a melted, sloppy mess. Patience, young padawan.
- **Whip Up the Frosting:** While the cake cools, grab a medium bowl. Beat the softened butter until creamy. Gradually add the powdered sugar and cocoa powder, alternating with the milk/cream, until you have a smooth, spreadable chocolate frosting. Stir in the vanilla extract. If it’s too thick, add a tiny bit more milk; too thin, add more powdered sugar.
- **Bunny Decorate!:** Once the cake is completely cool, slather on that glorious chocolate frosting. Now for the fun part: break apart your chocolate bunnies. Stand them up on the cake, arrange them “peeking” out, or crush them up and sprinkle the pieces on top like edible glitter. Get creative! If you want green “grass,” mix a few drops of green food coloring into a small portion of frosting before spreading. You can also sprinkle shredded coconut for bunny “fur” or mini chocolate eggs.
Common Mistakes to Avoid
Look, we all make mistakes. But let’s try to avoid these rookie blunders, shall we?
- **Not Greasing Your Pan Properly:** This isn’t just a suggestion; it’s a command. Unless you enjoy a cake stuck to the bottom of the pan and a deep sense of regret.
- **Overmixing the Batter:** Once the flour goes in, mix only until just combined. Overmixing develops gluten, leading to a tough, dry cake. Nobody wants a hockey puck.
- **Ignoring the Boiling Water Step:** That boiling water (or coffee) is a game-changer for chocolate flavor. Don’t swap it for cold water; it won’t have the same effect.
- **Frosting a Warm Cake:** I know, I know, it smells amazing, and you want to dig in. But trust me, warm cake + cold frosting = soupy disaster. **Patience, grasshopper!**
- **Forgetting the Salt:** It seems counterintuitive in a sweet cake, but salt actually enhances the chocolate flavor and balances the sweetness. Don’t skip it!
Alternatives & Substitutions
Feeling adventurous or just missing an ingredient? No worries, I got you!
- **Coffee for Boiling Water:** As mentioned, hot coffee instead of boiling water will seriously deepen that chocolate flavor without making it taste like coffee. **IMO, it’s a major upgrade.**
- **Butter vs. Oil:** You *could* swap the vegetable oil for melted butter for a slightly different texture and flavor, but the oil makes this cake incredibly moist. Stick with oil for maximum fudginess.
- **Milk Alternatives:** Out of whole milk? Almond milk or oat milk work too, but they might make the cake slightly less rich. Still totally delicious, though!
- **Frosting Variations:** Not a fan of chocolate frosting? A simple vanilla buttercream or even a cream cheese frosting would be divine. Just make sure it complements the rich chocolate cake.
- **Bunny Decorations:** No chocolate bunnies? Use mini chocolate chips, sprinkles, or even fresh berries for a pop of color. It’ll still be an awesome chocolate cake!
FAQ (Frequently Asked Questions)
Got questions? I’ve probably got an answer that’s at least mildly sarcastic.
- **Can I make this cake gluten-free?** You can try! Swap the all-purpose flour for a 1:1 gluten-free baking blend. Results may vary slightly, but it’s worth a shot if you’re avoiding gluten.
- **How long does this cake last?** Covered tightly at room temperature, it’s usually good for 3-4 days. In the fridge, maybe a day or two longer, but it’s best at room temp for optimal moistness.
- **Can I freeze this cake?** Absolutely! Wrap unfrosted cake layers tightly in plastic wrap and then foil. It’ll last for a couple of months. Thaw at room temp before frosting.
- **My cake is dry! What went wrong?** Probably overbaked, boo! Or you overmixed the batter. Keep a closer eye on the baking time next time, and use a timer!
- **Can I make this into cupcakes?** You betcha! Fill cupcake liners about two-thirds full. Bake for 18-22 minutes. You’ll get about 24 cupcakes. Perfect for sharing (or not!).
- **Why do you recommend hot water/coffee?** FYI, hot liquids “bloom” the cocoa powder, releasing more of its flavor and creating a deeper, richer chocolate taste. It’s a little baking magic!
- **What if my chocolate bunnies are too big for the cake?** No problem! Break them into smaller pieces, or simply use them as a grand centerpiece. Half-eaten bunnies also tell a fun story.
Final Thoughts
Alright, my baking buddy, you’ve officially conquered the majestic Chocolate Bunny Cake! You’ve navigated the floury seas, tamed the chocolate beast, and emerged victorious with a delicious creation. Now go impress someone—or yourself—with your new culinary skills. Seriously, this cake is practically a medal for your tastebuds. You’ve earned it! Enjoy every glorious, chocolatey bite. And hey, if you “accidentally” eat half the chocolate bunnies before they make it to the cake, I won’t tell. Pinky swear. Now go forth and spread the chocolate joy!


