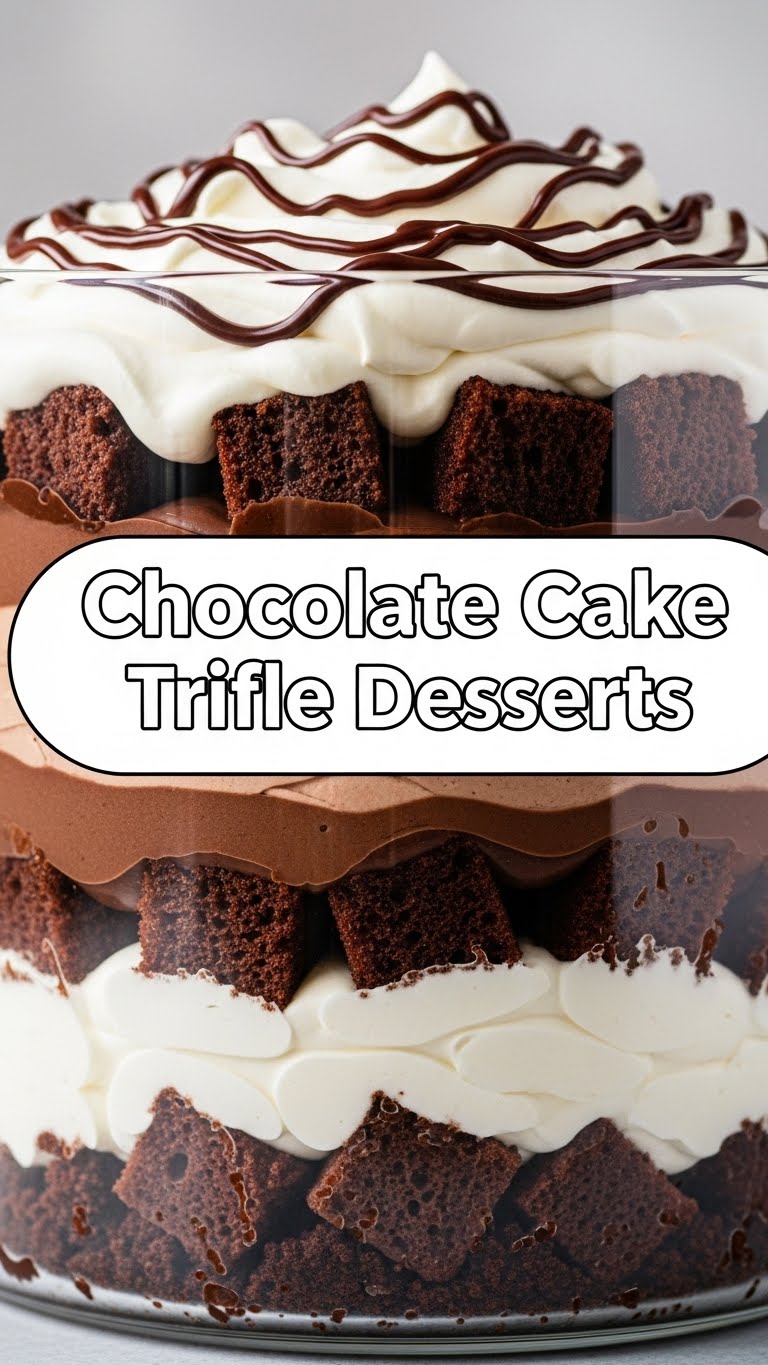
So, you’ve got that irresistible chocolate craving, but the thought of baking a whole cake from scratch makes you want to crawl under a blanket and binge-watch reality TV? Been there, friend. Lucky for us, I’ve got a secret weapon that screams “I’m fancy!” but whispers “I barely lifted a finger!” We’re talking about a Chocolate Cake Trifle, and it’s about to become your new best friend.
Why This Recipe is Awesome
Because it’s basically a magic trick. Seriously. You take a bunch of undeniably delicious things, layer them in a pretty glass vessel, and suddenly, you’re a gourmet chef worthy of a standing ovation. No oven needed (unless you’re baking the cake from scratch, but let’s be real, we’re mostly cutting corners here!), no intricate frosting techniques, just pure, unadulterated layered bliss. Plus, it looks super impressive, which means maximum bragging rights with minimal effort. **It’s practically fool-proof, I swear, even I managed not to burn water prepping this.**
Ingredients You’ll Need
Gather your troops, folks! Here’s what you’ll need for this culinary masterpiece (that requires surprisingly little mastery):
- Chocolate Cake: One 9×13 inch pre-baked chocolate cake. Or a box of brownie mix you baked up. Or even some leftover cake if you’re a unicorn who has such a thing. We’re cutting corners, people!
- Instant Chocolate Pudding: Two (3.9 oz) boxes of the instant stuff. Don’t be a hero and make it from scratch unless you *want* extra work. We definitely don’t.
- Milk: About 4 cups, for the pudding. Whole milk makes it extra creamy, but honestly, whatever you have chilling in the fridge works.
- Whipped Topping: Two (8 oz) containers of frozen whipped topping (like Cool Whip), thawed. Or, if you’re feeling fancy and have a stand mixer, make some fresh whipped cream – you do you!
- Optional Goodies (but highly recommended):
- **Chocolate Chips:** Mini or regular, because more chocolate is never a bad idea.
- **Sprinkles:** For an instant party vibe!
- **Fresh Berries:** Strawberries, raspberries – a handful to make it look healthy-ish (don’t worry, it’s our secret).
Step-by-Step Instructions
Alright, apron on (or not, no judgment), let’s get this show on the road. This is so easy, you might think you missed a step. You didn’t.
- Crumble Your Cake: Take your glorious chocolate cake (or brownies) and crumble it up into bite-sized pieces. Don’t go too small; we want some texture in there. Set aside a handful for garnish if you’re feeling extra.
- Whip Up the Pudding: In a large bowl, whisk together the instant chocolate pudding mix with the milk. Whisk it like you mean it for about 2 minutes, until it starts to thicken. Let it chill in the fridge for about 5 minutes to set up properly. **This is crucial – nobody wants soupy trifle!**
- Time to Layer: Grab your favorite clear glass trifle dish (or any large, clear bowl, or even individual mason jars if you’re feeling Pinterest-y). Start with a layer of your crumbled chocolate cake at the bottom.
- Pudding Power: Spread about half of your chocolate pudding evenly over the cake layer. Smooth it out gently.
- Whipped Dream: Spoon about half of your thawed whipped topping over the pudding layer. Resist the urge to just eat it with a spoon right now.
- Repeat the Magic: Go back to step 3! Add another layer of cake, then the rest of the pudding, and finally, top it all off with the remaining whipped topping. You’re almost there!
- Decorate and Chill: This is where you get creative! Sprinkle those chocolate chips, shower it with sprinkles, or strategically place those fresh berries for a pop of color. Once decorated, cover your masterpiece and pop it in the fridge for at least 2-3 hours. **This chilling time is non-negotiable; it lets the flavors get cozy and the layers firm up.**
Common Mistakes to Avoid
Look, we all make ’em. But with this recipe, let’s try to dodge the common pitfalls, shall we?
- **Over-Crumbing:** Don’t pulverize your cake into dust. We want chunky bits of cake, not cake sand. We’re building layers, not a sandcastle.
- **Warm Pudding Panic:** Seriously, let that pudding set. If it’s warm and runny, your trifle will be a messy, chocolatey soup, and while delicious, it won’t be pretty.
- **Skimping on the Whipped Topping:** This is a no-judgment zone. Pile it on! It’s what makes it light and fluffy. Don’t be shy.
- **Eating it Immediately:** I know, the temptation is real. But **patience, young padawan!** It needs that fridge time to become the amazing, cohesive dessert it’s meant to be.
Alternatives & Substitutions
Feeling rebellious? Want to put your own spin on it? I like your style! Here are a few ideas:
- **Cake Swap:** Not feeling chocolate cake? Use a vanilla cake, red velvet, or even oreo cookies (crumbled, of course). Brownies are also a stellar choice. Honestly, any baked good that crumbles nicely works.
- **Pudding Pimp:** Chocolate is classic, but vanilla, white chocolate, or even a coffee-flavored pudding would be divine. Mix and match!
- **Whipped Topping Twist:** If Cool Whip isn’t your jam, try making homemade whipped cream. Or for a tangier, slightly “healthier” vibe, mix some Greek yogurt with a touch of sugar and vanilla (don’t tell anyone it’s yogurt, **IMO**).
- **Add-in Adventures:** Caramel drizzle, chopped toasted nuts, different types of berries, crushed candy bars (Snickers trifle, anyone?), a splash of liqueur for the grown-ups (Kahlua, perhaps?). The world is your trifle playground!
FAQ (Frequently Asked Questions)
- **Can I use a different flavor cake?** Absolutely! Chocolate is classic, but vanilla or red velvet would be divine. Mix and match with your pudding flavor for some fun combos.
- **How long does it last in the fridge?** Usually 2-3 days, covered, in the fridge. Beyond that, the cake might get a bit soggy. (But who are we kidding, it won’t last that long anyway, will it?)
- **Do I have to use a fancy trifle dish?** Nah, not at all! Any clear glass bowl, individual glasses, or even mason jars work great for presentation. **FYI**, individual servings are great for portion control (or avoiding sharing).
- **Can I make it ahead of time?** Oh yeah! It actually tastes better after a few hours in the fridge, giving the flavors time to mingle and get cozy. Making it the night before a party is perfect.
- **Is this healthy?** Buddy, we’re talking about chocolate cake, pudding, and whipped cream. Let’s just say it’s ‘soul-healthy’ and leave it at that, m’kay? It’s a treat, so enjoy it without guilt!
Final Thoughts
See? I told you this was easy. Now you’ve got a showstopper dessert that took minimal effort but looks like you slaved away for hours. Go forth and conquer those cravings, my friend! And maybe save a bite for me? You’ve earned those bragging rights.


