So you’re craving something tasty but too lazy to spend forever in the kitchen, huh? Same. What if I told you we could whip up a ridiculously moist, rich chocolate cake – totally vegan, no less – without breaking a sweat? Yeah, I thought that’d get your attention. Because who needs complicated when you can have mind-blowingly delicious and surprisingly simple?
Why This Recipe is Awesome
First off, it’s chocolate. Duh. Second, it’s vegan, so you can totally impress your plant-based pals (or just enjoy it yourself without the dairy guilt trip). But the real kicker? This recipe is practically idiot-proof. Seriously, even on a Monday morning before my coffee, I nailed it. No fancy equipment, no bizarre ingredients you need to hunt down in an enchanted forest. Just pure, unadulterated chocolatey joy, ready to grace your face in under an hour of active work. Plus, it’s so moist, you’ll wonder if I secretly slipped in some magic spells. (Spoiler: I didn’t, it’s just that good.)
Ingredients You’ll Need
- All-purpose flour: 1 ½ cups. The good old standard.
- Granulated sugar: 1 cup. Sweetness is key, my friend.
- Unsweetened cocoa powder: ½ cup. Go for quality here; it makes a difference!
- Baking soda: 1 teaspoon. Our little leavening hero.
- Salt: ½ teaspoon. Just a pinch to wake up those flavors.
- Unsweetened non-dairy milk: 1 cup (almond, soy, oat – whatever floats your boat).
- Vegetable oil: ½ cup. For that glorious moisture.
- Vanilla extract: 1 teaspoon. Essential for ~flavor~.
- White vinegar (or apple cider vinegar): 1 teaspoon. Don’t skip this; it’s the secret sauce for fluffiness!
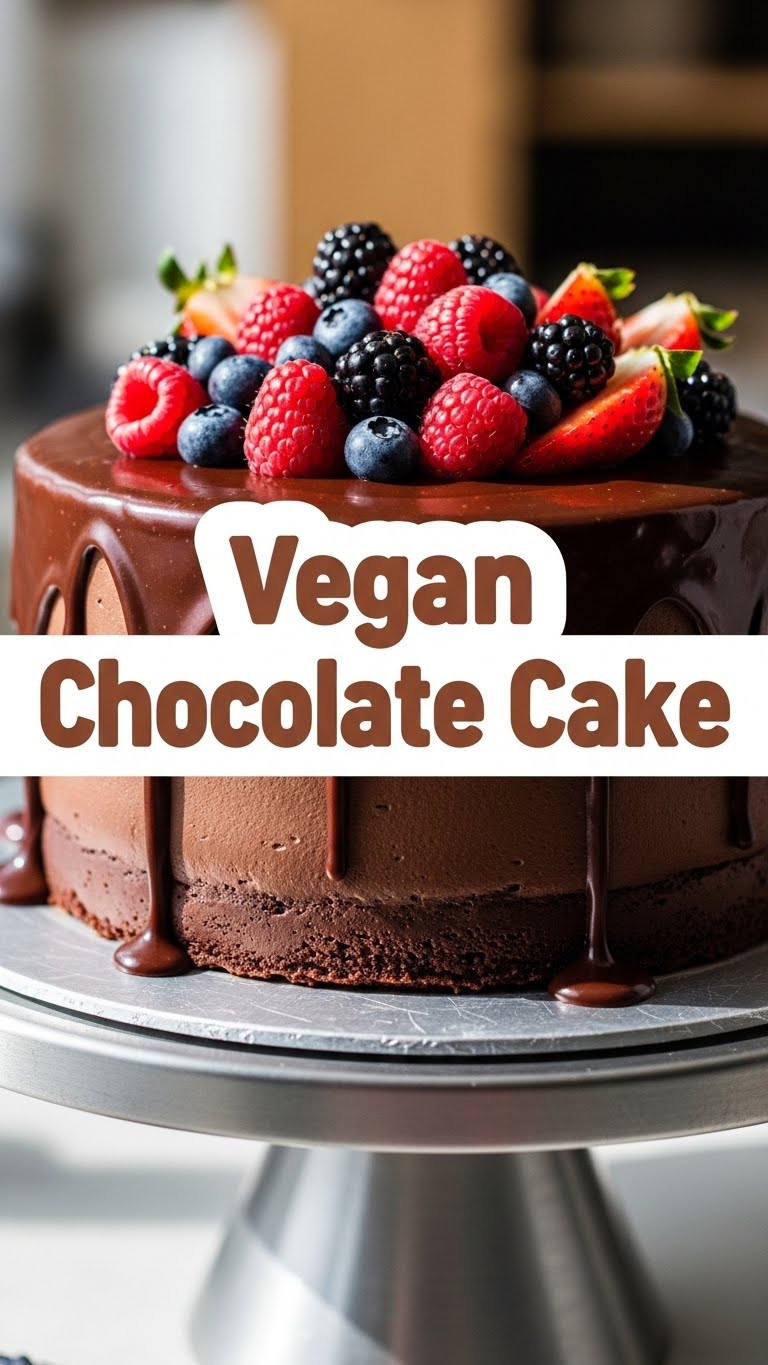
- Optional (but highly recommended) for frosting: Your favorite vegan chocolate frosting or homemade ganache. We’re not savages, are we?
Step-by-Step Instructions
- Preheat & Prep: Set your oven to 350°F (175°C). Lightly grease and flour an 8-inch round cake pan. Nobody likes a stuck cake.
- Dry Mix Fun: In a large bowl, whisk together the flour, sugar, cocoa powder, baking soda, and salt. Make sure there are no lumpy surprises.
- Wet Mix Wonders: In a separate medium bowl, combine the non-dairy milk, oil, vanilla extract, and vinegar. Give it a good whisk.
- Combine Forces: Pour the wet ingredients into the dry ingredients. Mix with a spatula or spoon until *just* combined. Do not overmix! Lumps are okay, a tough cake is not.
- Bake It Up: Pour the batter into your prepared cake pan. Pop it into the preheated oven.
- The Waiting Game: Bake for 30-35 minutes, or until a toothpick inserted into the center comes out clean. Your kitchen will smell divine, FYI.
- Cool Down: Let the cake cool in the pan for about 10-15 minutes before carefully inverting it onto a wire rack to cool completely. Patience is a virtue, especially when cake is involved.
- Frost & Devour: Once completely cool (seriously, wait!), frost it with your chosen vegan chocolate frosting. Slice, serve, and accept all the compliments. You earned them!
Common Mistakes to Avoid
- Skipping the vinegar: Rookie move! That vinegar reacts with the baking soda to give your cake lift. Without it, you’ll get a dense brick, not a fluffy dream.
- Overmixing the batter: This is a biggie. Mixing too much develops the gluten, making your cake tough and chewy. We want tender, not tire rubber.
- Not waiting for the cake to cool before frosting: Unless you like melted frosting rivers and a messy cake, let it cool completely. I’ve learned this the hard way.
- Eyeballing ingredients: Look, I love spontaneity, but baking is a science. Measure your ingredients, please!
Alternatives & Substitutions
- Flour power: All-purpose works great, but you can totally experiment with a good gluten-free all-purpose blend if that’s your jam. Just make sure it’s one designed for baking.
- Sugar swaps: Granulated sugar is classic, but you could try brown sugar for a slightly deeper, molasses-y flavor. Just stick to the same quantity.
- Oil options: Vegetable oil is neutral, but melted coconut oil (liquid form) works beautifully too and adds a subtle hint of… well, coconut. Olive oil? Maybe not for cake, unless you’re feeling *really* adventurous. (I wouldn’t, IMO.)
- Flavor boosters: Want to get fancy? Add a teaspoon of instant espresso powder to the dry ingredients – it won’t make it coffee-flavored, but it *will* deepen the chocolatey goodness. Trust me on this one.
FAQ (Frequently Asked Questions)
- “Can I make this into cupcakes?” Absolutely! Just fill cupcake liners about two-thirds full and bake for 20-25 minutes. Hello, portion control (or lack thereof, no judgment).
- “My cake came out dry, what went wrong?” Uh oh! Did you overbake it? Oven temps vary, so start checking around the 25-minute mark. Also, measure your liquids and fats accurately!
- “Can I use regular cow’s milk and butter instead of vegan alternatives?” Well, technically yes, but then it wouldn’t be *vegan*, would it? And the recipe is specifically formulated for the acid reaction with vinegar and non-dairy milk, so results might differ. Why hurt your soul like that? Stick to the plan!
- “How long does this cake last?” If you can resist eating it all in one go, it’ll stay fresh in an airtight container at room temperature for 3-4 days. In the fridge, maybe a bit longer. In *my* house? About 3-4 hours.
- “What kind of frosting should I use?” Whatever makes your heart sing! Store-bought vegan chocolate frosting is super easy. Or, if you’re feeling ambitious, a simple vegan ganache (melted vegan chocolate with hot non-dairy cream) is divine.
- “Do I *really* need the vinegar?” Yes, my friend, yes! It’s not there for taste; it’s there to activate the baking soda and give you that light, fluffy texture. Don’t skip your science experiment!
Final Thoughts
So there you have it, your new go-to vegan chocolate cake recipe! Easy, delicious, and guaranteed to make you feel like a kitchen wizard, even if your biggest culinary achievement before this was microwaving popcorn. Now go impress someone—or yourself—with your new culinary skills. You’ve earned it! And maybe save me a slice?


