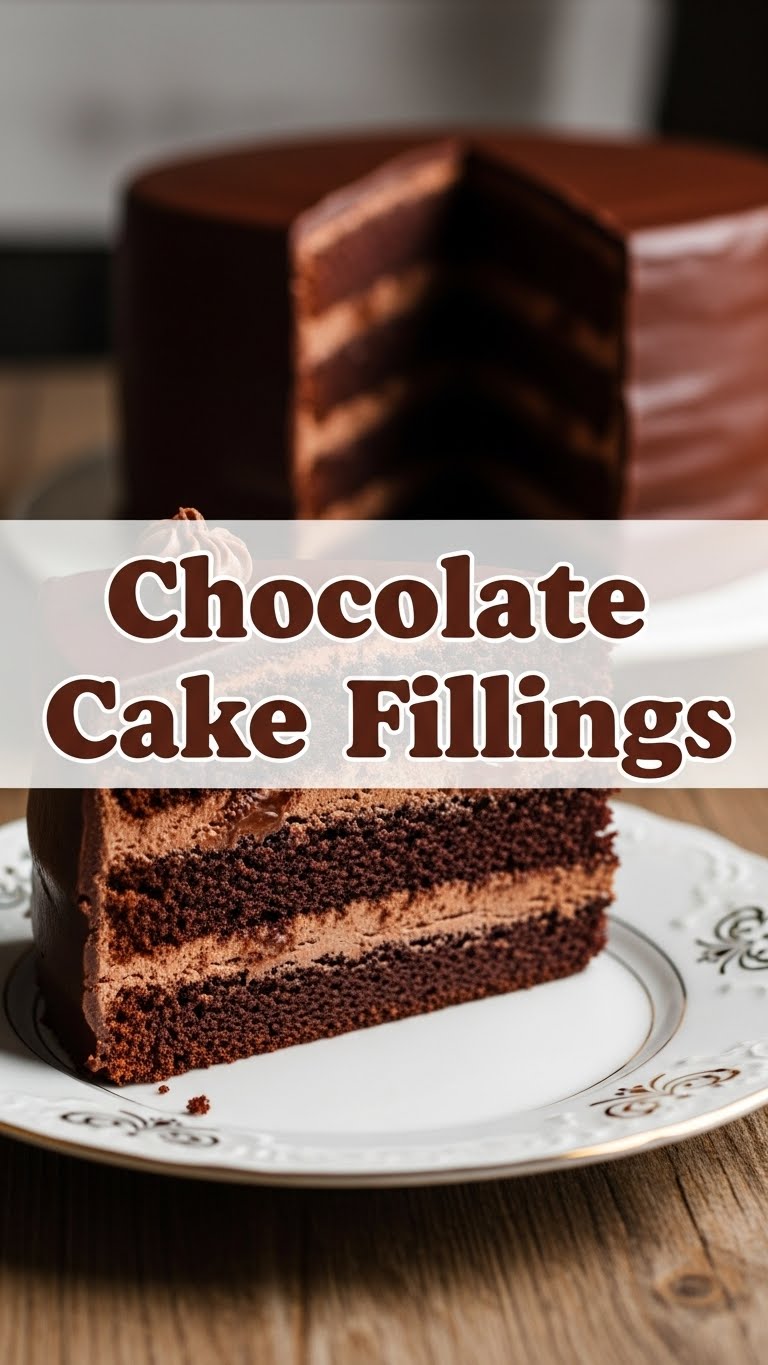
Alright, my friend, so you’ve baked a chocolate cake. Awesome! But now what? Just… eat it plain? *Gasp!* No way, we’re better than that. We’re going to jazz it up, make it sing, make it the Beyoncé of chocolate cakes. Let’s talk fillings, because honestly, a cake without a killer filling is just a really tall biscuit.
Why These Fillings Are Awesome
Because plain cake is like a concert without the headliner. And who needs complicated when you have delicious, right? This isn’t just about *a* recipe; it’s about a mindset of cake-filling mastery. We’re taking your chocolate cake from “meh” to “OMG, can I have another slice and maybe the recipe too?” Plus, most of these are practically idiot-proof. Seriously, if I can whip them up without setting off the smoke alarm, you’re golden.
These aren’t just fillings; they’re the secret weapons in your dessert arsenal. They’re quick, they’re versatile, and they’ll make people think you spent hours slaving away. Spoiler alert: you didn’t. 😉
Ingredients You’ll Need
Here are a few of my go-to, tried-and-true choc-cake champions. Pick your fighter!
- For the Classic Chocolate Ganache:
- Heavy Cream: About 1/2 cup (120ml). Full fat, please. This is not the time for skim milk, unless you’re into watery sadness.
- Good Quality Dark Chocolate: 4 oz (about 1 cup of chips or a chopped bar). The better the chocolate, the happier your soul will be. Trust me on this.
- For the Tangy Raspberry Swirl:
- Good Quality Raspberry Jam or Preserves: About 1 cup. Grab one with actual fruit chunks; it makes a difference.
- A Teeny Tiny Splash of Lemon Juice (Optional): Like, 1/2 tsp. Just brightens things up a bit, like a tiny culinary highlighter.
- For the Peanut Butter Dream Cream:
- Unsalted Butter: 1/2 cup (1 stick), softened. Let it sit on the counter for a bit; patience is a virtue here.
- Creamy Peanut Butter: 1/2 cup. The smooth kind, unless you like chunky surprises in your cake. Your call, I won’t judge.
- Powdered Sugar (Confectioners’ Sugar): 2-3 cups, sifted. Because nobody likes a lumpy frosting.
- Milk or Heavy Cream: 2-4 tablespoons. Just enough to get it to that dreamy consistency.
- Vanilla Extract: 1 teaspoon. The magic ingredient.
Step-by-Step Instructions
Alright, let’s get those cakes filled! Don’t overthink it; we’re going for delicious, not perfection.
Making Classic Chocolate Ganache:
- Grab your good quality chocolate and chop it into small, even pieces if you’re not using chips. Pop it into a heatproof bowl.
- Pour the heavy cream into a small saucepan. Heat it over medium heat until it just begins to simmer around the edges – don’t let it boil vigorously!
- Immediately pour the hot cream over your chocolate. Let it sit undisturbed for about 5 minutes. This gives the chocolate a chance to melt and get cozy.
- After 5 minutes, grab a whisk and gently stir the mixture from the center outwards until it’s beautifully smooth and glossy. Your kitchen just got a whole lot fancier.
- Now comes the hard part: patience. Let the ganache cool down at room temperature for at least 1-2 hours, stirring occasionally. It needs to be thick enough to spread without oozing everywhere. FYI, you can also pop it in the fridge for 30-45 mins, stirring every 10 mins, to speed things up.
Prepping Tangy Raspberry Swirl:
- Honestly, this one is barely a “recipe.” Open your jar of good quality raspberry jam.
- If you want it a little looser and easier to spread, you can gently warm it in a microwave-safe bowl for 15-20 seconds. Give it a stir.
- Stir in that tiny splash of lemon juice if you’re feeling fancy.
- And… that’s it! Spread it generously on your chocolate cake layers. See? Told ya it was easy.
Whipping Up Peanut Butter Dream Cream:
- In a large bowl, using an electric mixer (or just some good old arm strength), beat your softened butter until it’s light and fluffy. This takes about 2-3 minutes.
- Add the creamy peanut butter to the bowl and beat it together with the butter until well combined and smooth.
- Gradually add the sifted powdered sugar, about 1 cup at a time, beating well after each addition. The mixture will start to look crumbly – don’t panic!
- Now, slowly add the milk or cream, one tablespoon at a time, beating until you reach your desired consistency. You want it smooth and spreadable, but not runny.
- Finally, stir in the vanilla extract. Give it one last good whip until it’s light and fluffy. Taste test, obviously. Adjust sweetness or PB flavor if needed.
Common Mistakes to Avoid
Listen, we all make mistakes. But these are the ones that will make your cake cry. Let’s keep those cakes happy!
- Boiling the Cream for Ganache: Rookie mistake! If your cream boils, it can scorch and curdle, giving your ganache a weird texture. Just a gentle simmer, folks.
- Using Low-Quality Chocolate: Seriously, this is a filling. It’s the star. Don’t cheap out on the chocolate. Your taste buds (and anyone you share with) will know.
- Rushing the Cooling Process: Trying to spread warm ganache is like trying to ice-skate uphill. It’ll just slide off. Let it cool until it’s thick enough to hold its shape.
- Ignoring Butter/Cream Cheese Temperature: For buttercreams (like our peanut butter one), always use softened butter. If it’s too cold, you’ll get lumps. If it’s melted, you’ll get a soupy mess. Temperature matters!
- Over-mixing Once Powdered Sugar is Added: For buttercreams, once you add the powdered sugar, mix until just combined, then beat on high for a minute or two for fluffiness. Over-mixing can incorporate too much air, making it less stable.
Alternatives & Substitutions
Feeling adventurous? Good! Here are some fun ways to mix things up:
- Different Berry Jams: Don’t like raspberry? Strawberry, cherry, or even apricot jam works beautifully with chocolate. Go wild with your fruit bowl!
- Nutella Instead of Peanut Butter: Swap out the peanut butter for Nutella in the buttercream recipe. Hello, chocolate-hazelnut heaven! IMO, you can’t go wrong here.
- Cream Cheese Frosting: Add some tang by whipping up a cream cheese frosting. It’s a classic for a reason, especially with chocolate.
- Salted Caramel: A drizzle of homemade or good quality store-bought salted caramel can elevate any chocolate cake. It’s a sweet and salty match made in heaven.
- Add a Splash of Booze: Want to make it adult-friendly? A tablespoon of Kahlúa, Baileys, or rum stirred into your ganache or buttercream can add a delightful kick.
FAQ (Frequently Asked Questions)
Got questions? I’ve got (casual) answers!
- Can I make these fillings ahead of time? Absolutely! Most of these (ganache, buttercream) are great made a day or two in advance. Store ganache at room temp (if using same day) or in the fridge, and buttercream in an airtight container in the fridge. Just bring buttercream to room temp and re-whip before using.
- How long do these fillings last in the fridge? Generally, about 3-5 days. Ganache and jam will last longer than buttercreams with dairy, but always cover them tightly.
- What if my ganache is too thin/thick? If it’s too thin, let it cool longer (or pop it in the fridge for a bit). Too thick? Gently warm it over a double boiler or in short bursts in the microwave, stirring until it’s just right.
- Can I use a store-bought chocolate frosting as a filling? Well, technically yes, but why hurt your soul like that? You’re better than that, my friend! We’re making *homemade* deliciousness here. But hey, in a pinch, do what you gotta do.
- What’s the best way to get even layers of filling? A good old offset spatula is your best friend. Or, if you’re feeling precise, pipe a border of frosting around the edge of the cake layer, then fill the middle.
- Can I use frozen fruit for the jam filling? You totally could, but you’d need to cook it down with a bit of sugar and maybe some pectin to make your own jam first. For a quick fix, stick with store-bought jam.
Final Thoughts
So there you have it, my friend. A whole world of deliciousness to explore. Filling a cake doesn’t have to be intimidating; it’s just another excuse to play with food and make something incredibly tasty. Your chocolate cake is now destined for greatness.
Now go forth and fill those cakes! Your taste buds (and anyone you share with) will thank you. **Seriously, you’re practically a pastry chef now.** Go on, get baking… I mean, filling!

