So, you’ve scrolled through Instagram and seen those ridiculously pretty cakes, right? And then you thought, “Nope, not for me, I’ll stick to a brownie.” Well, what if I told you we could make something just as gorgeous, but with minimal fuss and maximum chocolatey goodness? Enter: Chocolate Cake Flowers! Get ready to impress everyone (including yourself) without breaking a sweat.
Why This Recipe is Awesome
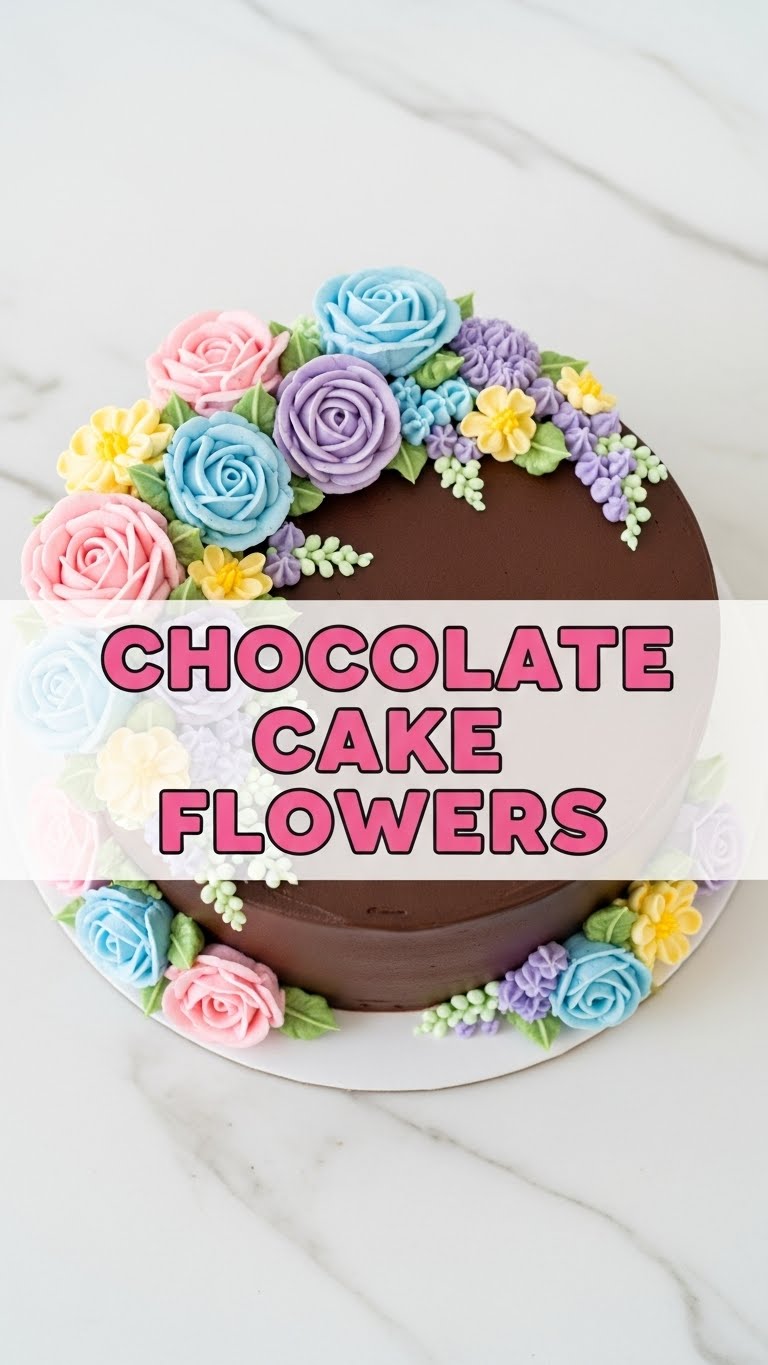
Okay, let’s be real. This isn’t just a chocolate cake. It’s the chocolate cake that looks like you spent hours at a fancy patisserie but only required a fraction of the effort. It’s **foolproof**, seriously. Even if your culinary adventures usually end in a smoke alarm concert, you got this. Plus, who doesn’t love edible flowers that are actually chocolate? This recipe delivers on moistness, rich flavor, and that “how did you even do that?!” factor. It’s pretty, it’s delicious, and it’s surprisingly simple. Win-win-win!
Ingredients You’ll Need
Gather your troops, er, ingredients! Here’s what you’ll need to make this magic happen:
For the Cake:
- 1 ½ cups all-purpose flour: The backbone of our deliciousness.
- 1 ½ cups granulated sugar: Sweet, sweet magic.
- ¾ cup unsweetened cocoa powder: Make sure it’s good quality, no sad, dusty stuff!
- 1 ½ tsp baking soda: Our lift-off agent.
- ¾ tsp salt: Balances all that sweetness and actually makes chocolate taste more chocolatey, FYI.
- 1 cup milk: Any kind works, even oat if you’re feeling fancy.
- ½ cup vegetable oil: Or canola, whatever’s lurking in your pantry.
- 1 tsp vanilla extract: Don’t skimp, it makes a huge difference.
- 1 cup boiling water: Secret weapon for extra moistness!
For the Frosting & Decoration:
- 1 cup (2 sticks) unsalted butter, softened: Not melted, not rock hard. Goldilocks zone, people.
- 3-4 cups powdered sugar: Sift it, trust me. No one likes lumpy frosting.
- ½ cup unsweetened cocoa powder: Again, quality matters.
- ¼ cup milk or cream: Adjust for desired consistency.
- 1 tsp vanilla extract: More vanilla, yay!
- Optional for flowers: Candy melts (white or colored) or extra melted chocolate, sprinkles, edible glitter.
Step-by-Step Instructions
- Preheat & Prep: Get your oven to 350°F (175°C). Lightly grease and flour a 9×13 inch baking pan or two 8-inch round pans. Line with parchment paper if you’re feeling extra.
- Dry Mix Fun: In a large bowl, **whisk together** flour, sugar, cocoa powder, baking soda, and salt. Make sure there are no lumps—we want smooth sailing!
- Wet Mix Wonders: Add the milk, oil, and vanilla extract to the dry ingredients. Beat with an electric mixer on medium speed for about 2 minutes until just combined. **Don’t overmix!** That’s a key to tenderness.
- The Hot Stuff: Carefully **stir in the boiling water**. The batter will be thin, but that’s perfectly okay. It’s exactly what makes this cake so ridiculously moist!
- Bake It Up: Pour the batter into your prepared pan(s). Bake for 30-35 minutes for a 9×13 pan, or 25-30 minutes for round pans, or until a toothpick inserted into the center comes out clean.
- Cool Down: Let the cake cool in the pan for 10-15 minutes before inverting onto a wire rack to **cool completely**. This is crucial for frosting! Patience is a virtue here.
- Frosting Time: While the cake chills out, **beat softened butter** until creamy. Gradually add powdered sugar and cocoa powder, alternating with milk/cream and vanilla, until smooth and fluffy. Taste and adjust sweetness/chocolatey-ness.
- Decorate: Once the cake is fully cool, frost it. For the “flowers,” you can pipe simple rosettes with a star tip, or get fancy: melt your candy melts/chocolate, spread thinly on parchment paper, let set slightly, then cut out petal shapes and arrange them on the frosted cake. Sprinkles are always a good idea!
Common Mistakes to Avoid
Baking is science, but sometimes the ‘human error’ element creeps in. Here’s how to sidestep the most common blunders:
- Not preheating your oven: Seriously, that’s like trying to run a marathon without stretching. **Always preheat!** Your cake won’t rise properly otherwise.
- Overmixing the batter: You want a tender crumb, not a tough, rubbery one. Mix until *just* combined, then stop. Walk away from the mixer.
- Not letting the cake cool completely: Trying to frost a warm cake is a one-way ticket to melted, runny frosting and sad, crumbly cake. **Patience, my friend.** Seriously, wait it out.
- Skimping on good quality cocoa: Your chocolate cake will taste like dusty sadness instead of rich indulgence. Spend a little extra, it’s worth it!
- Ignoring the “softened butter” instruction: Trying to beat cold butter into submission is a workout you didn’t ask for, and it won’t yield smooth, fluffy frosting.
Alternatives & Substitutions
Baking should be fun and flexible! Here are some ideas to switch things up:
- Milk: Any kind works! Almond, oat, soy – go nuts (pun intended). For a richer cake, use whole milk or even buttermilk for a subtle tang.
- Oil: Vegetable oil is neutral, but if you want a subtle flavor, a light olive oil can work. Just avoid strong ones like extra virgin.
- Cocoa Powder: Dutch-processed cocoa will give you a darker, less bitter chocolate flavor. Regular unsweetened is fine too, but Dutch-processed really shines here.
- Frosting: Not a fan of chocolate frosting (gasp!)? Use a vanilla buttercream and color it. Or a cream cheese frosting would be absolutely divine.
- Decorations: Instead of chocolate petals, try fresh raspberries around the edge, or some edible flowers if you’re feeling extra fancy (and know they’re safe to eat!). Simple sprinkles and chocolate shavings also look great.
FAQ (Frequently Asked Questions)
Got questions? I’ve got answers (and probably a few jokes too).
- Can I make this dairy-free? Absolutely! Use plant-based milk, dairy-free butter alternative for the frosting, and ensure your chocolate/cocoa is dairy-free. Easy peasy.
- My cake is dry, what did I do wrong? Probably overbaked it. **Oven temps can vary**, so start checking a few minutes before the minimum bake time. A toothpick should come out with moist crumbs, not liquid batter, but not totally dry either.
- Can I make this as cupcakes? Duh! Just reduce the baking time to about 18-22 minutes. Keep an eye on them; they bake faster than a full cake.
- How long does this cake last? Covered, at room temp, about 3-4 days. In the fridge, maybe up to a week. But honestly, it won’t last that long, it’s too good!
- Chocolate flowers seem hard, any simpler ideas? You bet! Just pipe simple rosettes with the frosting using a star tip, or melt chocolate, drizzle it onto parchment in squiggles, let it set, and then break it into shards to stick on the cake. Still looks artsy!
- Can I use instant coffee? You sneaky genius! A teaspoon of instant coffee dissolved in the boiling water won’t make it taste like coffee, but it’ll **deepen the chocolate flavor** incredibly. Highly recommend, IMO.
Final Thoughts
See? That wasn’t so scary, was it? You just whipped up a show-stopping chocolate cake that looks fancy AF but was secretly a breeze. Now go impress someone—or yourself—with your new culinary skills. You’ve earned it! Grab a slice (or three) and bask in your baking glory. You deserve it, chef!


