Ever stare at a plain chocolate cake and think, “You’re good, but you could be *more*?” Like, Beyoncé in a tracksuit versus Beyoncé in full sequined glory? We’re taking that cake from tracksuit to sequin, my friend, with minimal effort and maximum floral fabulousness. Get ready to sprinkle some magic (and actual flowers) on your next chocolate creation!
Why This Recipe is Awesome
Okay, so you want to impress someone (or just yourself, no judgment) without spending three days in the kitchen, right? This ‘Flowers On Chocolate Cake’ thing is basically the cheat code for looking fancy. It’s so simple, even your cat could probably do it – if your cat had opposable thumbs and an interest in baking, which… maybe it does?
The best part? **It looks like you put in WAY more effort than you actually did.** It’s like culinary magic, but without the questionable top hat. Plus, it’s a fantastic way to elevate a store-bought cake (we’re all about smart shortcuts here, no shame!).
Ingredients You’ll Need
- **A Chocolate Cake:** Store-bought, homemade, from your grandma’s secret recipe file – we’re not judging your life choices here. Any size works, from a dainty 6-inch to a grand 10-inch masterpiece.
- **Frosting:** Again, store-bought is your BFF. Chocolate, vanilla, cream cheese… whatever makes your heart sing. Just make sure it’s spreadable!
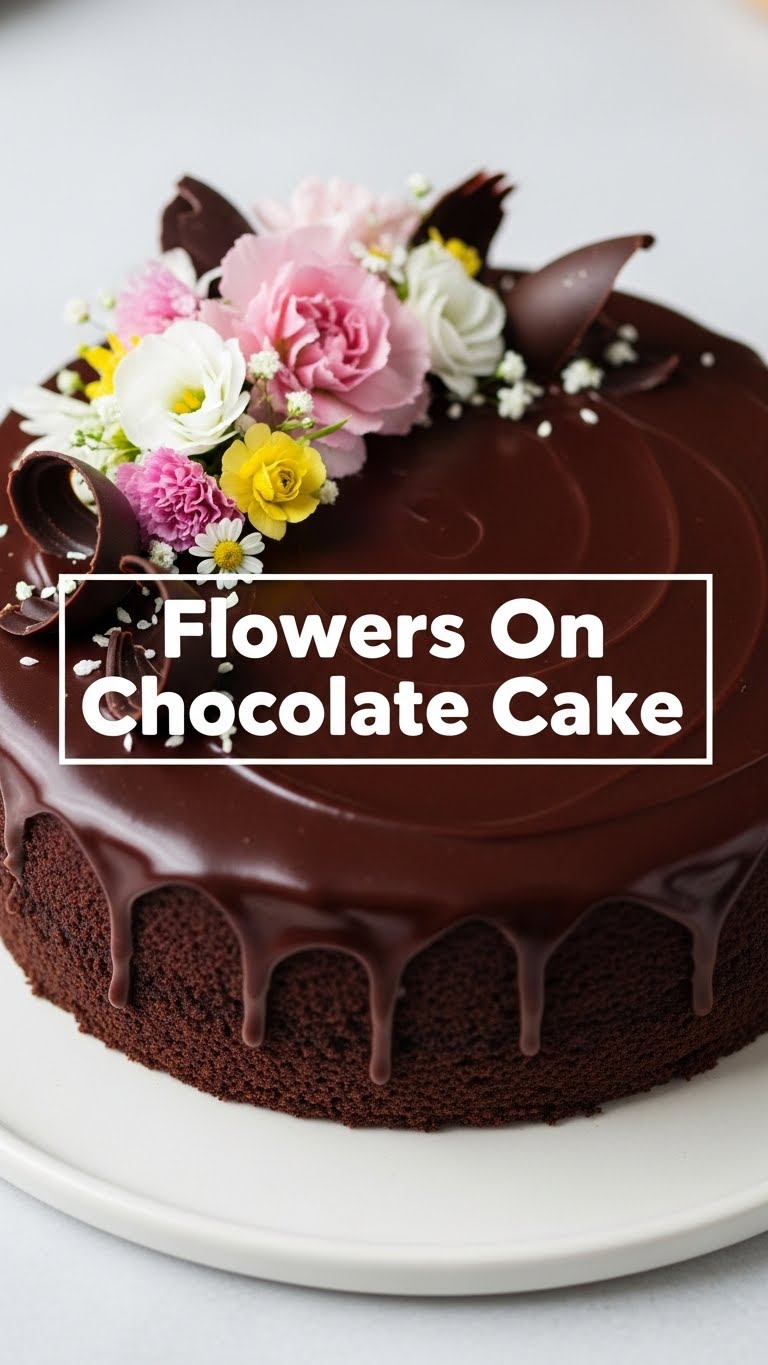
- **Edible Flowers:** The undeniable stars of the show! Think pansies, violets, rose petals, calendula, nasturtiums, borage, or even tiny snapdragons. **Seriously, make sure they are 100% edible and pesticide-free.** Unless you’re into a very specific kind of rebellion, this is not a step to skip.
- **A little water:** For rinsing the flowers, not for you… unless you’re thirsty, then grab a glass!
- **Paper towels:** For gently patting those delicate petals dry.
Step-by-Step Instructions
- **Get Your Cake On:** Unwrap that glorious chocolate cake. If it’s homemade, let it cool completely. No one likes melted frosting, and definitely no one wants a soggy cake. Patience, young grasshopper.
- **Frost It Good:** Spread your chosen frosting evenly over the top and sides of the cake. Don’t stress about perfection; rustic chic is totally in right now. A little swirl here, a slightly uneven edge there – it adds character!
- **Prep the Petals:** Gently rinse your edible flowers under cool, running water. Be super delicate, like you’re handling tiny, floral babies. Then, very gently, pat them *very* dry with a paper towel. Wet flowers droop, and we’re going for vibrant, not tragic.
- **Arrange and Adorn:** Now for the fun part! Artfully place your flowers on the cake. You can scatter them randomly for a whimsical vibe, create a clustered bouquet in the center, or line them up like little floral soldiers around the edge. **Trust your artistic instincts here!** There’s no wrong way to do it.
- **Chill Out (Optional):** If you’re not serving immediately, pop the cake in the fridge for about 15-30 minutes. It helps everything set nicely, especially the frosting and the flowers.
Common Mistakes to Avoid
- **Using non-edible flowers:** Uh, unless you *want* to call poison control, double-check your flowers, friend. Seriously, Google is your friend here.
- **Forgetting to wash/dry the flowers:** Dirty flowers are a no-go, and wet flowers slide right off the cake like it’s a slip-n-slide. Rookie mistake!
- **Overthinking the arrangement:** It’s cake, not the Sistine Chapel. Relax and have fun with it! A few random petals often look more natural and charming than a meticulously planned arrangement.
- **Thinking you need a perfectly smooth cake:** Nope! Imperfection adds character. Embrace the ‘homemade’ look, even if it’s a doctored up store-bought masterpiece.
Alternatives & Substitutions
- **Cake Flavor:** While chocolate is classic for a reason (and let’s be real, a universally loved canvas), any cake flavor works! Vanilla, lemon, red velvet… whatever floats your cake boat.
- **Frosting Type:** Cream cheese, buttercream, ganache – whatever makes your tastebuds tingle and pairs well with your chosen cake. Just ensure it’s firm enough to hold the flowers.
- **No edible flowers handy?** You could try candied citrus peel for a pop of color, fresh berries (raspberries, blueberries, sliced strawberries) for a different kind of natural beauty, or even some artfully placed mint leaves for a touch of green. Not quite the same floral vibe, but still pretty!
FAQ (Frequently Asked Questions)
- **Where do I even get edible flowers?** Farmer’s markets are your best bet, specialty grocery stores sometimes carry them, or if you’re brave, your own garden (just be 100% sure they’re edible and pesticide-free!). Online retailers also exist, FYI.
- **How long will the flowers last on the cake?** They’re delicate! Best to decorate right before serving. They’ll generally look good for a few hours at room temp, maybe a day in the fridge, but they’ll wilt eventually. So, time it right!
- **Can I use synthetic flowers for decoration?** You *can*, but please remove them before serving! No one wants a plastic surprise in their slice. **BTW, real is always better for that ‘wow’ factor.**
- **What if I’m terrible at decorating?** Impossible! Just scatter them. Seriously, it’s hard to mess up. The randomness often looks more natural and charming than a meticulously planned arrangement. You’ve got this!
- **Do edible flowers taste good?** Some are quite mild (pansies, violas), some have a peppery note (nasturtiums), and some are subtly sweet (rose petals). They’re mostly for aesthetics, but it’s a nice bonus if they add a little flavor!
- **Can I prepare the flowers in advance?** You can rinse and gently dry them, then store them in an airtight container lined with a damp paper towel in the fridge for a day or so. But for best results, prep them just before decorating.
Final Thoughts
See? Told you it was easy! Now you’ve got a gorgeous, Instagram-worthy chocolate cake that looks like it took hours, but actually only took minutes. Go on, pat yourself on the back! You’re basically a professional pastry artist now. Now go impress someone—or yourself—with your new culinary skills. You’ve earned it! **Don’t forget to snap a pic!**


