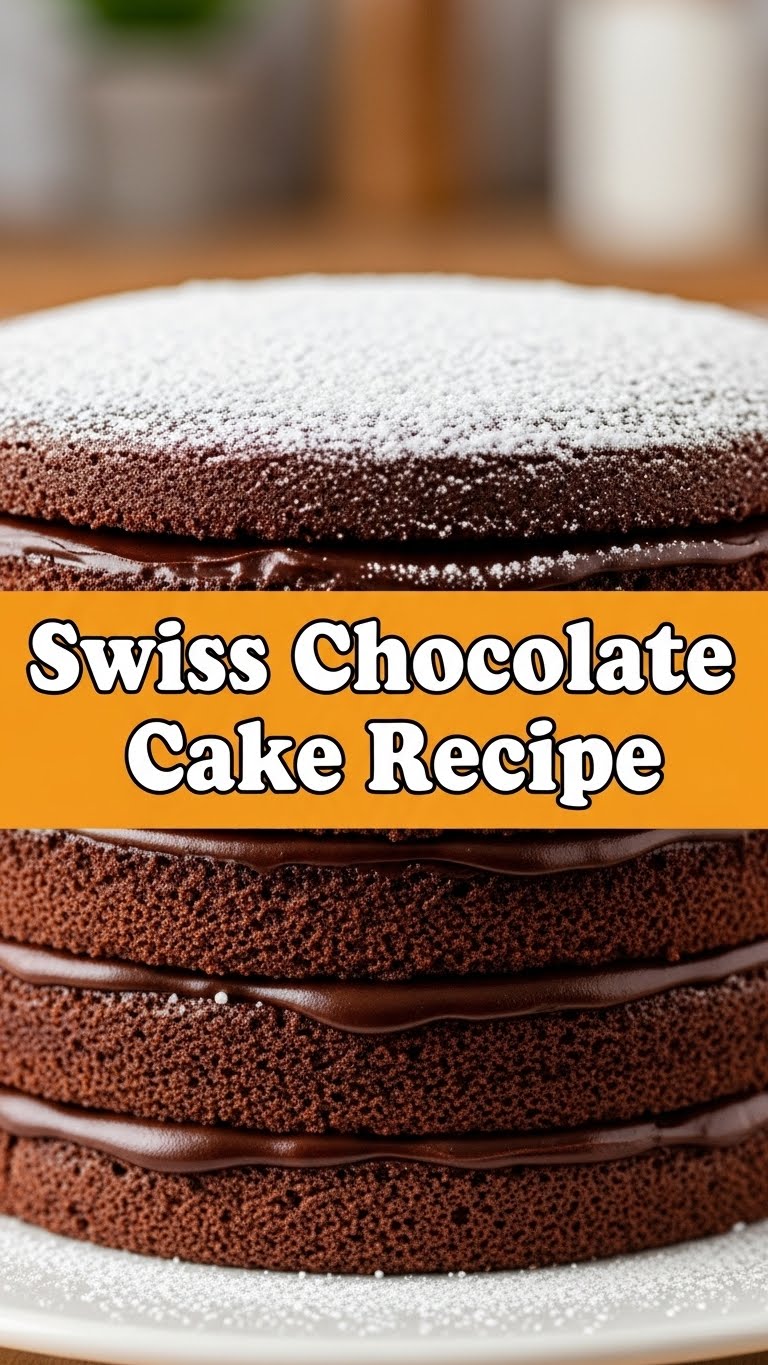
So, you’ve decided to dive into the wonderful, magical world of chocolate cake, eh? Good for you! But we’re not talking about just *any* chocolate cake. Oh no, my friend. We’re talking about a **Swiss Chocolate Cake**. Sounds fancy, tastes even fancier, but guess what? Your kitchen skills don’t need to be Michelin-star level for this one. This is for when you want to feel like a baking superstar without, you know, actually putting in superstar effort. Let’s get baking!
Why This Recipe is Awesome
Because it’s chocolate. Duh. But seriously, this isn’t just a cake; it’s an experience. It’s rich, it’s moist, and it’s ridiculously easy. We’re talking about a cake so straightforward, even I didn’t mess it up (and I once microwaved soup without water, so that’s saying something). It’s basically **idiot-proof**. Plus, it’s a total crowd-pleaser, perfect for impressing your significant other, your in-laws, or just your glorious self after a long week. You’ll look like a culinary genius, and no one needs to know how simple it actually was. Score!
Ingredients You’ll Need
Gather your troops, folks! Here’s what you’ll need to make this chocolatey dream a reality. Remember, quality ingredients make a difference, but don’t stress too much – we’re having fun here!
- For the Cake:
- 1 ¾ cups All-Purpose Flour: The regular stuff. No need for fancy, gluten-free, organic moon-dust flour unless that’s your jam.
- ¾ cup Unsweetened Cocoa Powder: This is where the chocolate magic happens. Go for good quality if you can; it really makes a difference, IMO.
- 1 ½ teaspoons Baking Soda: Our secret weapon for lift. Makes it rise like your hopes on a Friday.
- ½ teaspoon Salt: Just a pinch to balance out all that sweetness. Think of it as a tiny, delicious referee.
- 1 cup (2 sticks) Unsalted Butter: Softened, please! None of that rock-hard butter nonsense straight from the fridge. Your cake deserves better.
- 2 cups Granulated Sugar: The sweet stuff. Not too much, we don’t want a sugar rush that sends you to another dimension… unless that’s your goal.
- 2 Large Eggs: At room temperature, for maximum fluffiness. Don’t ask why, just trust me on this one.
- 1 teaspoon Vanilla Extract: Pure vanilla, none of that imitation stuff. It’s the little black dress of baking.
- 1 cup Buttermilk: Or regular whole milk. Buttermilk is a cheat code for tenderness, FYI.
- ½ cup Hot Water or Hot Coffee: Makes the chocolate flavor *pop*. Trust.
- For the Ganache Frosting:
- 1 cup Heavy Cream: Because fat equals flavor, my friend.
- 10 ounces Good Quality Dark Chocolate: Chopped. This isn’t the time for Hershey’s Kisses, unless you’re desperate.
- 1 tablespoon Unsalted Butter: To make it extra glossy and smooth. Because why not?
Step-by-Step Instructions
Alright, ovens at the ready! Let’s get this cake show on the road. Follow these steps, and you’ll be swimming in chocolatey goodness in no time.
Prep Your Stage:
Preheat your oven to 350°F (175°C). Grease and flour two 9-inch round cake pans. Don’t skimp on this part unless you enjoy fighting with a stuck cake. Line the bottoms with parchment paper if you’re feeling fancy (and smart).
Dry Mix Magic:
In a medium bowl, whisk together the flour, cocoa powder, baking soda, and salt. Give it a good whisk to make sure everything is evenly distributed. Set aside for a moment.
Wet Mix Whiz:
In a large bowl, cream together the softened butter and granulated sugar until light and fluffy. This usually takes about 2-3 minutes with an electric mixer. Then, beat in the eggs one at a time, making sure each is fully incorporated before adding the next. Stir in the vanilla extract.
Combine Forces:
With your mixer on low speed, gradually add the dry ingredients to the wet ingredients, alternating with the buttermilk. Start and end with the dry ingredients. Mix until *just* combined – **don’t overmix**, or your cake will be tough like a cheap steak.
The Hot Finish:
Pour in the hot water or coffee and mix until everything is smoothly incorporated. The batter will be thin, but that’s totally normal. Embrace the thinness!
Bake It ‘Til You Make It:
Divide the batter evenly between your two prepared cake pans. Bake for 30-35 minutes, or until a wooden skewer inserted into the center comes out clean. Resist the urge to open the oven door early, people!
Cool Down, Buttercup:
Let the cakes cool in the pans for about 10-15 minutes before inverting them onto a wire rack to cool completely. **This is crucial.** A warm cake will melt your frosting faster than ice cream on a summer day.
Ganache Glory:
While the cakes cool, let’s make that luscious ganache. Heat the heavy cream in a small saucepan over medium heat until it just begins to simmer around the edges. Remove from heat, add the chopped dark chocolate and butter, and let it sit for 5 minutes. Then, whisk until smooth and glossy. Let it cool slightly until it’s thick enough to spread (about 30-60 minutes).
Assemble & Devour:
Once your cakes are completely cool and your ganache is spreadable, stack ’em up! Spread a generous layer of ganache between the two cake layers, then frost the top and sides. Stand back, admire your masterpiece, and then dig in!
Common Mistakes to Avoid
We’ve all been there, my friend. Baking blunders are part of the journey. But here are a few common pitfalls to sidestep for a perfectly happy cake:
- Thinking you don’t need to preheat the oven: Rookie mistake! Your cake needs a hot, consistent environment to rise properly. Otherwise, it’s going to be sad and dense.
- Overmixing the batter: Ever wonder why your cake is tough? You probably beat it like it owed you money. **Gentle hands, people!** Mix until *just* combined.
- Opening the oven door too early: The cake is like a delicate soufflé in there; respect its privacy! Opening the door early is a recipe for a sunken center. Wait until at least 25 minutes in, then peek if you must.
- Not using room temperature ingredients: Science, yo! Cold ingredients don’t emulsify properly. Your cake will thank you for the extra 30 mins on the counter to warm up your butter and eggs.
- Not cooling the cake completely before frosting: This is a cardinal sin of baking. You’ll end up with a sliding, melting mess. Patience, grasshopper!
Alternatives & Substitutions
Life happens, and sometimes you don’t have *exactly* what the recipe calls for. No worries, we’re flexible! Here are a few swaps that won’t totally derail your delicious journey:
- No Buttermilk? No Problem! Add a tablespoon of lemon juice or white vinegar to regular milk (whole milk works best) and let it sit for 5-10 minutes. Voila! Instant buttermilk. You’re basically a kitchen magician.
- Can’t find fancy dark chocolate for ganache? Use good quality semi-sweet chocolate chips. It’ll still be delicious, just a tad sweeter. I won’t tell if you don’t!
- Want to deepen the chocolate flavor even more? Add 1-2 teaspoons of instant espresso powder or instant coffee granules to the dry ingredients. It won’t taste like coffee, just *more* intensely chocolatey. It’s a secret weapon for chocolate lovers.
- No two 9-inch pans? Bake it in one 9×13 inch pan for a sheet cake (adjust baking time, probably 35-40 mins). Or, make cupcakes! Just reduce baking time to about 20-25 minutes.
FAQ (Frequently Asked Questions)
Got questions? I’ve got (casual) answers!
- Can I use margarine instead of butter? Well, technically yes, but why hurt your soul like that? Butter just tastes better, period. Don’t skimp on happiness, my friend!
- My cake sank in the middle! What happened? Oh, the horror! Did you open the oven door too early? Or maybe your baking powder/soda is old? Check those dates, they lose their oomph over time!
- How long does this glorious cake keep? Assuming you don’t eat it all in one sitting (good luck with that!), it’ll last 3-4 days at room temp (covered), or a week in the fridge. But honestly, it rarely makes it past day two in my house.
- Can I make the cake layers ahead of time? Absolutely! The cake layers can be baked a day in advance, cooled completely, wrapped tightly in plastic wrap, and stored at room temperature. The ganache can also be made ahead and gently reheated. You’re a planner, I like that!
- What if my ganache is too thin/thick? If it’s too thin, let it cool longer (maybe pop it in the fridge for 10-15 mins, stirring occasionally). If it’s too thick, gently warm it over a double boiler or in the microwave for a few seconds until it loosens up. Easy peasy!
- Can I add nuts or chocolate chips to the batter? You sure can! Fold in about ½ cup of chopped nuts (walnuts, pecans) or chocolate chips right before pouring the batter into the pans. Go wild!
Final Thoughts
See? Not so scary, right? You just whipped up a Swiss Chocolate Cake that would make Heidi proud. You, my friend, are officially a domestic god/goddess. Now go impress someone – or yourself – with your new culinary skills. You’ve earned it! And maybe, just maybe, save me a slice?


