So, you’ve got that irresistible craving for something rich, chocolatey, and utterly decadent, but the thought of spending hours in the kitchen makes you want to curl up with a bag of chips instead, huh? Girl, same. We’ve all been there. But what if I told you there’s a chocolate cake so good, so moist, so *damn* easy, it practically bakes itself while you’re scrolling through cat videos? Prepare to have your mind (and taste buds) blown.
Why This Recipe is Awesome
Okay, let’s be real. Most “easy” recipes are either bland or still require a small engineering degree. Not this one. This glorious chocolate cake recipe is basically a magic trick in edible form. It’s **idiot-proof**, I swear. I’ve made it on days when my brain felt like scrambled eggs, and it still turned out phenomenal. We’re talking rich, dark, moist, and a total crowd-pleaser. Plus, it uses ingredients you probably already have lurking in your pantry. No fancy-pants stuff needed. It’s fast, it’s delicious, and it’ll make you feel like a culinary genius with minimal effort. What more could you ask for? A personal chef? Dream big, but start here.
Ingredients You’ll Need
Gather ’round, my sweet-toothed friends. Here’s your shopping list. (Don’t worry, it’s short and sweet, just like your attention span on a sugar low.)
- 1 ½ cups all-purpose flour: The backbone of our cake. No, you can’t use almond flour unless you’re feeling adventurous and like dense cakes.
- 1 ½ cups granulated sugar: Sweetness, obviously. Don’t skimp, this is chocolate cake, not health food.
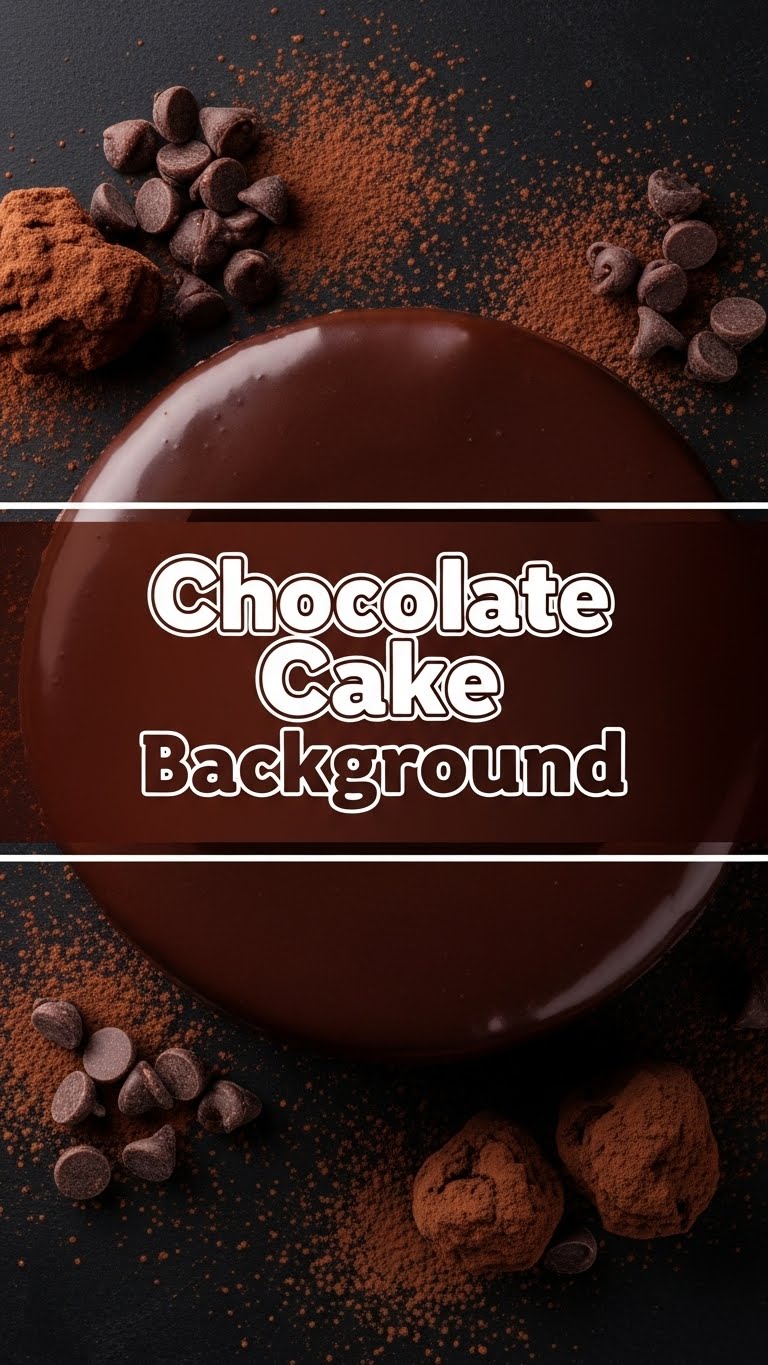
- ¾ cup unsweetened cocoa powder: The chocolatey star of the show! Use good quality stuff; it really makes a difference.
- 1 ½ teaspoons baking soda: Our magical leavening agent. Gives it that beautiful rise.
- 1 teaspoon salt: Balances everything out and enhances the chocolate flavor. Don’t skip it, even if you think salt in dessert is weird. Trust me.
- 1 cup whole milk (or buttermilk): Adds moisture and tenderness. Buttermilk makes it extra tangy and delicious!
- ½ cup vegetable oil: Keeps it super moist. No butter needed here, so less waiting for it to soften!
- 2 large eggs: Binders, baby. They hold the party together.
- 2 teaspoons vanilla extract: A hug for your taste buds. Use the good stuff, not the imitation junk.
- 1 cup boiling water: Our secret weapon! It blooms the cocoa and makes the batter wonderfully thin and easy to mix.
Step-by-Step Instructions
Alright, apron on (or not, I don’t judge). Let’s get baking!
- Preheat & Prep: First things first, get that oven heated to 350°F (175°C). Then, grease and flour a 9×13 inch baking pan. Or line it with parchment paper if you’re feeling fancy and hate sticking.
- Whisk the Dry Stuff: In a large bowl, whisk together the flour, sugar, cocoa powder, baking soda, and salt. Make sure there are no lumps of cocoa powder giving you attitude.
- Add the Wet (Mostly): Pour in the milk, oil, eggs, and vanilla extract. Beat it with an electric mixer on medium speed for about 2 minutes, until it’s just combined and relatively smooth. Don’t overmix!
- The Hot Secret: Carefully, and I mean *carefully*, pour in the boiling water. The batter will be thin, don’t panic! It’s supposed to be like that. Mix on low speed until just combined.
- Pour & Bake: Pour the gloriously thin batter into your prepared pan. Pop it into the preheated oven for 30-35 minutes.
- Check for Doneness: The cake is done when a wooden skewer or toothpick inserted into the center comes out clean. If it’s gooey, give it a few more minutes.
- Cool Down: Let the cake cool in the pan on a wire rack for about 10-15 minutes before attempting to flip it out. Then, cool completely before frosting. This is the hardest part, IMO.
Common Mistakes to Avoid
We’ve all been there, staring at a slightly sad cake wondering where we went wrong. Learn from my past kitchen mishaps!
- Not Preheating the Oven: Rookie mistake! Your cake needs a hot, consistent temperature to rise properly. Don’t rush it.
- Overmixing the Batter: Once you add the wet ingredients, mix *just* until combined. Overmixing develops the gluten, leading to a tough, dry cake. Nobody wants that.
- Opening the Oven Door Too Soon: Resist the urge! Opening the door before the cake is set can cause it to sink in the middle. Give it at least 25 minutes before you peek.
- Skipping the Greasing/Flouring: Unless you *enjoy* scraping stuck cake bits from your pan, don’t skip this step. A well-greased and floured pan is your best friend.
- Not Using Boiling Water: This step is key for blooming the cocoa powder, which intensifies the chocolate flavor and contributes to the cake’s moistness. Don’t just use hot tap water; it needs to be *boiling*.
Alternatives & Substitutions
Feeling rebellious? Or just ran out of something vital? No sweat!
- No Whole Milk? Buttermilk is fantastic for extra tang and moisture. If you only have regular milk, you can **make your own “buttermilk”** by adding 1 tablespoon of white vinegar or lemon juice to a measuring cup, then filling the rest with regular milk to 1 cup. Let it sit for 5 minutes until it curdles slightly.
- No Vegetable Oil? Canola oil or any other neutral-flavored oil works perfectly. Avoid olive oil unless you want your cake to taste… interesting.
- Gluten-Free Version: You *can* substitute with a 1:1 gluten-free baking flour blend, but make sure it contains xanthan gum. The texture might be slightly different, but it’ll still be chocolatey goodness.
- Coffee Boost: For an even deeper chocolate flavor, try substituting the boiling water with **hot brewed coffee**. It really makes the chocolate sing!
- Frosting Fun: This cake is amazing with a simple chocolate buttercream, cream cheese frosting, or even just a dusting of powdered sugar. Or, honestly, just eat it plain with a fork. No judgment here.
FAQ (Frequently Asked Questions)
Got questions? I’ve got (casual) answers!
- Can I make this into cupcakes? Absolutely! Fill cupcake liners about 2/3 full and bake for 20-25 minutes. Makes about 24 cupcakes. So cute!
- My cake sank in the middle, what gives? Ah, the dreaded sinkhole! Most likely, you either opened the oven door too early, or your baking soda isn’t fresh (yes, it expires!), or you overmixed. Check your ingredients and oven habits!
- How long does this cake last? Covered tightly at room temperature, it’s usually good for 3-4 days. In the fridge, maybe a day or two longer, but it’s best at room temp. FYI, it rarely lasts that long in my house.
- Can I freeze chocolate cake? Heck yes! Wrap individual slices or the whole cooled cake tightly in plastic wrap, then foil. It’ll last for up to 2-3 months. Thaw at room temperature.
- What if I don’t have good quality cocoa powder? Will it matter? Honestly, yes. A high-quality Dutch-processed cocoa powder will give you a richer, darker, less bitter chocolate flavor. But if you only have regular, it’ll still be tasty, just maybe not *epic*.
- I forgot to add the vanilla. Is it ruined? Not ruined, but it won’t have that lovely aromatic depth. It’ll still be chocolatey, just a little less “oomph.” Don’t beat yourself up over it!
Final Thoughts
So there you have it, folks! Your new go-to chocolate cake recipe that’ll impress everyone (including yourself) without breaking a sweat. This isn’t just a cake; it’s a mood-lifter, a party-starter, and proof that deliciousness doesn’t have to be complicated. Now go whip up this chocolatey masterpiece, grab a slice (or three), and enjoy every single crumb. You’ve earned it!


