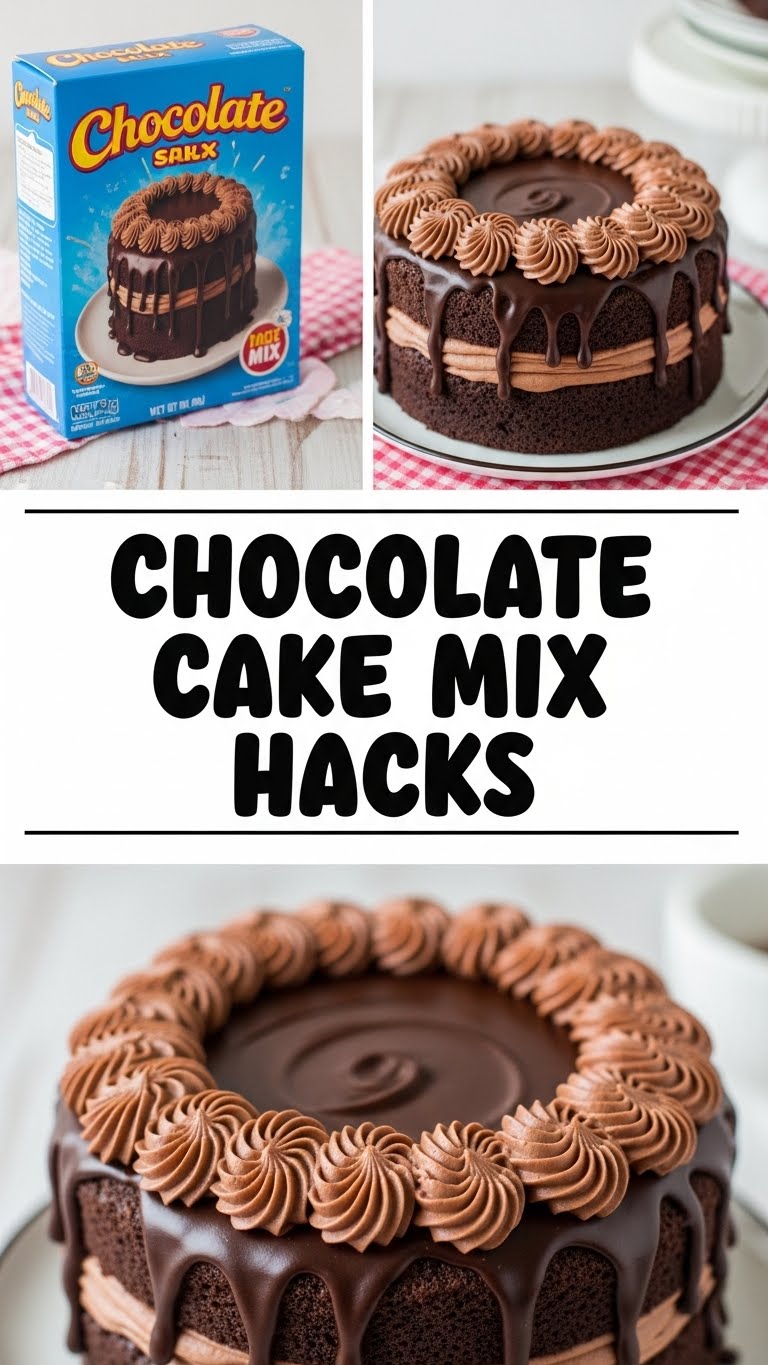
So you’re craving something rich, chocolatey, and utterly decadent, but the thought of sifting flour and measuring cocoa powder makes you want to curl up in a ball and cry? Same, friend. Same. We all have those days when the ambition level is… minimal. But guess what? You can still whip up a show-stopping chocolate cake that tastes like you spent hours on it, all thanks to the humble, glorious box of cake mix. We’re talking next-level delicious with barely any effort. Let’s hack this baby!
Why This Recipe is Awesome
Okay, let’s be real. This isn’t just a recipe; it’s a *life hack* for your sweet tooth. It’s awesome because:
- It’s practically **idiot-proof**. Seriously, even I haven’t messed this up, and I once set off a smoke alarm making toast.
- It takes a cheap, cheerful box of cake mix and elevates it to “gourmet dessert chef” status. Your friends will think you’re a culinary genius. Let them!
- **Minimal dishes.** This is key, people. Less scrubbing, more eating.
- It’s faster than ordering takeout and infinitely more satisfying. Instant gratification, baby!
Ingredients You’ll Need
Gather your weapons, chef! Here’s what you’ll need for this delicious deception:
- **1 box chocolate cake mix** (Any brand, any type – devil’s food, dark chocolate, triple chocolate… go wild!)
- **1 cup milk** (Whole milk is best for richness, but whatever’s in your fridge works. Almond milk? Oat milk? You do you.)
- **½ cup unsalted butter, melted** (Yes, *butter*. Don’t even think about oil for this one, unless you want less flavor and more regret. Just kidding… mostly.)
- **3 large eggs** (Room temp if you’re feeling fancy, but straight from the fridge is usually fine too, rebel.)
- **1 teaspoon vanilla extract** (A little hug for your cake.)
- **½ cup sour cream or plain Greek yogurt** (This is our secret weapon for moistness. Don’t skip it!)
- **Optional: ½ cup chocolate chips or chunks** (Because more chocolate is always the answer, right?)
Step-by-Step Instructions
- **Preheat Your Oven & Prep Your Pan:** First things first, get that oven to 350°F (175°C). Then, grease and flour a 9×13 inch baking pan, or two 8 or 9-inch round cake pans. Don’t be lazy here; sticking is sad.
- **Whisk the Wet Wonders:** In a large bowl, whisk together the milk, melted butter, eggs, vanilla extract, and sour cream (or yogurt) until everything is nicely combined. No lumps, please!
- **Introduce the Mix:** Pour the entire box of cake mix into your wet ingredients. Mix on low speed with an electric mixer, or by hand with a whisk, until *just* combined. Do not overmix! Overmixing leads to dry, sad cakes, and we don’t want that.
- **Fold in the Fun (Optional):** If you’re adding chocolate chips, gently fold them in now.
- **Bake It Up:** Pour the batter evenly into your prepared pan(s). Bake according to the cake mix box directions, or until a toothpick inserted into the center comes out clean. Usually, it’s around 30-35 minutes for a 9×13, or 25-30 for round pans.
- **Cool Down, Buttercup:** Let the cake cool in the pan for about 10-15 minutes before inverting it onto a wire rack to cool completely. Patience is a virtue, especially when cake is involved.
- **Frost and Feast:** Once completely cool, frost it with your favorite frosting. Store-bought is perfectly acceptable – remember, we’re hacking, not slaving! Then, devour!
Common Mistakes to Avoid
- **Thinking you don’t need to preheat the oven.** Rookie mistake, my friend. Your cake will cook unevenly and nobody wants that kind of drama.
- **Overmixing the batter.** I repeat: **do not overmix!** Mix until just combined. The minute you see no more dry streaks, STOP. Otherwise, you’re signing up for a tough, chewy cake. Hard pass.
- **Not greasing your pan properly.** Unless you enjoy chiseling cake out of a pan, grease and flour it generously. Or use parchment paper if you’re feeling extra pro.
- **Cutting into a hot cake.** I know, the temptation is real. But seriously, let it cool a bit. It helps the cake set and prevents it from crumbling into a delicious, yet messy, pile of regret.
Alternatives & Substitutions
Feeling adventurous? Or maybe you just ran out of something? No worries, we’ve got options!
- **Milk swap:** Don’t have whole milk? Skim milk works, though your cake might be slightly less rich. For a dairy-free version, almond or oat milk are totally fine. Just try to keep it unsweetened if possible, or adjust sugar if your cake mix is already super sweet.
- **Butter alternative:** While butter truly shines here, if you’re in a pinch, vegetable oil (the same amount) can work. It won’t have the same depth of flavor, but it’ll still be moist. **IMO, butter is king.**
- **Sour cream switcheroo:** No sour cream? Plain Greek yogurt is a fantastic substitute for that moisture and tender crumb. Mayonnaise also works in a pinch (trust me on this, it’s just oil and eggs!).
- **Flavor boosters:** Want to get wild? Add a shot of espresso powder to deepen the chocolate flavor, or a dash of almond extract for a different twist. A little orange zest can also be surprisingly delightful!
FAQ (Frequently Asked Questions)
- **Can I use margarine instead of butter?** Well, technically yes, but why hurt your soul like that? Butter just tastes better, honestly. If you must, use it, but expect a slight difference in flavor and texture.
- **Does the milk have to be whole milk?** Nope! While whole milk gives the richest result, any milk you have on hand will work. It’s all about adding moisture and some dairy goodness.
- **What if I don’t have sour cream or Greek yogurt?** No problem! You can use mayonnaise (yes, really!) or even a similar amount of applesauce for moisture. Just maybe don’t tell your guests about the mayo until *after* they’ve raved about it.
- **Can I make cupcakes with this hack?** Absolutely! Just fill cupcake liners about two-thirds full and bake for 18-22 minutes, or until a toothpick comes out clean. Perfect for portion control (or lack thereof!).
- **Can I add other things to the batter?** Go for it! Nuts, dried fruit, crushed candy bars, sprinkles… the world is your oyster! Just don’t overload it, or your cake might struggle to bake evenly.
- **How long does this cake stay fresh?** Covered at room temperature, it’s usually good for 3-4 days. In the fridge, it’ll last a bit longer, maybe up to a week. As if it’ll last that long, **FYI**!
Final Thoughts
So there you have it, fellow lazy gourmand! A ridiculously easy, incredibly delicious chocolate cake that tastes like you slaved away for hours. Your secret is safe with me. Now go forth and conquer those cravings, impress your friends, or just treat yourself to a slice (or three). You’ve earned it, you brilliant cake hacker, you!


