So you’re craving something tasty but too lazy to spend forever in the kitchen, huh? Same. Honestly, who has the energy for a multi-tiered, artisanal, “farm-to-table” dessert on a Tuesday? Not me. But a rich, dreamy, melt-in-your-mouth milk chocolate cake that makes you feel like a Michelin-star chef without, you know, *being* one? Yeah, that I can do. And guess what? So can you!
Why This Recipe is Awesome
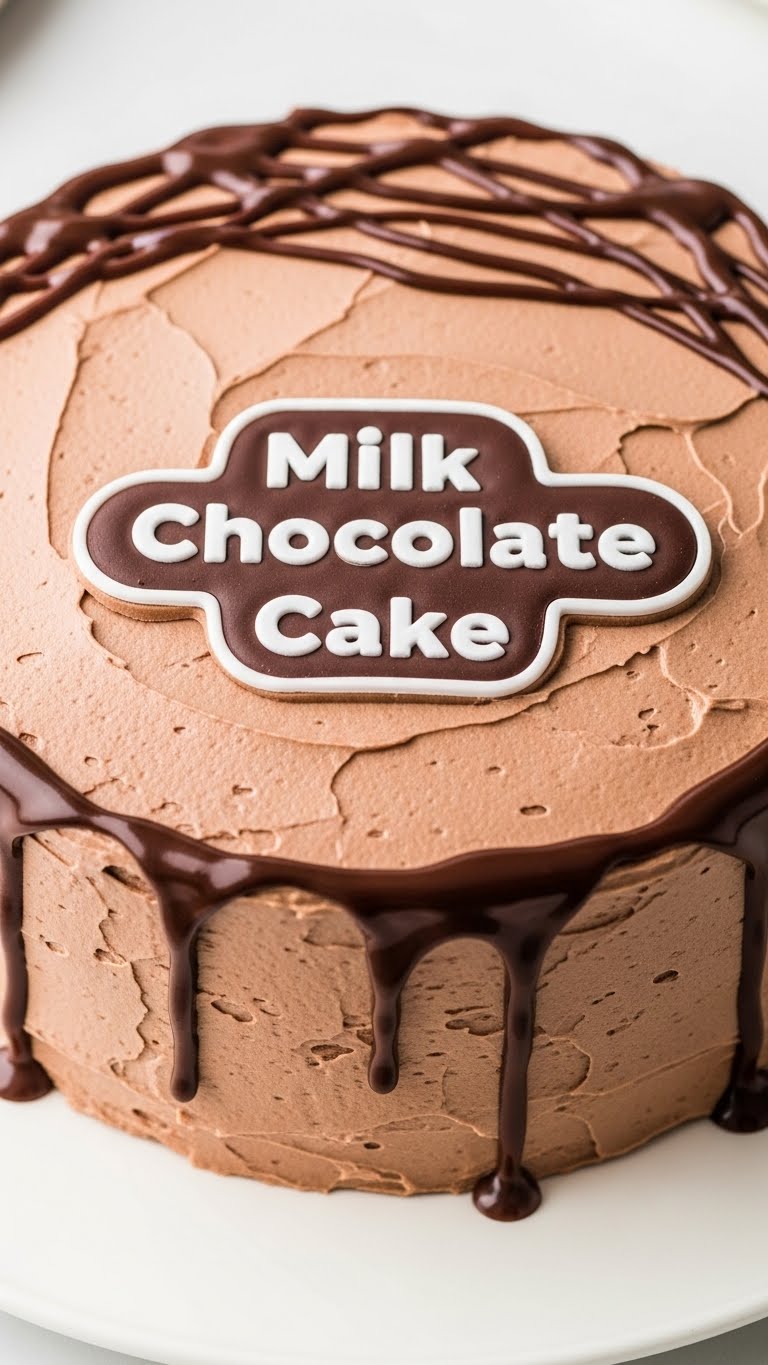
Look, I’m not going to lie. This isn’t just *a* milk chocolate cake recipe; it’s *the* milk chocolate cake recipe. Why? Because it’s practically idiot-proof. Seriously, I’ve had my fair share of kitchen disasters (RIP, soufflé of ’09), but this one? It consistently delivers pure, unadulterated chocolate bliss. It’s moist, it’s fluffy, and it actually tastes like the glorious milk chocolate we all secretly (or not-so-secretly) adore. Plus, it comes together quicker than you can say “where did all the chocolate chips go?” (Spoiler: I ate them). It uses oil instead of butter for that ridiculously moist crumb, and frankly, it’s just less fuss. You’re welcome.
Ingredients You’ll Need
Gather your troops! Here’s what you’ll need to make this magic happen. Don’t worry, nothing too exotic here – just the good stuff.
- All-Purpose Flour: 1 ½ cups. The backbone of our cakey dreams.
- Granulated Sugar: 1 ½ cups. For that sweet, sweet goodness.
- Unsweetened Cocoa Powder: ½ cup. Gives us that deep chocolate base before we bring in the milk chocolate big guns.
- Baking Soda: 1 teaspoon. Our little lift-off crew.
- Baking Powder: ½ teaspoon. More lift! We want fluffy, not dense.
- Salt: ½ teaspoon. Don’t skip this; it brings out all the flavors.
- Whole Milk: 1 cup. Because why go skim when you’re making cake? Go big or go home!
- Vegetable Oil (or Canola): ½ cup. Our secret weapon for ultimate moistness. Trust me on this one.
- Large Eggs: 2. Room temperature if you’re feeling fancy, straight from the fridge if you’re like me.
- Vanilla Extract: 2 teaspoons. Essential. Unless you hate joy.
- Hot Water or Coffee: ½ cup. This activates the cocoa and makes it super fudgy. Coffee enhances the chocolate flavor without making it taste like coffee, BTW.
- Good Quality Milk Chocolate: 4 oz (about 113g), chopped or in chips. This is the star, so don’t skimp!
Step-by-Step Instructions
Alright, apron on (or not, I won’t judge). Let’s get baking!
- Prep Your Stage: Preheat your oven to 350°F (175°C). Grease and flour two 8-inch round cake pans. Or line with parchment paper for extra non-stick insurance.
- Dry Mix Magic: In a large bowl, whisk together the flour, sugar, cocoa powder, baking soda, baking powder, and salt. Give it a good whisk to break up any clumps.
- Wet Wonders: In a separate medium bowl, whisk together the milk, vegetable oil, eggs, and vanilla extract until well combined.
- Combine & Conquer: Pour the wet ingredients into the dry ingredients. Mix on low speed (or with a spatula) until *just* combined. Do NOT overmix! A few lumps are totally fine.
- Chocolate Infusion: In a microwave-safe bowl, melt your chopped milk chocolate until smooth. You can do this in 30-second bursts, stirring in between. Pour the melted milk chocolate into the batter and gently fold it in.
- Hot Stuff: Carefully pour in the hot water or coffee. Stir until the batter is smooth and a bit thin. This is normal!
- Bake It Up: Divide the batter evenly between your two prepared cake pans. Bake for 30-35 minutes, or until a wooden skewer inserted into the center comes out clean.
- Chill Out: Let the cakes cool in the pans for about 10-15 minutes before inverting them onto a wire rack to cool completely. Patience is a virtue, especially with cake!
Common Mistakes to Avoid
We all make mistakes, but let’s try to avoid these newbie blunders, shall we?
- Forgetting to Preheat: Rookie mistake! Your oven needs to be at temperature before the cake goes in, or it won’t rise properly.
- Overmixing the Batter: This is a biggie. Overmixing develops the gluten too much, leading to a tough, dry cake. Mix until *just* combined, friend.
- Opening the Oven Door Too Soon: Curiosity killed the cake! Keep that door shut for at least the first 20-25 minutes, or your cake might sink.
- Not Letting It Cool: Trying to frost a warm cake is a recipe for disaster (and melty frosting). Let those beauties cool completely. Seriously.
- Eating All the Batter: I mean, it’s tempting, I know. But save some for the actual cake, okay?
Alternatives & Substitutions
Feeling adventurous? Or just out of something crucial? Here are some quick fixes and fun swaps:
- Butter vs. Oil: While oil makes this cake ridiculously moist, you *could* use ½ cup of melted unsalted butter if you really want that buttery flavor. Just know it might alter the texture slightly.
- Milk Alternatives: Almond milk or oat milk could work in a pinch, but whole milk really gives it that richness. If you don’t have whole milk, you could even DIY buttermilk by adding a tablespoon of lemon juice or white vinegar to regular milk and letting it sit for 5 minutes.
- Chocolate Choices: If you’re not a fan of milk chocolate (gasp!), you can totally swap it for dark chocolate. Just be aware the flavor profile will be less sweet and more intense.
- Frosting Fun: This cake is amazing with a simple milk chocolate ganache, a classic buttercream, or even just a dusting of cocoa powder. Get creative!
FAQ (Frequently Asked Questions)
Got questions? I’ve got (casual) answers!
- Can I use dark chocolate instead of milk chocolate? Well, technically yes, but then it wouldn’t be a *milk* chocolate cake, would it? If you prefer a richer, less sweet cake, go for it! Just know the flavor will be different.
- Does using room temperature eggs/milk really matter? IMO, it helps ingredients combine more smoothly for a more consistent batter. But if you forget, don’t stress too much! The cake will still be delicious.
- How long will this cake last? In my house? About 24 hours. Realistically, stored airtight at room temperature, it’s good for 3-4 days. In the fridge, maybe up to a week.
- Can I make this into cupcakes? Absolutely! Line a cupcake tin and fill liners about two-thirds full. Bake for 18-22 minutes. Easy peasy.
- What if I don’t have hot water, can I just use cold? Hot liquid helps to bloom the cocoa powder and create a more intensely chocolatey flavor and fudgier texture. You *could* use cold, but you’ll miss out on some of the magic.
- My cake sank in the middle! What happened? Oh no! This often happens from opening the oven door too early, overmixing, or an oven that’s too cool. Double-check your oven temperature next time!
- Can I freeze this cake? Yes! Wrap cooled cake layers tightly in plastic wrap, then foil, and freeze for up to 2-3 months. Thaw in the fridge overnight before frosting.
Final Thoughts
See? You just whipped up a show-stopping milk chocolate cake without breaking a sweat (or a mental state). You’re basically a dessert superhero now. This cake is perfect for celebrations, cheering yourself up, or just because it’s Tuesday and you deserve it. So go ahead, grab a slice (or two, I’m not judging), and bask in your baking glory. Now go impress someone—or yourself—with your new culinary skills. You’ve earned it!


