So you’re craving something tasty but too lazy to spend forever in the kitchen, huh? Same. As in, *my spirit animal is a sloth* kind of same. But also, you want to impress someone (or just yourself, no judgment!) with something that looks super fancy but is secretly a breeze to make? My friend, you’ve stumbled upon the Holy Grail of easy-peasy treats: Chocolate Cake Pops! Forget those elaborate, multi-tier cakes. We’re going for maximum deliciousness with minimum effort. Let’s get sticky!
Why This Recipe is Awesome
Okay, buckle up, because this isn’t just a recipe; it’s a life hack disguised as dessert. Why is it awesome? First, it’s pretty much **idiot-proof**. And I say that with love, as someone who once set off a smoke detector with toast. If I didn’t mess this up, you’re golden. Second, they’re chocolate. Enough said, right? Third, they’re bite-sized spheres of joy on a stick, making them portable, shareable, and just plain adorable. Seriously, try being sad while eating a cake pop. It’s impossible. Plus, it’s a fantastic way to use up a slightly overbaked cake, turning a “whoops” into a “wow!”
Ingredients You’ll Need
Gather your supplies, intrepid baker! Think of this as your culinary treasure chest. We’re not reinventing the wheel here, just making it roll a lot smoother (and sweeter).
- 1 box Chocolate Cake Mix: Any brand, any “death by chocolate” variety you fancy. Yes, the box kind. No shame in our game!
- Ingredients listed on cake mix box: Typically eggs, oil (vegetable or canola, please not olive unless you’re feeling *really* avant-garde), and water. Follow those instructions like your favorite reality TV show.
- 1 can (16 oz) Chocolate Frosting: Again, the tub. Because making frosting from scratch today is not our vibe. We’re on a mission for quick bliss.
- 16 oz bag Candy Melts or Chocolate Chips: Pick your poison! Milk chocolate, dark, white, even those fun colored candy melts if you’re feeling extra.
- Lollipop Sticks: About 30-40 of ’em. Unless you like very messy, delicious balls. Your call.
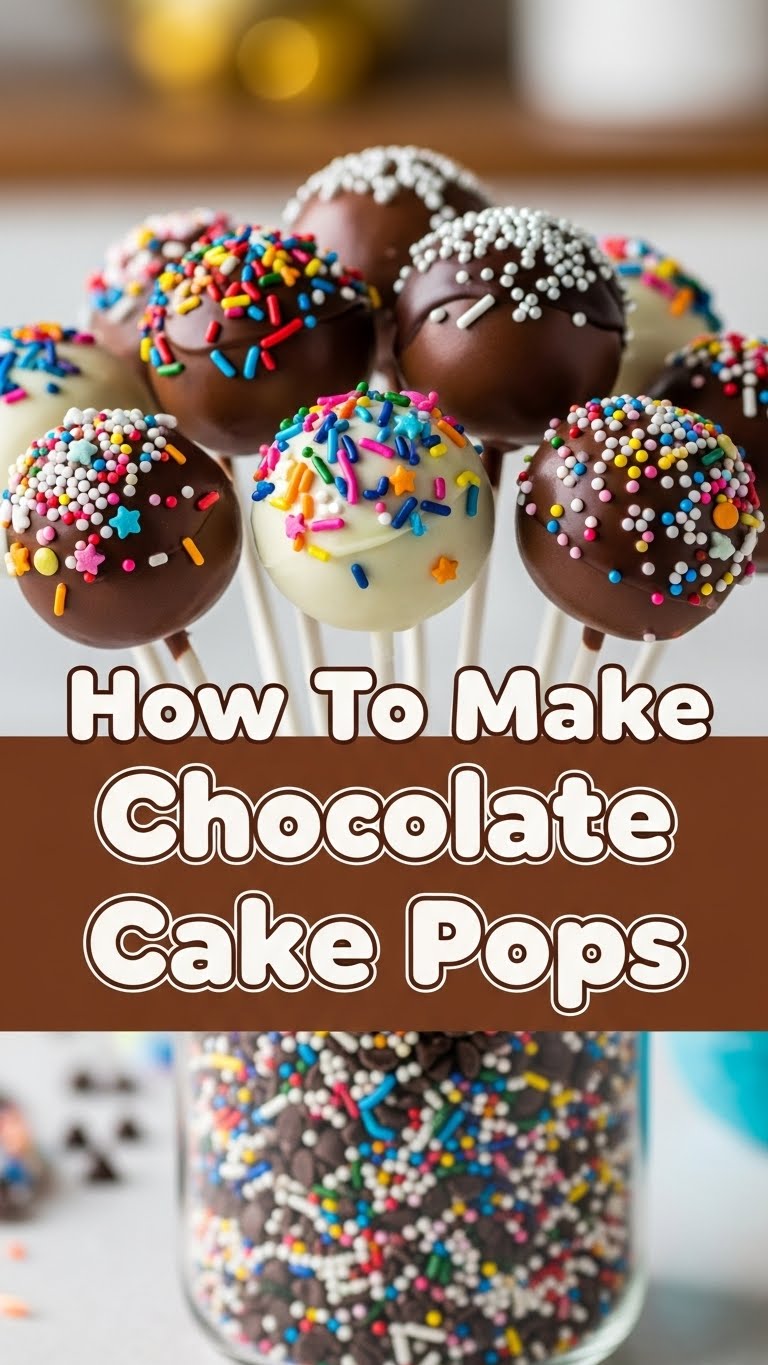
- Sprinkles, chopped nuts, or other fun toppings: Because a naked cake pop is just… sad. Give it some bling!
Step-by-Step Instructions
Alright, let’s get down to business. Follow these steps, and you’ll be a cake pop master in no time. Promise!
- Bake that Cake: Prepare your chocolate cake mix according to the package directions. Pour it into a 9×13 inch pan and bake until a toothpick inserted into the center comes out clean. Once baked, let it cool completely. And I mean **completely** – trying to crumble a warm cake is a recipe for disaster (and sticky fingers).
- Crumble Time: Once your cake is cool, grab a large bowl. Use your hands to crumble the entire cake into fine crumbs. This part is surprisingly therapeutic, FYI. Think of it as stress relief.
- Mix with Frosting: Add about two-thirds of the can of chocolate frosting to your cake crumbs. Start mixing with your hands (yes, get in there!). You’re aiming for a consistency similar to playdough – moist enough to hold together when squeezed, but not mushy. If it’s too dry, add a bit more frosting, one tablespoon at a time.
- Roll ‘Em Up: Take small portions of the mixture and roll them into 1-inch to 1.5-inch balls. Place them on a baking sheet lined with parchment paper. Try to make them fairly uniform so they look extra snazzy.
- Chill Out: Pop those cake balls into the fridge for at least 30 minutes. **This is crucial!** Cold cake balls are much easier to dip and less likely to fall apart.
- Melt the Chocolate: While your balls are chilling, melt your candy melts or chocolate chips. You can do this in a microwave-safe bowl in 30-second intervals, stirring well after each, until smooth. Or, use a double boiler method if you’re fancy. Don’t overheat it!
- Stick ‘Em Up: Take your chilled cake balls out of the fridge. Dip the tip of a lollipop stick into the melted chocolate, then insert it about halfway into a cake ball. The melted chocolate acts like glue! Repeat for all balls.
- Dip & Decorate: Now for the fun part! Gently dip each cake pop into the melted chocolate, rotating to ensure full coverage. Tap off any excess chocolate by gently tapping the stick against the side of the bowl. Immediately add your sprinkles or other decorations before the chocolate sets.
- Set ‘Em Down: Find a piece of styrofoam or a tall glass (or even an empty egg carton turned upside down with holes poked in it) to stand your cake pops upright while the chocolate sets.
- Final Chill: Once all your cake pops are dipped and decorated, let them set completely. A few minutes back in the fridge will speed this up significantly.
Common Mistakes to Avoid
Nobody’s perfect, but we can definitely sidestep some common pitfalls. Learn from my mistakes, young padawan!
- Not Cooling the Cake Enough: Seriously, this is a biggie. Trying to mix warm cake with frosting creates a gooey, impossible-to-roll mess. Patience is a virtue here.
- Too Much Frosting: More frosting doesn’t always mean more delicious. Over-frosting makes the cake balls too soft and prone to falling off the sticks. Aim for playdough, not mud pie.
- Not Chilling the Balls Enough: Skipping this step is like asking for heartbreak. Unchilled cake balls will disintegrate into the warm chocolate, leaving you with a sad, stick-less, lumpy mess.
- Overheating the Chocolate: Melted chocolate should be smooth and runny, not thick and clumpy. Overheating it will cause it to seize, making it unusable. Low and slow, my friend, low and slow.
- Being Impatient: From cooling the cake to letting the chocolate set, this recipe requires a little bit of waiting. Resist the urge to rush! Good things come to those who wait (and chill).
Alternatives & Substitutions
Feeling creative? This recipe is super flexible! Here are some ideas to make it your own:
- Cake Mix Flavors: Go wild! Red Velvet, Funfetti, Lemon, Yellow Cake, Strawberry – any flavor works beautifully. Just imagine a Red Velvet cake pop with white chocolate coating… *chef’s kiss*.
- Frosting Flavors: While chocolate frosting is classic, feel free to experiment. Vanilla frosting, cream cheese frosting, or even a peanut butter frosting can add a fun twist.
- Coating Chocolate: Dark chocolate, white chocolate, milk chocolate, or those brightly colored candy melts. Use what makes your heart sing! **Pro tip:** Adding a teaspoon of shortening or coconut oil to your melting chocolate can make it smoother and easier to dip.
- Decorations Galore: Beyond sprinkles, consider chopped nuts (pistachios for a touch of fancy!), shredded coconut, crushed Oreos, or a contrasting chocolate drizzle. IMO, the more bling, the better!
- No Sticks? No Problem!: If you don’t have lollipop sticks, simply skip that step. You’ve just made delicious cake truffles! Pop them in mini cupcake liners for an elegant presentation.
FAQ (Frequently Asked Questions)
Got questions? I’ve got (casual) answers!
- Can I use homemade cake for this recipe? Absolutely, if you’re feeling extra fancy and have a homemade cake you want to repurpose! Just make sure it’s completely cooled and crumbled.
- How long do chocolate cake pops last? In my house? About five minutes. But seriously, stored in an airtight container in the fridge, they’ll last about 5-7 days.
- Why are my cake pops cracking after dipping? This usually happens when the cake ball is too cold compared to the warm chocolate. Try letting your chilled cake balls sit out for 5-10 minutes before dipping to temper them slightly.
- My chocolate is too thick for dipping, help! Don’t panic! Add a tiny bit (half a teaspoon at a time) of vegetable shortening, coconut oil, or even a neutral oil to your melted chocolate and stir until it reaches a smoother consistency.
- Can I freeze cake pops? Yes! It’s best to freeze them *before* dipping and decorating. Thaw them in the fridge, then proceed with the dipping steps. Or, freeze them decorated, but be aware condensation might mess with the sprinkles.
- Do I need a special cake pop maker? Nope! Your hands are perfectly good rolling tools. Cake pop makers bake the cake directly into a ball shape, but we’re going old-school (and equally delicious) with crumbles and frosting.
Final Thoughts
So there you have it, folks! Your very own guide to creating scrumptious, impressive, and surprisingly easy chocolate cake pops. You’ve gone from “craving something” to “culinary genius” in just a few simple steps. Now go forth and impress someone—or yourself—with your new culinary skills. You’ve earned it! Seriously, take a bow. And then, for goodness sake, eat a cake pop (or five). You deserve it after all that hard work (which, let’s be honest, wasn’t *that* hard).


