So, you’ve stared into the abyss of your fridge, contemplating ordering takeout, but then a tiny, insistent voice (probably mine, through the internet) whispered, “Chocolate… but make it EASY.” Welcome, my friend, to the glorious, no-bake wonderland of Chocolate Ice Box Cake! This isn’t just a recipe; it’s a life hack disguised as dessert for when your brain says “epic” but your body says “nap.”
Why This Recipe is Awesome
Let’s be real. We all want to look like culinary geniuses without actually, you know, *baking*. This cake is your secret weapon. It’s **idiot-proof**, I swear. I mean, if I, a person who once set off a smoke detector making toast, can nail this, so can you. It requires zero oven time (hallelujah!), minimal ingredients, and basically just involves whipping cream and stacking cookies. The fridge does all the hard work, transforming simple ingredients into a rich, decadent, seemingly complex dessert. Plus, it’s a total crowd-pleaser, perfect for impressing guests without breaking a sweat or a single expensive gadget. Win-win-win!
Ingredients You’ll Need
Get ready for a super short shopping list, because who needs a whole pantry for pure bliss?
- Heavy Cream (aka Heavy Whipping Cream): About 3 cups. This is the star of the show, so don’t skimp!
- Powdered Sugar (Confectioners’ Sugar): ½ cup. Finer than regular sugar, so no gritty texture in your cream dream.
- Unsweetened Cocoa Powder: ½ cup. For that deep, dark chocolatey goodness. We’re not playing games here.
- Vanilla Extract: 1-2 teaspoons. Just a splash to make everything sing.
- Chocolate Wafer Cookies: One 9-ounce package (think Nabisco Famous Wafers). These are the magical little discs that become cake-like overnight. Don’t substitute with just any cookie, trust me.
- A tiny pinch of salt: Seriously, just a pinch. It makes the chocolate taste even more chocolatey. It’s science!
Step-by-Step Instructions
- Get Your Cream Whipping: Grab a large mixing bowl (or the bowl of your stand mixer, you fancy pants). Pour in the heavy cream, powdered sugar, cocoa powder, vanilla extract, and that tiny pinch of salt.
- Whip It Good: Using an electric mixer (handheld or stand mixer), start beating the mixture on medium-high speed. Keep going until you have lovely, **stiff peaks**. This means when you lift the beaters, the cream holds its shape and doesn’t flop over like a sad puppy. Be careful not to over-whip, or you’ll accidentally make butter. Fun for toast, less fun for cake.
- Layer Up, Buttercup: Find a serving platter or a rectangular dish. Spread a thin layer of your chocolate cream on the bottom – this acts as glue for your first cookie layer.
- Cookie Stacking Time: Start arranging your chocolate wafers on top of the cream layer. You can do this in neat rows, or if you’re feeling wild, just strategically place them.
- Repeat the Magic: Cover your cookie layer with another generous helping of chocolate cream. Spread it evenly. Repeat with alternating layers of cookies and cream until you run out of one or both, ending with a decadent cream layer on top.
- Chill Out: This is the most crucial step, **do not skip it!** Cover your masterpiece with plastic wrap and pop it in the fridge. Let it chill for at least **6-8 hours, but ideally overnight**. This is when the cookies get all soft and cake-like, absorbing the creamy goodness. Pure magic, IMO.
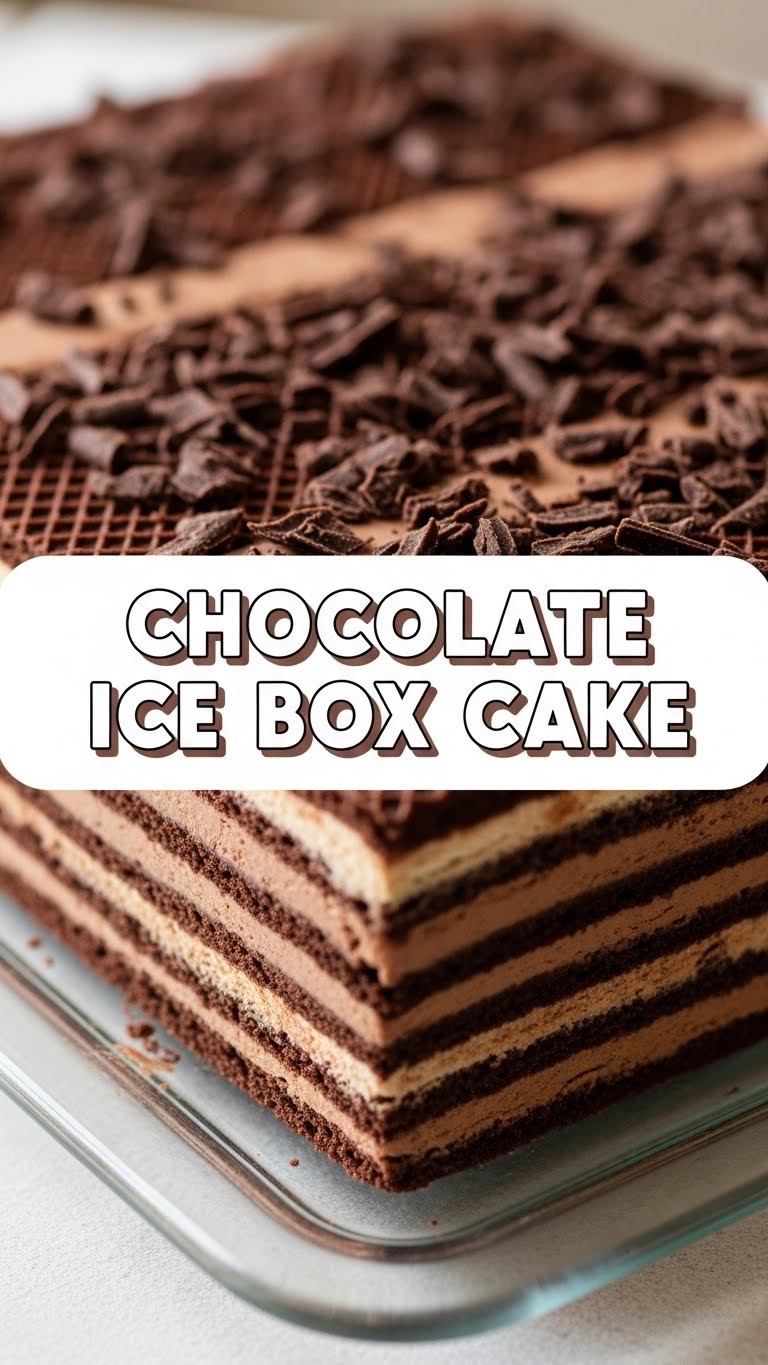
- Serve & Devour: Once it’s properly chilled, slice it up and watch the layers reveal themselves. Garnish with a sprinkle of extra cocoa powder, chocolate shavings, or fresh berries if you’re feeling extra fancy.
Common Mistakes to Avoid
- Impatience, Thy Name Is Cake Ruiner: Seriously, don’t try to cut into this thing after only an hour. The cookies won’t be soft, and you’ll just have crunchy wafers and cream, which isn’t the point. **Chilling is essential!**
- Under-Whipped Cream: If your cream is too runny, your layers will slide around, and you’ll have a chocolatey mess instead of a beautiful stack. Whip until those peaks are stiff!
- Over-Whipped Cream: On the flip side, if you whip too long, you’ll get grainy, slightly curdled cream (or full-on butter). Keep an eye on it! It goes from perfect to problematic pretty fast.
- Wrong Cookies: As much as you love Oreos, they won’t soften the same way as the thin chocolate wafers. Stick to the classic for the best results.
Alternatives & Substitutions
Feeling a little rebellious? Here are some ways to jazz up your ice box cake:
- Coffee Kick: Add 1-2 teaspoons of instant espresso powder to your cream mixture. It really enhances the chocolate flavor without making it taste like coffee. Shhh, it’s our secret.
- Boozy Bliss: For an adult version, add a tablespoon or two of Kahlua, Bailey’s, or a splash of rum to your cream. Ooh la la!
- Minty Fresh: A few drops of peppermint extract in the cream, or crushing up some thin mint cookies for a layer, will give you a delicious mint chocolate vibe.
- Different Toppings: Instead of just cocoa powder, try shaved chocolate, mini chocolate chips, fresh raspberries, or a dollop of extra whipped cream (plain, if you want a contrast).
- Cookie Swap (Use with Caution): While I preached loyalty to the wafers, if you absolutely *must* deviate, some people use graham crackers or even gingersnaps for a different flavor profile. Just know the texture won’t be quite the same.
FAQ (Frequently Asked Questions)
Got questions? I’ve got answers. Mostly.
- “Can I make this dairy-free?” Well, technically yes, you can use coconut cream (the thick part from a can of full-fat coconut milk, chilled overnight) or a dairy-free whipping cream alternative. It’ll be different, but still tasty! Just make sure your wafers are also dairy-free.
- “How long does it last in the fridge?” This beauty will be happy in your fridge for about 3-4 days. After that, it might start getting a little *too* soft, and let’s be honest, it probably won’t last that long anyway.
- “Can I freeze it?” You bet! It actually freezes really well. Wrap individual slices tightly in plastic wrap, then foil, and pop them in the freezer for up to a month. Thaw in the fridge for a few hours before serving. Instant dessert, whenever you want!
- “Why is chilling for so long SO important?” Because magic takes time, my friend! During chilling, the cookies absorb moisture from the cream and transform into a tender, cake-like texture. Without it, you just have hard cookies and cream.
- “What if my cream doesn’t get stiff?” A few culprits: your cream might not be cold enough (pop the bowl and beaters in the freezer for 10 minutes beforehand!), or you might not be using actual heavy cream (aka whipping cream). Sometimes, it just needs a little more time.
Final Thoughts
So there you have it – the ultimate Chocolate Ice Box Cake guide for the delightfully lazy and chocolate-obsessed among us. It’s simple, it’s decadent, and it’s virtually impossible to mess up. Now go impress someone – or yourself – with your newfound culinary prowess. You’ve earned that slice (or three). Enjoy, and don’t forget to share… unless you don’t want to. I totally get it.


