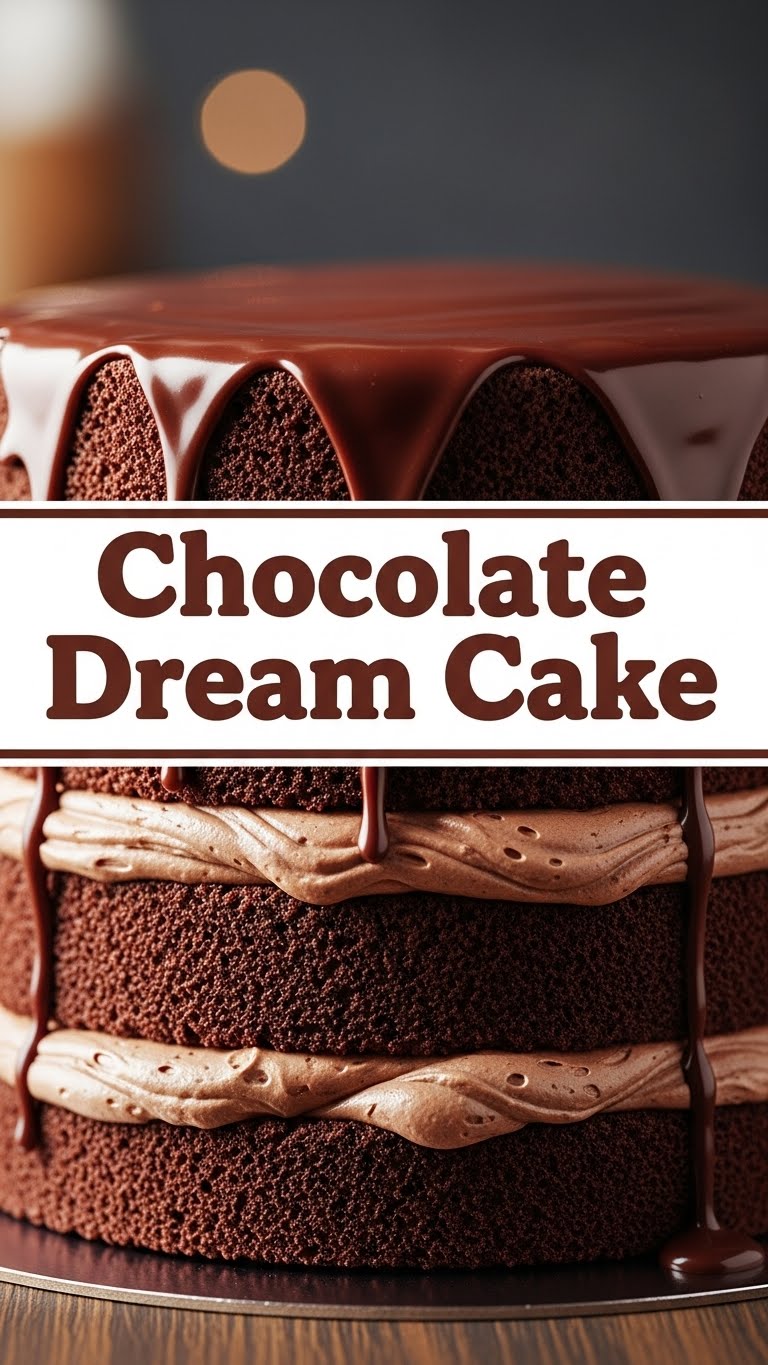
So, you’re craving something ridiculously tasty, chocolatey, and impressive, but let’s be real, you’re also probably too lazy to spend an entire day in the kitchen, right? Same, friend, *same*. Good news: I’ve got your back. Get ready to meet your new best friend: The Chocolate Dream Cake. It’s exactly what it sounds like – pure, unadulterated chocolate bliss, without the fuss.
Why This Recipe is Awesome
Okay, let’s talk turkey. This isn’t just *any* chocolate cake recipe. This is THE chocolate cake recipe for when you want to look like a culinary genius but actually put in minimal effort. Seriously. It’s practically **idiot-proof**, and coming from someone who once set off the fire alarm making toast, that’s high praise. It’s moist, rich, intensely chocolatey, and comes together faster than you can decide which streaming service to watch tonight. Plus, it uses common pantry staples, so you won’t need to hunt down obscure ingredients like “dragon’s breath essence.” **No special skills required**, just a love for chocolate and perhaps a mixing bowl.
Ingredients You’ll Need
Gather ’round, my sweet-toothed companions! Here’s your hit list for chocolatey glory. Don’t worry, nothing too fancy here.
- For the Cake:
- 1 ½ cups (180g) All-Purpose Flour: The backbone of our dream. Sift it if you’re feeling fancy, otherwise, just make sure it’s not lumpy.
- 1 ½ cups (300g) Granulated Sugar: Because life is short, make it sweet.
- ¾ cup (65g) Unsweetened Cocoa Powder: This is where the magic happens. Go for good quality – it really makes a difference.
- 1 ½ teaspoons Baking Soda: Our lift-off agent!
- 1 teaspoon Salt: Don’t skip this! It enhances all the chocolate goodness.
- 2 large Eggs: Room temperature, please! They mix better.
- ¾ cup (180ml) Buttermilk: Or regular milk with a splash of vinegar/lemon juice if you’re out. It adds lovely moisture.
- ¼ cup (60ml) Vegetable Oil: Or any neutral oil. Adds more moisture than butter (shh, don’t tell the butter fanatics).
- 1 teaspoon Vanilla Extract: A little hug for your taste buds.
- ¾ cup (180ml) Hot Water or Hot Brewed Coffee: **This is the secret sauce!** Coffee deepens the chocolate flavor without making it taste like coffee. Trust me.
- For the Chocolate Buttercream Frosting:
- 1 cup (226g) Unsalted Butter: Softened, not melted. Let it sit on the counter for a bit.
- 3 ½ cups (420g) Powdered Sugar (Confectioners’ Sugar): Sifted, unless you like lumpy frosting (you don’t).
- ½ cup (45g) Unsweetened Cocoa Powder: Again, good quality here is key.
- ¼ cup (60ml) Milk or Cream: Adds creaminess. More if needed.
- 1 teaspoon Vanilla Extract: Because vanilla makes everything better.
- Pinch of Salt: To balance the sweetness.
Step-by-Step Instructions
Alright, apron on, game face ready! Let’s bake this beauty.
- Preheat and Prep: Get your oven heated to 350°F (175°C). Grab a 9×13 inch baking pan, grease it like you mean it, and then lightly dust with cocoa powder or flour. **Don’t skip the greasing!**
- Whisk the Dry Stuff: In a large mixing bowl, whisk together the flour, sugar, cocoa powder, baking soda, and salt. Make sure there are no clumps.
- Combine the Wet Crew: In a separate medium bowl, whisk the eggs, buttermilk, oil, and vanilla extract until well combined.
- Marry the Mixtures: Pour the wet ingredients into the dry ingredients. Mix on low speed (or with a whisk) until *just* combined. Don’t go crazy here; overmixing is the enemy of tender cake.
- The Hot Secret: Gradually add the hot water (or coffee!) to the batter while mixing on low. The batter will be thin, don’t panic! This is what makes it so moist and rich.
- Bake It Up: Pour the thin batter into your prepared pan. Pop it in the preheated oven and bake for about 30-35 minutes, or until a wooden skewer or toothpick inserted into the center comes out clean. **Baking times can vary, so keep an eye on it!**
- Cool Down: Once baked, let the cake cool in the pan for about 10-15 minutes before carefully transferring it to a wire rack to cool completely. **This is crucial before frosting!** No one wants melted frosting.
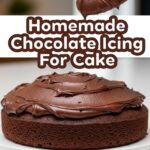
- Whip Up the Frosting: While the cake is chilling, beat the softened butter in a large bowl with an electric mixer until creamy. Gradually add the sifted powdered sugar and cocoa powder, alternating with splashes of milk/cream, until smooth and fluffy. Stir in the vanilla and salt. If it’s too thick, add more milk a teaspoon at a time; too thin, add more powdered sugar.
- Frost and Devour: Once the cake is completely cool (and I mean *completely*), spread that glorious buttercream all over it. Slice, serve, and bask in the “oohs” and “aahs.”
Common Mistakes to Avoid
We all make mistakes, but let’s try to avoid these common cake blunders:
- **Thinking you don’t need to preheat the oven.** Rookie mistake! Uneven baking will haunt your dreams.
- **Overmixing the batter.** Remember when I said “just combined”? I meant it. Overmixing develops gluten, leading to a tough, dry cake. Nobody wants that.
- **Opening the oven door too soon.** Patience, grasshopper. Resist the urge to peek during the first 20 minutes; it can make your cake sink.
- **Frosting a warm cake.** This is a capital offense in the baking world. You’ll end up with a chocolate puddle, not a majestic cake. **Cool it completely!**
- **Forgetting the salt.** It might seem tiny, but salt balances the sweetness and deepens the chocolate flavor. It’s the unsung hero!
Alternatives & Substitutions
Feeling adventurous? Or maybe you’re just out of buttermilk. No worries, I got you!
- Buttermilk Substitute: No buttermilk? No problem! Add 1 tablespoon of white vinegar or lemon juice to a measuring cup, then fill the rest with regular milk until you reach ¾ cup. Let it sit for 5 minutes until it curdles slightly. *Voilà!*
- Oil for Butter: If you’re really into the butter flavor, you can swap the vegetable oil for an equal amount of melted unsalted butter. Just make sure it’s cooled slightly before adding. IMO, oil gives a moister cake, but butter adds richness.
- No Coffee? If you don’t drink coffee, just use hot water. The coffee just amps up the chocolate flavor; it won’t make your cake taste like a latte.
- Different Frosting: Not a buttercream fan? This cake is also amazing with a simple chocolate ganache (heavy cream + chocolate chips, heated) or even a cream cheese frosting for a tangy twist.
- Gluten-Free: You can totally make this GF! Just use a good quality 1:1 gluten-free all-purpose flour blend.
FAQ (Frequently Asked Questions)
Got questions? I’ve probably got answers, and maybe a witty remark or two.
- **Can I use instant coffee instead of brewed?** Absolutely! Just dissolve 1-2 teaspoons of instant coffee powder in ¾ cup of hot water. Easy peasy, lemon squeezy.
- **How do I know when the cake is truly done?** The classic toothpick test! Insert a toothpick into the center of the cake. If it comes out clean (maybe with a few moist crumbs, but no wet batter), you’re golden.
- **My cake turned out dry, what gives?** Oh no! Most likely culprits: you either overbaked it (keep a closer eye next time!) or your measurements were off, especially for the dry ingredients. **Use a kitchen scale for best accuracy, FYI.**
- **Can I make this cake in advance?** Heck yes! The cake itself can be baked a day ahead and stored at room temp, unfrosted and tightly wrapped. The frosting can also be made a day in advance and stored in the fridge, then re-whipped before use.
- **What if I don’t have buttermilk for the frosting?** For frosting, regular milk is perfectly fine. The tang from buttermilk isn’t really needed there.
- **Can I use margarine instead of butter for the frosting?** Well, technically yes, but why hurt your soul like that? Butter tastes better, trust me. Margarine frosting tends to be less stable and just… less delicious.
- **Why the hot water/coffee? Does it cook the batter?** Not really! The hot liquid helps to bloom the cocoa powder, which means it intensifies its flavor and makes for a richer, darker chocolate taste. Plus, it helps create that wonderfully moist crumb.
Final Thoughts
See? That wasn’t so scary, was it? You just made a Chocolate Dream Cake, and you barely broke a sweat. Now go impress someone—or yourself—with your new culinary skills. Take a big slice, grab a fork, and revel in your chocolatey masterpiece. You’ve earned it!

