So, you’ve found yourself scrolling, maybe a little bored, definitely hungry, and suddenly a chocolate craving hits harder than a Monday morning alarm? Yep, been there. My friend, you’re not alone, and you’re in the perfect place. Today, we’re diving headfirst into a chocolate layer cake recipe that’s so good, you’ll wonder why you ever paid for a slice. Get ready to bake something ridiculously delicious without breaking a sweat (or a perfectly good manicure, because priorities).
Why This Recipe is Awesome
Listen, I get it. Layer cakes sound fancy, like “wear a chef’s hat and use a stand mixer” fancy. But this one? It’s basically a magic trick for your taste buds, without requiring a culinary degree. **It’s practically idiot-proof**, even if your last baking attempt involved burnt cookies and a smoke alarm serenade. We’re talking maximum deliciousness for minimum effort. Your friends will think you’re a genius, and you’ll just smile knowingly, perhaps with a crumb on your cheek. This cake is moist, rich, and has that perfect crumb that screams “I know what I’m doing in the kitchen” (even if you’re still figuring out which end of the whisk goes where). Plus, it’s ridiculously adaptable. More on that later!
Ingredients You’ll Need
Gather your troops! Here’s what you need for the cake and the dreamy chocolate buttercream.
For the Cake:
- 1 ½ cups (180g) All-Purpose Flour: Because we’re not getting fancy with cake flour today.
- 1 ½ cups (300g) Granulated Sugar: For that sweet, sweet bliss.
- ¾ cup (65g) Unsweetened Cocoa Powder: The good dark stuff that says ‘I mean business.’
- 1 ½ teaspoons Baking Soda: The unsung hero that makes things rise.
- ¾ teaspoon Baking Powder: Its partner in crime. Don’t mix them up, folks!
- 1 teaspoon Salt: Just a pinch, because even chocolate needs a little sass to shine.
- 2 Large Eggs: Room temperature, because they play nicer that way.
- ¾ cup (180ml) Whole Milk: Because skim milk for cake is just sad.
- ½ cup (120ml) Vegetable Oil: For ultimate moistness (don’t @ me, butter lovers, oil makes a difference here!).
- 1 teaspoon Vanilla Extract: The MVP of flavor. Don’t skimp!
- ¾ cup (180ml) Hot Water or Hot Brewed Coffee: The secret weapon for deep chocolate flavor. Shhh!
For the Chocolate Buttercream Frosting:
- 1 cup (226g) Unsalted Butter: Softened, because cold butter is the enemy of smooth frosting.
- 3 ½ cups (420g) Powdered Sugar (Confectioners’ Sugar): Sifted, because nobody likes gritty icing.
- ¾ cup (65g) Unsweetened Cocoa Powder: More of the good stuff.
- ¼ cup (60ml) Whole Milk: Or a splash more if needed.
- 1 teaspoon Vanilla Extract: Double dose of vanilla? Yes please!
- Pinch of Salt: To balance the sweetness.
Step-by-Step Instructions
- Get Prepped: Preheat your oven to 350°F (175°C). Grease and flour two 8-inch round cake pans. Or, if you’re smart like me, use parchment paper circles at the bottom. Easy peasy clean-up.
- Whisk the Dry Stuff: In a large bowl, whisk together the flour, sugar, cocoa powder, baking soda, baking powder, and salt. Make sure there are no lumps, because nobody wants a surprise flour pocket in their cake.
- Mix the Wet Ingredients: In a separate, medium bowl, lightly beat the eggs. Then stir in the milk, vegetable oil, and vanilla extract. Give it a good whisk until it’s all happy and combined.
- Combine Forces: Pour the wet ingredients into the dry ingredients. Mix on low speed with an electric mixer (or by hand with a whisk if you need an arm workout) until *just* combined. Don’t overmix, or your cake will be tough and sad.
- Add the Secret Weapon: Carefully pour the hot water (or coffee!) into the batter. It’ll look really liquidy, and you might panic. Don’t. Whisk until just combined. This is where the magic happens, giving you that super moist crumb.
- Bake It Up: Divide the batter evenly between your two prepared cake pans. Bake for 30-35 minutes, or until a wooden skewer inserted into the center comes out clean. **Don’t open the oven door too early**, curiosity killed the cake here.
- Cool Down: Let the cakes cool in their pans for about 10-15 minutes. Then, carefully invert them onto a wire rack to cool completely. Patience, grasshopper! Frosting a warm cake is a one-way ticket to melted-messville.
- Whip Up the Frosting: While the cakes cool, grab your softened butter for the frosting. In a large bowl, beat the butter with an electric mixer until light and fluffy (about 2-3 minutes). Gradually add the sifted powdered sugar and cocoa powder, alternating with the milk, beating until smooth and creamy. Stir in the vanilla extract and a pinch of salt. If it’s too thick, add a tiny bit more milk; if too thin, a bit more powdered sugar.
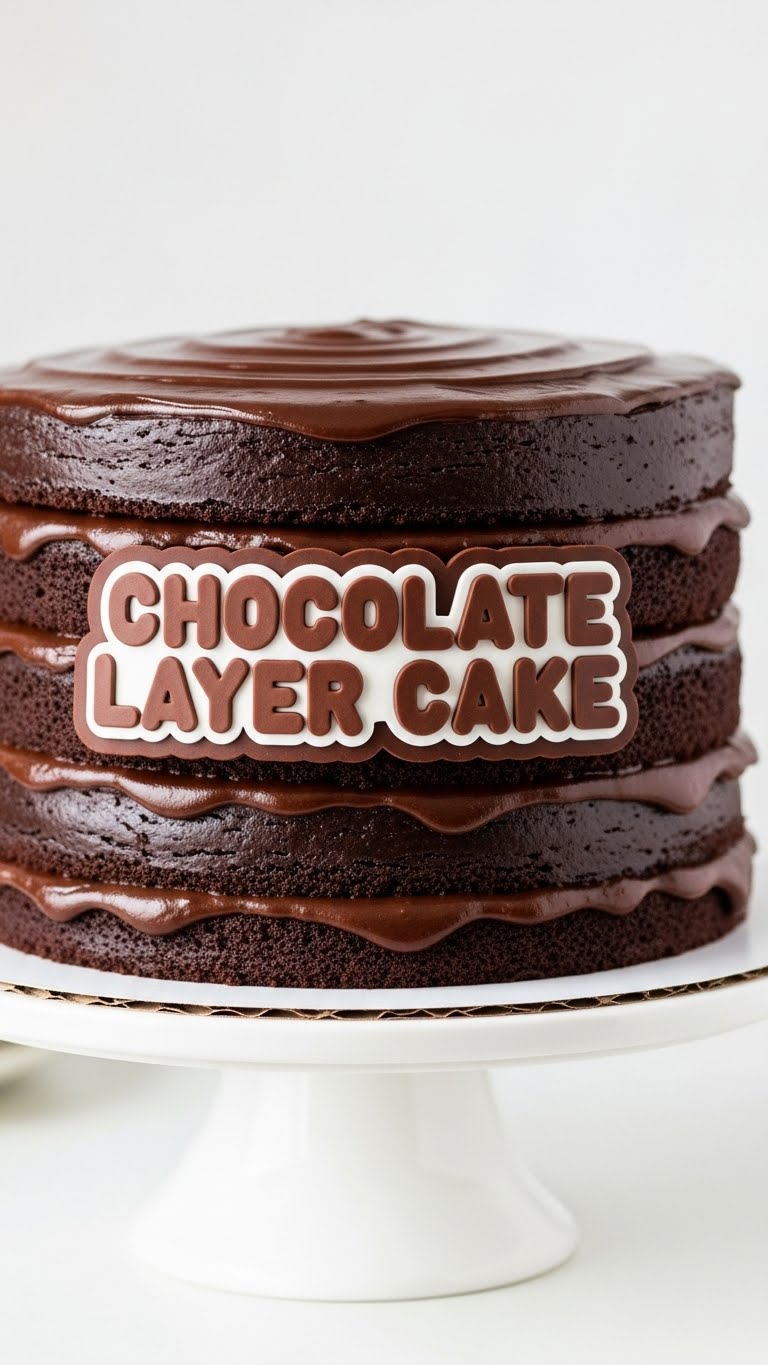
- Assemble Your Masterpiece: Once the cakes are completely cool, level them if necessary (use a serrated knife!). Place one layer on your serving plate, spread about a third of the frosting on top. Place the second layer, and then spread the remaining frosting over the top and sides of the cake.
- Devour: Slice, serve, and soak in the compliments. You earned them!
Common Mistakes to Avoid
- Not Preheating the Oven: Rookie mistake! Seriously, do it. It’s not a suggestion, it’s a command from the baking gods for even baking.
- Overmixing the Batter: You want tender cake, not tough cake. Mix until *just* combined; a few lumps are totally fine.
- Not Cooling the Cake Fully: Frosting a warm cake is a recipe for a melted, sloppy disaster. Don’t be that person. **Seriously, wait until they are cold.**
- Eyeballing Ingredients: Baking is chemistry, not jazz. Use measuring cups and spoons, especially for flour and leavening agents.
- Opening the Oven Door Repeatedly: Every time you peek, the oven temperature drops, which can cause your cake to sink in the middle. Let it bake in peace, for crying out loud!
Alternatives & Substitutions
Feeling a little rebellious? Here are some tweaks you can make:
- Milk: While whole milk gives the best richness, any milk works. Almond milk? Go for it, just know it might be slightly less decadent.
- Oil: Can you use melted butter instead of oil? Sure, but the oil is really the secret to that super moist, soft texture. IMO, stick with the oil for this one.
- Hot Coffee: No coffee? Hot water is fine. But coffee truly amplifies the chocolate flavor, making it deeper and richer without tasting like coffee. Try it!
- Frosting Flavors: Not a fan of chocolate buttercream (gasp!)? A classic vanilla buttercream, a tangy cream cheese frosting, or even a simple chocolate ganache would be divine. Get creative!
- Gluten-Free: Swap the all-purpose flour for your favorite 1:1 gluten-free baking blend. FYI, results may vary slightly, but it generally works great!
FAQ (Frequently Asked Questions)
Got questions? I’ve got (casual) answers!
- Can I use margarine instead of butter for the frosting? Well, technically yes, but why hurt your soul like that? Butter tastes better, trust me.
- My cake sank in the middle, what happened? Probably opened the oven too soon, or maybe your baking soda/powder is old. Check those expiration dates! Bummer, but it happens.
- How long does this cake last? If you’re strong-willed, maybe 3-4 days covered at room temp. But honestly, it rarely lasts a full day in my house. Consider it a challenge.
- Can I make this dairy-free? Absolutely! Use plant-based milk, dairy-free butter sticks for the frosting, and an egg replacer for the eggs if you’re feeling bold.
- Do I *have* to use hot water/coffee? Technically no, but you’re missing out on a flavor bomb. It really makes the chocolate sing. Your call, friend.
- Can I freeze the cake layers? You bet! Wrap unfrosted layers tightly in plastic wrap, then foil. They’ll keep for up to a month. Thaw at room temp, then frost when ready. Great for planning ahead!
- My frosting is too runny/too thick! Help! Too runny? Add more powdered sugar (sifted!). Too thick? Add milk, one tablespoon at a time, until it’s perfect. You got this!
Final Thoughts
See? Not so scary, right? You just whipped up a showstopper chocolate cake that’s going to make jaws drop and taste buds sing. Go ahead, take a bow. Or, more realistically, grab a fork and dig in before anyone else gets a slice. You’ve earned every single glorious bite. Now go impress someone—or yourself—with your new culinary skills. You’ve earned it!


