Ever found yourself staring into the abyss of your fridge, dreaming of chocolate, but also, like, effort? Yeah, me too. We’re about to fix that with a chocolate cake so easy, you’ll wonder why you ever bought one from a store. Seriously, get ready to become a legend in your own kitchen!
Why This Recipe is Awesome
Okay, first things first, this isn’t your grandma’s ‘take all day’ kind of cake. This is the ‘whip it up on a Tuesday night because you deserve it’ kind of cake. It’s practically idiot-proof, even if your last culinary triumph was boiling water without burning the pot. Plus, the decoration? Super chill. No need for fancy piping bags unless you want to feel extra fancy. We’re talking maximum chocolatey goodness with minimal drama. Your taste buds (and your ego) will thank you.
Ingredients You’ll Need
- All-Purpose Flour: About 1 ½ cups. Don’t worry, it’s just flour, it won’t judge your baking skills.
- Granulated Sugar: 1 ½ cups. Because life’s short, eat dessert first.
- Unsweetened Cocoa Powder: ½ cup. The darker, the dreamier. Go on, embrace the dark side.
- Baking Soda & Baking Powder: 1 teaspoon each. These are your cake’s hype-men, making it rise to the occasion.
- Salt: ½ teaspoon. Just a pinch to make all that sweetness pop!
- Large Eggs: 2, at room temperature. Happy eggs make happy cakes, FYI.
- Whole Milk (or your fave milk alternative): 1 cup. Adds moisture and makes it super lush.
- Vegetable Oil (or another neutral oil): ½ cup. For that rich, tender crumb.
- Vanilla Extract: 2 teaspoons. The secret weapon for making everything taste more like vanilla.
- Hot Water: ½ cup. Yes, hot water! Trust the process.
For the Frosting & Decoration (Chocolate Ganache/Buttercream + Fun Stuff):
- Heavy Cream: 1 cup (for ganache).
- Chocolate Chips (semi-sweet or dark): 1 ½ cups (for ganache).
- Optional fun bits: Sprinkles (duh!), chocolate shavings, fresh berries, maybe some chopped nuts if you’re feeling wild.
Step-by-Step Instructions
- Preheat & Prep: Crank your oven to 350°F (175°C). Grab a 9-inch round cake pan, grease it like you’re preparing for a slip ‘n slide, and dust with a bit of cocoa powder or flour. This ensures your cake doesn’t stick – trust me, this step is crucial.
- Dry Mix Magic: In a big bowl, whisk together the flour, sugar, cocoa powder, baking soda, baking powder, and salt. Make sure there are no lumps; we want smooth sailing here.
- Wet Mix Whirlwind: In a separate, slightly smaller bowl, whisk the eggs, milk, oil, and vanilla extract until they’re all buddy-buddy.
- Combine Forces: Pour the wet ingredients into the dry ingredients. Mix on low speed (or by hand) until just combined. Don’t overmix, or your cake will be tough, and nobody wants a tough cake.
- The Hot Water Trick: Gently stir in the hot water. The batter will be thin, and that’s exactly what we want! It helps with the texture.
- Bake It Up: Pour your beautiful batter into the prepared pan. Bake for 30-35 minutes, or until a toothpick inserted into the center comes out clean. Don’t open the oven door too early, you’ll deflate your dreams!
- Cool Down: Let the cake cool in the pan for about 10-15 minutes before flipping it out onto a wire rack to cool completely. Impatience is not your friend here. A fully cooled cake is a happy cake.
- Ganache Glory (or Frosting Fun):
- For Ganache: Heat the heavy cream until it simmers (don’t boil!). Pour it over the chocolate chips in a heatproof bowl. Let it sit for 5 minutes, then whisk until smooth and glossy. Let it cool a bit until it’s thick enough to spread.
- For Buttercream (if you prefer): Beat softened butter until fluffy, then gradually add powdered sugar, a splash of milk, and vanilla. Beat until smooth and creamy.
- Decorate! Once your cake is totally cool (this is important, folks!), slather on that ganache or frosting. Now for the fun part: unleash the sprinkles! Or chocolate shavings! Or berries! Or all of them! There are no rules, only deliciousness.
Common Mistakes to Avoid
- Opening the oven door constantly: Resist the urge! Each peek drops the oven temp and can make your cake sink. It’s like peeking at a present before Christmas – just wait!
- Overmixing the batter: This is a biggie. Once the wet and dry ingredients are just combined, stop. Seriously. Overmixing develops the gluten too much, leading to a dense, chewy cake instead of a light, fluffy one.
- Not greasing and flouring/cocoa-ing your pan properly: Rookie mistake! Your beautiful cake will stick, and then you’ll cry. Don’t let it happen to you.
- Frosting a warm cake: Unless you want a melted, sloppy mess, wait until your cake is completely cold. I’m talking fridge-cold if you’re in a hurry. Patience, young padawan.
Alternatives & Substitutions
- Milk: Feel free to swap whole milk for 2%, skim, or even a non-dairy alternative like almond or soy milk. The cake might be slightly less rich, but still delicious, IMO.
- Oil: Vegetable oil works best for a neutral flavor, but canola oil or melted coconut oil (if you don’t mind a slight coconut hint) can also step in.
- Frosting: Not feeling ganache? A simple chocolate buttercream is always a winner. Or, if you’re truly lazy (no judgment!), a store-bought frosting can be jazzed up with a pinch of salt and a splash of vanilla.
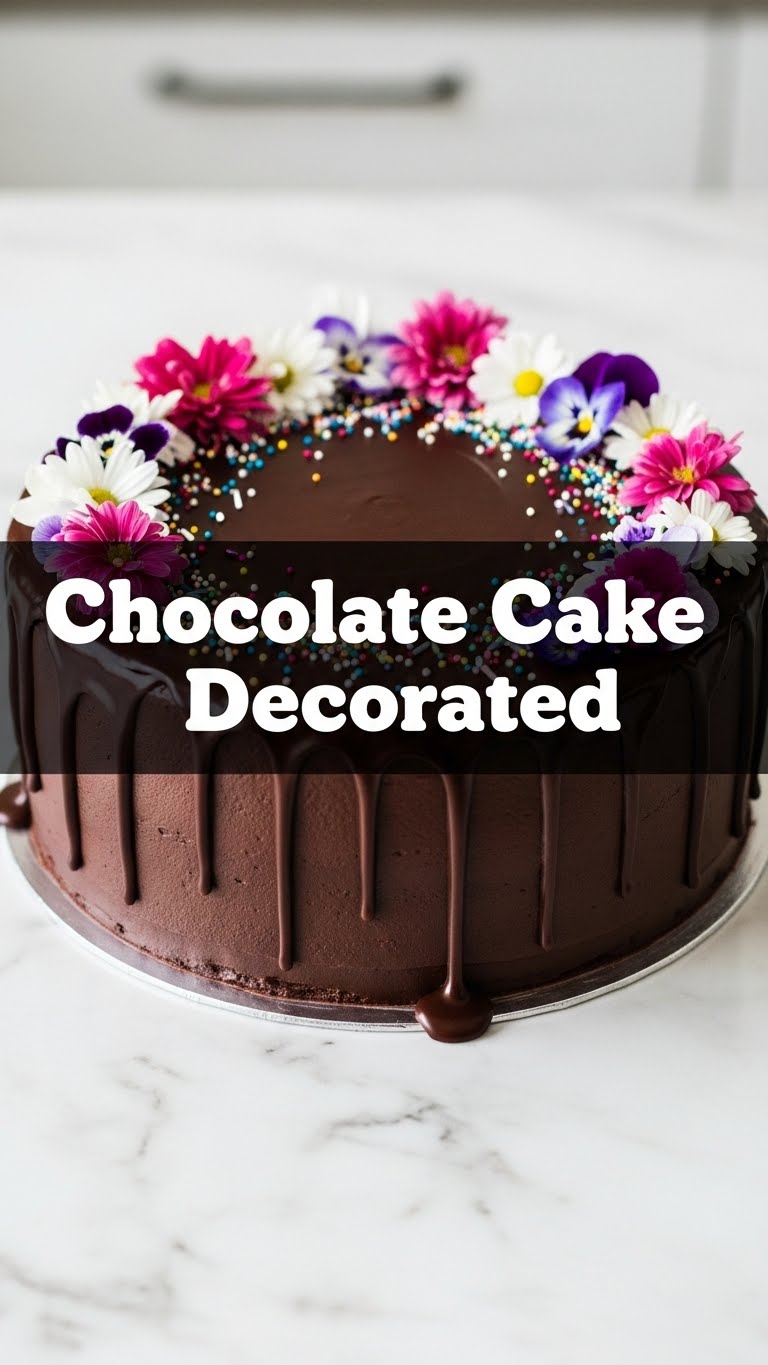
- Decoration: Beyond sprinkles, think mini chocolate chips, crushed Oreos, toasted coconut, or even edible flowers if you’re feeling bougie. Get creative!
FAQ (Frequently Asked Questions)
- Can I make this into cupcakes? Absolutely! Divide the batter into cupcake liners and bake for about 18-22 minutes. Just remember to adjust baking time accordingly.
- Why hot water? Does it cook the batter? Great question! Hot water helps to bloom the cocoa powder, enhancing its chocolatey flavor, and creates a thinner batter that bakes into a super moist cake. It won’t cook your batter, promise!
- My cake sunk in the middle! What happened? Usually, this means the cake wasn’t fully baked, or you opened the oven door too early, letting cold air rush in. Always check for doneness with a toothpick!
- Can I use margarine instead of butter in the frosting? Well, technically yes, but why hurt your soul like that? Butter just tastes better and gives a superior texture. Treat yourself!
- How long does this cake last? Covered tightly at room temperature, it’s usually good for 3-4 days. In the fridge, it can last up to a week. If it lasts that long without being devoured, you have more willpower than I do!
- I don’t have cocoa powder, can I use melted chocolate instead? Not directly in this recipe as a straight swap. Cocoa powder is a dry ingredient, and melted chocolate is a fat. It would mess with the dry-to-wet ratio. Stick to the recipe for the best results!
Final Thoughts
See? That wasn’t so scary, was it? You just whipped up a chocolate cake that looks (and tastes!) like it took you all day, but only you and I know the truth. Go on, slice into that beauty, grab a huge piece, and pat yourself on the back. You’ve earned it! Now go impress someone—or yourself—with your new culinary skills. Maybe even make two, one for sharing and one for you. No judgment here.


