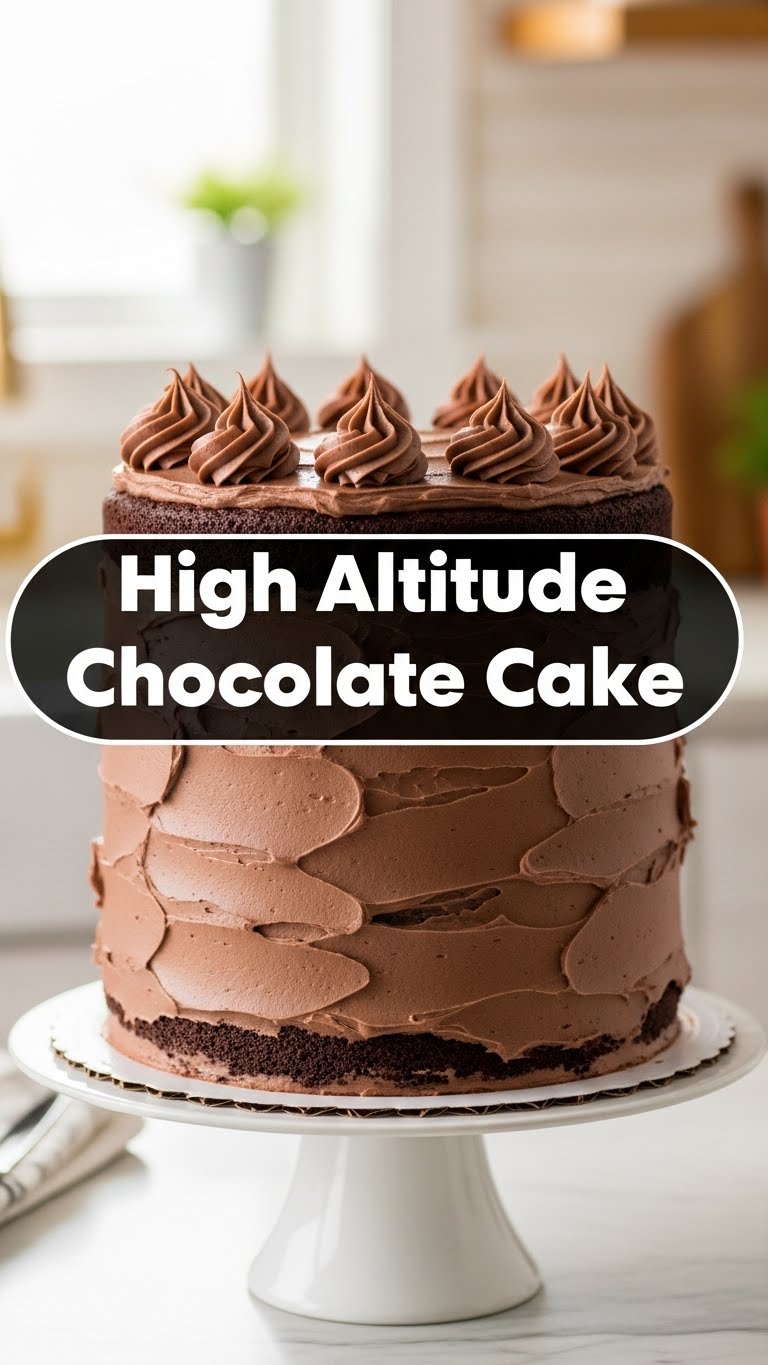
Ever tried baking a cake at altitude and ended up with something that looks suspiciously like a deflated pancake, or worse, a crumbly, dry desert island? Yeah, me too. It’s a cruel joke from Mother Nature, but fear not, my high-flying friend! We’re about to conquer the Everest of desserts: a moist, decadent, **High Altitude Chocolate Cake** that laughs in the face of thin air. Get ready to bake a winner!
Why This Recipe is Awesome
Okay, let’s be real. Baking at elevation is basically a science experiment where the variables are constantly trying to ruin your day. This recipe? It’s your secret weapon. It’s specifically engineered to combat the common high-altitude woes: less atmospheric pressure (meaning things rise faster and then fall!), faster liquid evaporation, and generally just being a pain. This isn’t just *a* chocolate cake; it’s *the* chocolate cake that stays moist, doesn’t sink in the middle like a sad little crater, and actually tastes like heaven. It’s practically idiot-proof, even I didn’t mess it up! You get rich chocolate flavor, a tender crumb, and zero altitude-induced existential baking crises. Win-win-win, IMO.
Ingredients You’ll Need
Gather your troops, folks! Room temperature is your friend for the wet stuff, FYI. It helps everything emulsify beautifully.
- 2 cups (240g) All-Purpose Flour: Sifted, please! No one likes lumpy cake.
- 1 ¾ cups (350g) Granulated Sugar: Because life is short, eat sugar.
- ¾ cup (65g) Unsweetened Cocoa Powder: Good quality makes a huge difference here. Treat yourself!
- 1 ½ teaspoons Baking Soda: Our trusty leavening agent.
- 1 teaspoon Salt: Balances everything out and makes the chocolate pop.
- 2 large Eggs: Room temp, remember?
- 1 cup (240ml) Buttermilk: Room temp, again! Adds moisture and tang.
- ½ cup (120ml) Vegetable Oil: Or canola, for that lovely, moist texture.
- 1 teaspoon Vanilla Extract: The soul of all good baked goods.
- 1 cup (240ml) Hot Water or Hot Coffee: Coffee enhances the chocolate flavor like nobody’s business. Trust me on this one.
Step-by-Step Instructions
- Preheat & Prep: Preheat your oven to 350°F (175°C). Grease and flour two 8 or 9-inch round cake pans. Or, even better, line the bottoms with parchment paper, then grease and flour.
- Dry Mix Magic: In a large bowl, whisk together your sifted flour, granulated sugar, cocoa powder, baking soda, and salt. Make sure it’s all well combined – no hidden pockets of just flour!
- Wet Mix Wonders: In a separate medium bowl, whisk together the eggs, buttermilk, vegetable oil, and vanilla extract until smooth.
- Combine Forces: Pour the wet ingredients into the dry ingredients. Mix on low speed with an electric mixer (or by hand with a whisk) until just combined. Do not overmix! A few small lumps are okay.
- Hot Liquid Boost: Carefully pour in the hot water or coffee. Mix on low speed until the batter is smooth. It will be thin – don’t panic, that’s what we want for high altitude moistness!
- Divide & Conquer: Divide the batter evenly between your prepared cake pans.
- Bake It Up: Bake for 28-32 minutes, or until a wooden skewer inserted into the center comes out with moist crumbs, not wet batter.
- Cool Down: Let the cakes cool in their pans for about 10-15 minutes before inverting them onto a wire rack to cool completely. Don’t rush this step, or they might break!
Common Mistakes to Avoid
- Not Sifting the Flour: Hello, lumps! Your cake will thank you for the extra step.
- Overmixing the Batter: This is a big one. Overmixing develops the gluten too much, leading to a tough, dry cake. Mix until *just* combined.
- Opening the Oven Door Too Soon: Patience, grasshopper! Your cake needs time to set. Opening the door lets cold air in, which can cause your cake to collapse.
- Ignoring Room Temperature Ingredients: Cold eggs and buttermilk don’t emulsify as well, affecting the cake’s texture.
- Not Using Parchment Paper: Seriously, it makes removing the cakes SO much easier. Saves you from potential breakage and tears.
Alternatives & Substitutions
- No Buttermilk? No Problem! You can make your own by adding 1 tablespoon of white vinegar or lemon juice to a measuring cup, then filling the rest with regular milk until you reach 1 cup. Let it sit for 5-10 minutes until it slightly curdles. Voila!
- Oil vs. Butter: While butter adds flavor, oil often yields a moister cake, especially at high altitude. If you prefer, you can use melted unsalted butter, but be prepared for a slightly different (potentially less moist) texture.
- Coffee vs. Water: The hot coffee is truly magical for chocolate cakes, intensifying the cocoa flavor without making it taste like coffee. If you’re really not a coffee person, hot water works just fine.
- Frosting Fun: This cake pairs beautifully with almost any frosting. A classic chocolate buttercream is a winner, but a cream cheese frosting or even a simple ganache would be absolutely divine.
FAQ (Frequently Asked Questions)
- Why is “high altitude” baking even a thing?
Oh, it’s totally a thing! At higher elevations, there’s less atmospheric pressure, which makes leavening agents (like baking soda) work overtime, causing cakes to rise too quickly and then collapse. Liquids also evaporate faster, leading to dry cakes. This recipe accounts for all that jazz!
- My cake sank in the middle! What happened?
Bummer! It’s usually due to too much leavening (which this recipe adjusts for!), opening the oven door too early, or sometimes overmixing. Next time, resist the urge to peek and trust the process!
- Can I use Dutch-processed cocoa powder instead of natural?
Technically, yes, but it’s best to stick with natural cocoa powder here. This recipe uses baking soda, which needs the acidity of natural cocoa to activate properly. Dutch-processed cocoa is less acidic, so your cake might not rise as well.
- How do I know my cake is done without opening the oven?
The best way is by lightly pressing the top of the cake—if it springs back, it’s probably ready. Or, listen for quiet. A cake that’s still bubbling and sizzling isn’t done. But the toothpick test is usually a pretty safe bet once you’re near the end of the baking time!
- Can I make this into cupcakes?
Absolutely! Adjust baking time to about 18-22 minutes, or until a toothpick comes out clean. You’ll probably get about 24 standard cupcakes.
- How long does this cake last?
If covered tightly at room temperature, it’ll happily last for 3-4 days. In the fridge, it’s good for up to a week. But honestly, it probably won’t last that long. It’s too delicious!
Final Thoughts
See? High-altitude baking isn’t so scary after all, especially when you have a killer recipe like this in your arsenal. You’ve just whipped up a moist, rich, utterly delicious chocolate cake that defies gravity and thin air. Now go impress someone—or yourself—with your new culinary skills. You’ve earned it! Grab a slice, maybe a glass of milk, and pat yourself on the back. You’re a high-altitude baking rockstar!


