So you’re craving something tasty but too lazy to spend forever in the kitchen, huh? Same. And it’s someone’s birthday (maybe yours, no judgment!), meaning chocolate cake is pretty much mandatory. But who has time for a multi-tiered, fondant-covered masterpiece? Not us, friend. We’re here for the *simple* chocolate birthday cake that tastes like a hug and looks like you actually tried, but secretly took minimal effort. Let’s bake some magic!
Why This Recipe is Awesome
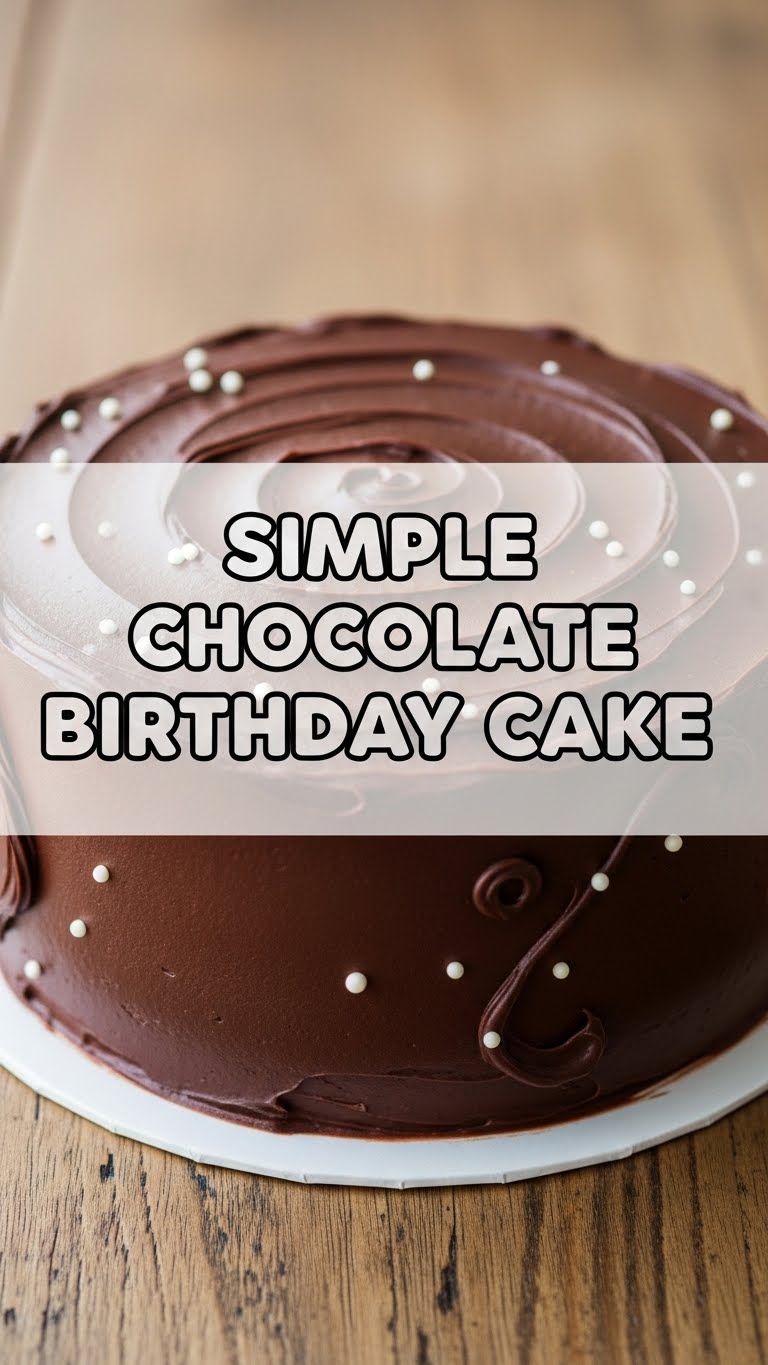
Okay, real talk. This isn’t just *a* chocolate cake recipe; it’s *the* chocolate cake recipe for when you want maximum deliciousness with minimum fuss. Think moist, fudgy, chocolatey goodness that basically screams ‘I love you’ (or ‘I love chocolate, mostly’). It’s so straightforward, even my cat could probably supervise it successfully. Seriously, it’s pretty much idiot-proof. You just mix stuff, bake stuff, and then eat stuff. Perfection!
Ingredients You’ll Need
- All-purpose flour: The structural engineer of our delicious dreams.
- Granulated sugar: For sweetness, because life’s better with sugar.
- Unsweetened cocoa powder: The star of the show! Go for good quality; your taste buds will thank you.
- Baking soda & baking powder: Our trusty leavening agents, making sure things rise to the occasion.
- Salt: Don’t skip it! It brings out all that chocolatey flavor.
- Large eggs: Room temperature, please! They mix better and make a smoother batter.
- Milk: Whole milk for richness, but whatever you have on hand usually works.
- Vegetable oil: Or any neutral oil. Keeps things super moist. Butter could work too, but oil is a shortcut to moistness.
- Vanilla extract: Essential for depth of flavor. Don’t be shy.
- Hot water or hot coffee: Pro tip: Hot coffee deepens the chocolate flavor without making it taste like coffee! If you’re coffee-averse, hot water is totally fine.
Step-by-Step Instructions
- Prep Time! Preheat your oven to 350°F (175°C). Grease and flour a 9-inch round cake pan. If you’re feeling fancy (or just smart), line the bottom with parchment paper. This makes removal a breeze.
- Dry Mix Fun. In a large bowl, whisk together the flour, sugar, cocoa powder, baking soda, baking powder, and salt. Make sure there are no lumps of cocoa lurking!
- Wet Mix Wonders. In another bowl, whisk together the eggs, milk, vegetable oil, and vanilla extract.
- Combine Forces. Pour the wet ingredients into the dry ingredients. Mix on low speed (or by hand) until just combined. Don’t overmix; we’re aiming for cake, not concrete.
- The Hot Liquid Secret. Slowly pour in the hot water or coffee. Mix until the batter is smooth. It will be thin, but that’s okay! It’s supposed to be.
- Bake It Up! Pour the batter into your prepared cake pan. Bake for 30-35 minutes, or until a wooden skewer inserted into the center comes out clean.
- Cool Down. Let the cake cool in the pan for about 10-15 minutes before inverting it onto a wire rack to cool completely. Patience is a virtue here! Don’t try to frost a warm cake unless you enjoy a melted, messy frosting situation.
Common Mistakes to Avoid
- Not preheating your oven: Seriously, just do it. It’s like jumping into a cold pool without testing the water. Your cake will thank you.
- Overmixing the batter: This is the express train to tough, dry cake town. Mix until just combined, then stop. Walk away from the mixer!
- Opening the oven door constantly: Every time you peek, you let out heat, which can make your cake sink. Resist the urge until near the end of the baking time.
- Forgetting to grease/flour your pan: Unless you enjoy a cake that’s permanently bonded to its pan, do this step. Or use parchment paper, your call!
- Frosting a warm cake: This is a capital offense in the baking world. Your frosting will melt, slide off, and you’ll cry. Just wait.
Alternatives & Substitutions
- No buttermilk? No problem! You can make your own ‘sour milk’ by adding 1 tablespoon of white vinegar or lemon juice to a measuring cup, then filling the rest with regular milk to 1 cup. Let it sit for 5 minutes. Voila!
- Oil vs. Butter: While this recipe uses oil for that amazing moistness, if you’re a die-hard butter fan, you *can* use melted butter. Just be aware the texture might be slightly different. Both are delicious, IMO.
- Coffee for Hot Water: As mentioned, hot coffee (even instant coffee dissolved in hot water) seriously elevates the chocolate flavor. If you’re not a coffee person, just stick to hot water. No biggie.
- Gluten-Free Flour: I haven’t personally tested it with this exact recipe, but a good 1:1 gluten-free baking blend *might* work. Just make sure it contains xanthan gum.
FAQ (Frequently Asked Questions)
- “Can I use margarine instead of butter?” Well, technically yes, but why hurt your soul like that? Butter just tastes better, let’s be real. If it’s all you have, go for it, but don’t expect the same richness.
- “My cake sank in the middle! What happened?” Oh no! Could be a few things: opening the oven door too early, overmixing the batter, or your baking soda/powder might be old. Check those expiration dates, folks!
- “How can I make this into cupcakes?” Easy peasy! Fill cupcake liners about 2/3 full. Bake for 18-22 minutes. Keep an eye on them, as oven times vary. You’ll get around 18-24 cupcakes.
- “What kind of frosting should I use?” A classic chocolate buttercream is always a winner! Or a simple ganache if you’re feeling fancy-but-still-lazy. Don’t overthink it.
- “Can I make this cake ahead of time?” Absolutely! This cake actually tastes even better the next day. Store it unfrosted, wrapped tightly at room temp for up to 2 days, or frosted in an airtight container.
Final Thoughts
There you have it, superstar! A simple chocolate birthday cake that doesn’t require a culinary degree or a whole weekend to make. You just whipped up something delicious that will make hearts (and tummies) happy. Whether it’s for a birthday, Tuesday, or just because you deserve chocolate, you’ve totally got this. Now go impress someone—or yourself—with your new culinary skills. You’ve earned it! Don’t forget to lick the bowl, it’s tradition.


