So you’ve just baked a glorious chocolate cake, huh? Or maybe you bought one and you’re just leveling it up, no judgment here! Either way, it needs icing. And not just *any* icing – it needs THE icing. The one that makes people gasp and ask for the recipe, but is secretly so easy you’ll wonder why you ever bought those tubs of disappointment. Trust me, friend, this is it.
Why This Recipe is Awesome
Listen, if you can stir, you can make this. It’s ridiculously easy. Seriously, even if you sometimes burn water, you can do this. This isn’t some complicated, French patisserie-level ganache (though those are great too!). This is real-talk, ready-in-minutes deliciousness.
It tastes like heaven. Rich, chocolatey, smooth – everything good in the world, wrapped up in a creamy, spreadable dream. Plus, it’s quick! Like, “Netflix episode intro” quick. No fancy equipment needed either. Just a bowl, a whisk (or mixer, if you’re feeling bougie), and your amazing self. **It’s idiot-proof, even I didn’t mess it up!**
Ingredients You’ll Need
Gather your troops, folks! Here’s what you’ll need for this chocolatey triumph:
- 1 cup (2 sticks) Unsalted Butter: Softened, but not melted. Think “spreadable,” not “liquid gold.” Leave it out on the counter for an hour or two.
- 3-4 cups Powdered Sugar (Confectioners’ Sugar): The super-fine stuff. Don’t even *think* about granulated sugar unless you want a gritty disaster.
- 3/4 cup Unsweetened Cocoa Powder: The good, dark stuff. This is where your chocolate flavor comes from, so don’t skimp on quality!
- 1/4 cup Milk (or Cream): Whole milk works best, or heavy cream for extra decadence. Just a splash!
- 1 teaspoon Vanilla Extract: Non-negotiable. It’s the little black dress of baking, makes everything better.
- Pinch of Salt: Yes, salt! It balances the sweetness and makes the chocolate pop. Don’t skip it, trust me. It’s the secret weapon.
Step-by-Step Instructions
Alright, apron on (or not, whatever), let’s get this show on the road!
- Cream the Butter: In a medium bowl, beat your beautifully softened butter until it’s light and fluffy. Use a stand mixer with a paddle attachment, a hand mixer, or a strong whisk if you’re building arm muscles. This usually takes about 2-3 minutes.
- Add Dry Ingredients: Gradually add the powdered sugar and cocoa powder to the butter, alternating a bit. Start on low speed to avoid a cocoa cloud explosion (been there, done that, wore the evidence), then increase to medium until mostly combined.
- Mix in Liquids: Pour in the milk (or cream) and vanilla extract. Beat until everything is smooth and perfectly combined. Scrape down the sides of the bowl as needed to make sure all ingredients are incorporated.
- Season with Salt: Add that tiny, but mighty, pinch of salt. Mix again briefly, just to distribute it evenly. This truly makes a difference!
- Adjust Consistency: Take a look. Is it too thick for your liking? Add a bit more milk, a teaspoon at a time, until it’s perfect. Too thin? Add a tablespoon or two more powdered sugar. You want it spreadable, not soupy.
- Frost Away! And that’s it! You’ve done it! Now, go forth and gloriously frost your chocolate cake. Seriously, you just made magic.
Common Mistakes to Avoid
Look, we all make mistakes. But with this list, you won’t make *these* mistakes. You’re welcome.
- **Using Cold Butter:** This is like trying to convince a cat to take a bath – it’s just not going to work out smoothly. Cold butter equals lumpy, impossible-to-mix icing. **Always use softened butter!** Your arm (or mixer) will thank you.
- **Skipping the Salt:** You might think, “Salt in frosting? Weird.” But trust me, it’s the secret ingredient that elevates everything, cutting through the sweetness and enhancing the chocolate. Without it, your icing can taste flat.
- **Eyeballing the Milk:** While I encourage creativity, for the liquid, it’s better to add gradually. Adding too much milk too fast is the quickest way to runny, un-spreadable frosting. Rookie mistake!
- **Over-mixing:** Once it’s smooth and combined, stop. Over-mixing can incorporate too much air, making it less stable and potentially greasy if it gets warm. Plus, you’re just wasting energy.
Alternatives & Substitutions
Feeling a little rebellious? Want to try something new? Here are a few ways to shake things up:
- Dairy-Free Delight: Use a good quality dairy-free butter substitute (like Earth Balance sticks) and a plant-based milk (almond or oat milk work great). The texture might be slightly different, but still delicious!
- Spice it Up: A pinch of cinnamon, a tiny dash of cayenne pepper (for a Mexican hot chocolate vibe!), or a teaspoon of espresso powder (instant coffee dissolved in a *tiny* bit of hot water) can really deepen the chocolate flavor. It’s like chocolate’s best friend.
- Boozy Frosting: Replace a tablespoon of the milk with Kahlua, rum, Irish cream, or a chocolate liqueur. **Adults only, please!** (But totally worth it for grown-up gatherings).
FAQ (Frequently Asked Questions)
Got questions? I’ve got answers. Probably. 😉
Q: Can I use margarine instead of butter?
A: Well, technically yes, you *can*, but why hurt your soul like that? Butter just tastes better, IMO, and gives a far creamier, richer texture. If that’s all you have, go for it, but just know butter is superior.
Q: My icing is too runny! What do I do?
A: Don’t panic! No need to call in the cavalry. Gradually add more powdered sugar, a tablespoon at a time, mixing well after each addition, until it reaches your desired consistency. You’ll get there!
Q: My icing is too thick! Help!
A: No worries, we can fix this too. Add more milk (or cream), a teaspoon at a time, until it’s perfectly spreadable. Don’t dump it all in at once unless you want to reverse the previous problem!
Q: How long does this frosting last?
A: Stored in an airtight container in the fridge, it’ll be good for about a week. Let it come to room temperature and give it a quick re-whip with your mixer before using to bring back that fluffy texture.
Q: Can I make it darker?
A: Absolutely! Use Dutch-processed cocoa powder for a darker, less bitter chocolate flavor. Or, if you’re feeling extra, add a *tiny* bit of black food coloring gel (seriously, just a drop or two!).
Q: Is this good for piping?
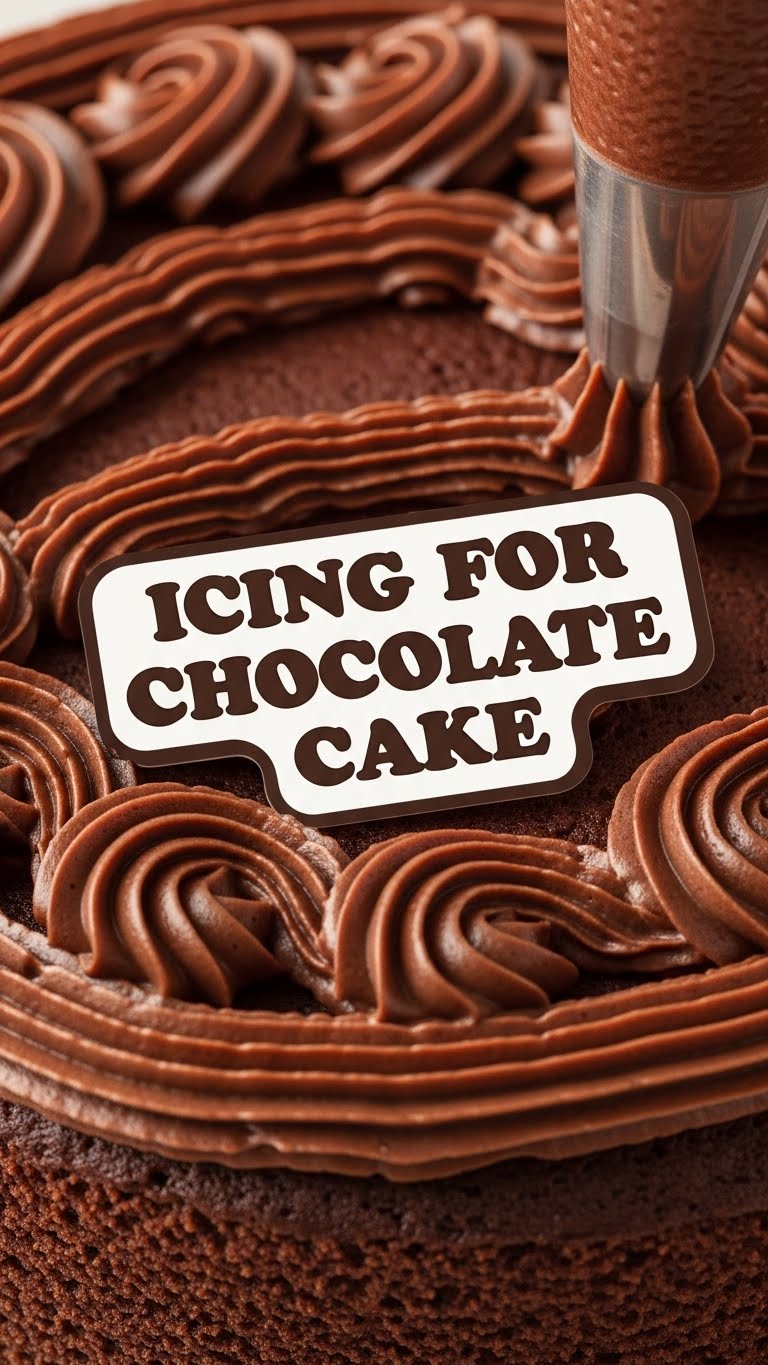
A: Yes, totally! Just make sure it’s firm enough to hold its shape but still soft enough to pipe easily. You might want to lean towards the slightly thicker side for piping. Adjust consistency with a touch more sugar or milk if needed.
Final Thoughts
See? That wasn’t so scary, was it? You just whipped up a batch of glorious, rich chocolate icing that’s going to make your cake sing. You’re basically a kitchen wizard now. Seriously, go take a bow. And then eat some cake. You know you want to.
Now go impress someone – or yourself – with your new culinary skills. You’ve earned it! Enjoy every delicious, chocolatey bite!


