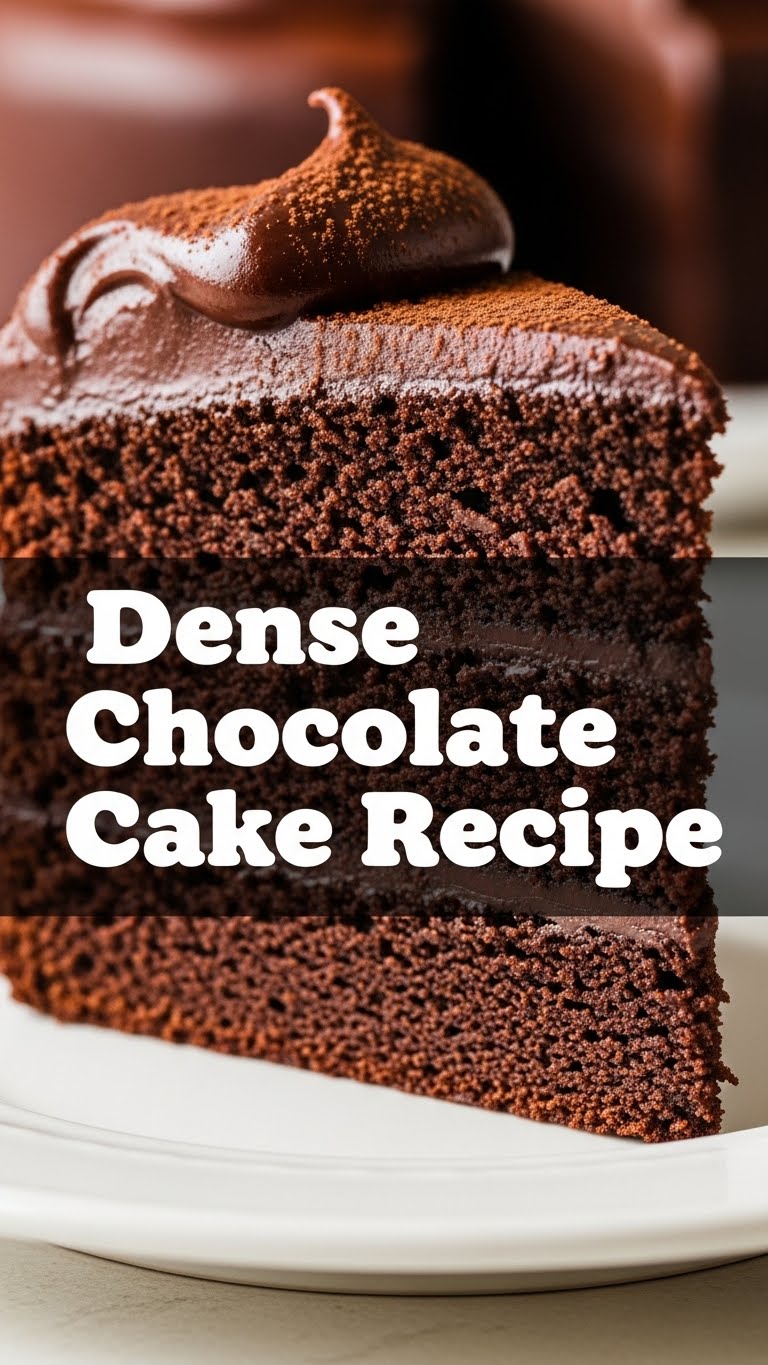
So you’re craving something tasty but too lazy to spend forever in the kitchen, huh? Same. What if I told you we could whip up a dense, fudgy, ‘OMG-is-this-heaven?’ chocolate cake without breaking a sweat or a single expensive gadget? Grab your apron (or just a clean shirt, no judgment here), because we’re diving into the absolute easiest dense chocolate cake recipe that’ll make you feel like a baking wizard.
Why This Recipe is Awesome
Alright, listen up. This isn’t just any chocolate cake recipe. This is THE chocolate cake recipe for when you want maximum chocolatey payoff for minimum effort. It’s so idiot-proof, even your cat could probably follow along (if it had opposable thumbs and a passion for cocoa, of course).
Seriously, no fancy techniques, no separating eggs, no stressing. Just pure, unadulterated chocolate bliss that comes out dense, moist, and ridiculously rich every single time. Plus, it uses common pantry staples, so you probably don’t even need a grocery run. Winning!
Ingredients You’ll Need
- All-Purpose Flour: Just your regular flour, nothing fancy. We’re not making artisan bread here.
- Granulated Sugar: Sweetness! Because life’s better with sugar, right?
- Unsweetened Cocoa Powder: This is where the magic happens. Don’t skimp on quality, your taste buds will thank you.
- Baking Soda & Baking Powder: Our dynamic duo for lift. Don’t mix them up, they’re not interchangeable!
- Salt: Just a pinch, to make all the other flavors sing. Seriously, don’t skip it.
- Eggs: Room temperature, please! They mix better, trust me on this one.
- Milk: Any kind works, but whole milk gives that extra richness.
- Vegetable Oil: Or canola. This is our secret weapon for mega moistness. Don’t use olive oil, unless you want a savory chocolate cake (you don’t).
- Vanilla Extract: A splash for warmth and depth. Use the good stuff if you can.
- Boiling Water: The unexpected hero! It blooms the cocoa for ultimate flavor.
Step-by-Step Instructions
Preheat & Prep: First things first, preheat your oven to 350°F (175°C). Grease and flour a 9×13 inch baking pan. Or line it with parchment paper if you’re feeling fancy.
Dry Mix Fun: In a large bowl, whisk together the flour, sugar, cocoa powder, baking soda, baking powder, and salt. Make sure there are no lumps—nobody wants a mouthful of dry flour.
Wet Mix Whisk: In a separate medium bowl, whisk together the eggs, milk, vegetable oil, and vanilla extract until well combined. Don’t overmix, just combine.
Combine Forces: Pour the wet ingredients into the dry ingredients. Mix on low speed with an electric mixer, or by hand with a spatula, until just combined. Do not overmix! Overmixing develops gluten and can make your cake tough.
The Hot Secret: Carefully pour the boiling water into the batter. It will look super thin—don’t panic! Whisk until smooth. This step is crucial for that super fudgy texture and intense chocolate flavor.
Bake It Up: Pour the batter into your prepared pan. Bake for 30-35 minutes, or until a wooden skewer inserted into the center comes out with moist crumbs, not wet batter.
Cool Down: Let the cake cool in the pan for about 10-15 minutes before transferring to a wire rack to cool completely. Patience is a virtue, especially when cake is involved.
Common Mistakes to Avoid
Skipping the boiling water: Don’t do it! It might look weird, but it’s key for blooming the cocoa and that incredible texture. This is not optional, people.
Overmixing the batter: We talked about this! A tough cake is a sad cake. Mix until just combined. A few small lumps are okay.
Not preheating the oven: Rookie mistake! Your cake won’t rise properly if the oven isn’t at temperature from the start. Plan ahead, oven-ignorer!
Opening the oven door constantly: Resist the urge! Every time you open it, you let heat out, which messes with the baking process and can make your cake sink. Peek through the glass, that’s what it’s for.
Cutting into it too soon: I know, the smell is intoxicating. But wait until it’s cooled! A warm cake crumbles easily and can be difficult to frost.
Alternatives & Substitutions
Milk: No whole milk? Skim, 2%, or even almond milk works perfectly fine here. You might lose a tiny bit of richness, but it’s still delicious. Soy milk is also a good option for dairy-free.
Oil: Canola oil or any neutral-flavored vegetable oil is your best bet. Coconut oil could work, but it might impart a slight coconut flavor, which some love, some don’t. Your call!
Cocoa Powder: Unsweetened natural cocoa powder is what the recipe calls for. If you only have Dutch-processed, it’ll still work, but the cake might be a tad less dark and rise slightly differently. No biggie, still chocolatey.
Coffee: For an even deeper chocolate flavor (without tasting like coffee!), you can substitute brewed hot coffee for the boiling water. Trust me, it’s a game-changer. IMO, this is the ultimate hack.
FAQ (Frequently Asked Questions)
“Can I use margarine instead of oil?” Well, technically yes, but why hurt your soul (and your cake’s texture) like that? Oil gives it that incredible moistness; margarine just won’t hit the same. Stick with oil, please.
“My cake sank in the middle! What happened?” Oh no! Usually, that means it was underbaked, or you opened the oven door too early, or maybe your baking soda/powder is old. Check those expiration dates, folks!
“Can I make this in round cake pans?” Absolutely! This recipe usually fits two 8-inch round pans. Just adjust baking time—they’ll likely bake faster, around 25-30 minutes. Keep an eye on them!
“What kind of frosting should I use?” Honestly, anything. A simple chocolate buttercream, a cream cheese frosting, or even just a dusting of powdered sugar. But if you want to go full-on decadent, a rich ganache is *chefs kiss*.
“How long does this cake last?” If it even lasts that long, it’s usually good for 3-4 days at room temperature (covered, of course). You can also freeze slices for a chocolate emergency later!
“Is this recipe dairy-free if I use plant-based milk?” Yes, if you use a plant-based milk and ensure your chocolate (if adding chips/frosting) is dairy-free, you’re good to go! FYI, this cake is already butter-free.
Final Thoughts
So there you have it, your new go-to dense chocolate cake recipe that’s almost criminally easy. You just made a cake that looks and tastes like it took hours, but in reality, you probably spent more time choosing which Netflix show to binge while it baked. Now go impress someone—or yourself—with your new culinary skills. You’ve earned it! And maybe, just maybe, share a slice or two. Or don’t. I won’t tell. Happy baking!


