So you’ve baked a gorgeous chocolate rectangle cake, and now it just… sits there? Looking a bit… naked? Don’t you dare think about calling it “rustic” and serving it as is! We’re about to give that beautiful beast a glow-up without breaking a sweat (or a single perfect crumb). Get ready to transform your humble rectangle into a showstopper, even if your artistic skills peaked with stick figures. Trust me, it’s easier than parallel parking.
Why This Decoration Guide is Awesome
Because let’s be real, life’s too short for complicated cake decorating that requires a diploma in pastry arts. This isn’t about perfectly tempered chocolate sculptures or edible glitter explosions (unless you’re into that, no judgment here!). This guide is about making your rectangle chocolate cake look like you *actually tried*, but without the hours of frustration. It’s forgiving, it’s fun, and it’s practically **idiot-proof** – even I managed it without a single catastrophic frosting mishap. Plus, you can hide any little baking imperfections under a blanket of deliciousness. Win-win, IMO!
Ingredients You’ll Need
Think of these as your cake’s wardrobe. Mix and match for ultimate fashion success!
- **Your beautifully baked (and cooled!) Rectangle Chocolate Cake:** Seriously, make sure it’s cool. Unless you’re going for a lava cake aesthetic, which… actually, maybe not.
- **1-2 tubs (or homemade batch) of Chocolate or Vanilla Frosting:** Store-bought? No shame in that game! We’re here for the fun, not the fuss.
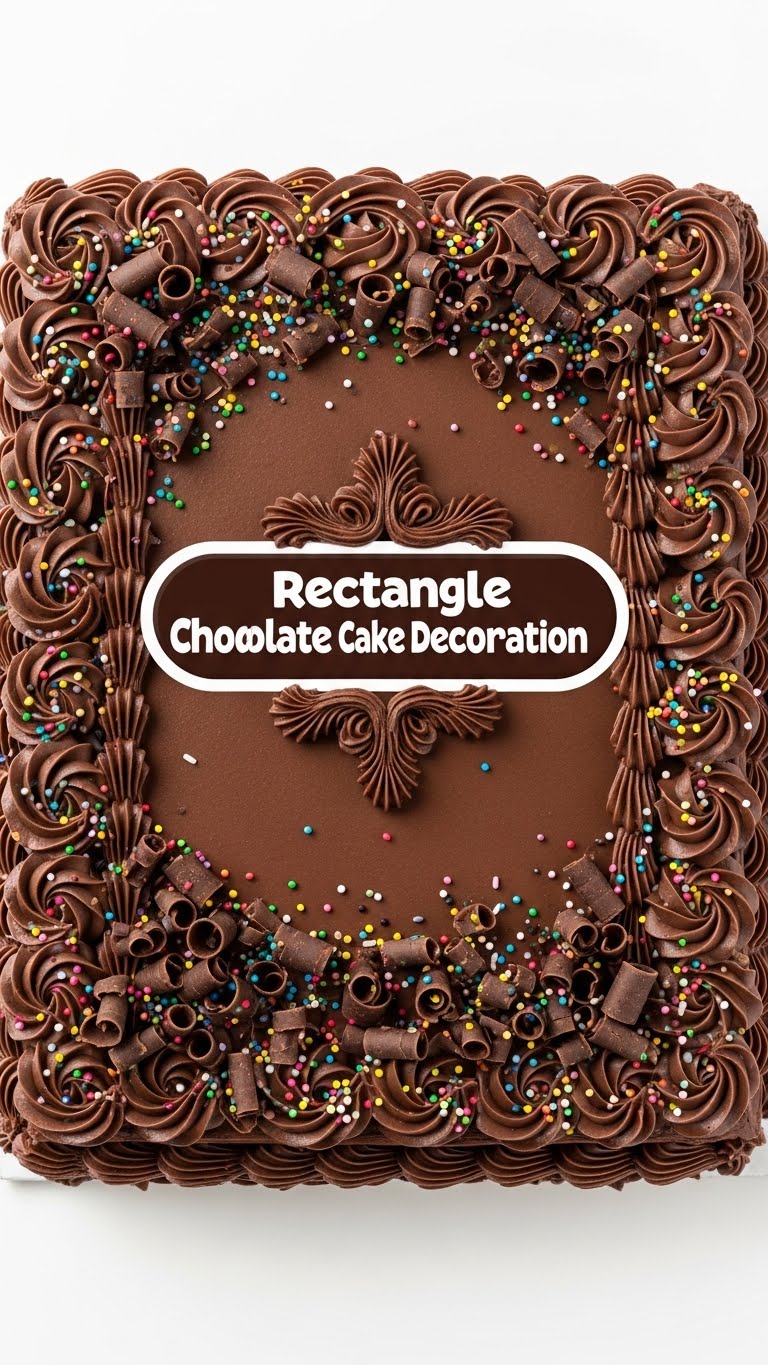
- **Sprinkles Galore:** The more colorful, the better! Think confetti, jimmies, nonpareils, or even fancy metallic ones if you’re feeling bougie.
- **Chocolate Shavings or Chips:** Because more chocolate is always the answer. Always.
- **Fresh Berries (optional):** Strawberries, raspberries, blueberries – they add a pop of color and a touch of “I’m a healthy person” vibe.
- **Powdered Sugar (optional):** For a simple, elegant dusting. Looks fancy, takes zero effort.
Step-by-Step Instructions
- **Cool It Down, Buttercup:** First things first, ensure your cake is completely, utterly, absolutely cool. A warm cake + frosting = a melty, crumbly disaster. Don’t say I didn’t warn you.
- **The Crumb Coat (Your Secret Weapon):** Gently spread a very thin layer of frosting all over the cake – top and sides. This “crumb coat” traps any loose crumbs so your final layer is smooth and beautiful. Don’t worry if it looks messy; it’s like the cake’s underwear.
- **Chill Out:** Pop your crumb-coated cake into the fridge for about 15-20 minutes. This lets the frosting firm up, making the final coat a breeze.
- **The Main Event – Frosting Time!** Once chilled, apply a generous second layer of frosting. Use an offset spatula or a butter knife to spread it evenly over the top and down the sides. For a rustic look, just swirl it around. For smoother sides, drag your spatula along, wiping off excess as you go.
- **Let the Fun Begin – Decorate!** This is where your inner artist (or mischievous toddler) comes out.
- **Sprinkle It Up:** For maximum impact, grab a handful of sprinkles and go wild! You can cover the entire top, just the edges, or create a fun pattern.
- **Chocolate Wonderland:** Scatter those chocolate chips or shavings over the top. You can make a mountain in the middle or distribute them evenly.
- **Berry Bliss:** Arrange fresh berries artfully (or haphazardly, it’s your cake!) on top. They look amazing along the edges or clustered in the center.
- **Dust with Magic:** For a super quick, elegant finish, simply dust the entire frosted cake with powdered sugar using a small sieve.
- **Final Chill (Optional, but Recommended):** If you want your decoration to really set and look sharp, give the cake another 15-minute chill.
Common Mistakes to Avoid
- **Frosting a Warm Cake:** We talked about this. It’s the #1 rookie mistake. Your cake will weep, your frosting will melt, and you’ll end up with a sad, crumbly mess. Don’t do it!
- **Skipping the Crumb Coat:** Thinking you’re too cool for school and skipping this step? Prepare for crumbageddon in your final frosting layer. It’s a tiny step that makes a HUGE difference.
- **Using Too Little Frosting:** Be generous! A skimpy layer of frosting is harder to spread evenly and leaves your cake looking… hungry.
- **Overthinking It:** This isn’t brain surgery, it’s cake decoration! Don’t stress about perfection. A slightly uneven swirl or an artfully scattered sprinkle can look charmingly homemade.
- **Forgetting to Taste-Test as You Go:** Okay, this isn’t a mistake, but it is a missed opportunity. Make sure that frosting is up to snuff! (Just kidding… mostly).
Alternatives & Substitutions
Feeling adventurous? Or just ran out of jimmies? No problem!
- **Frosting Flavors:** Instead of classic chocolate or vanilla, try cream cheese frosting (divine!), peanut butter frosting, or even a luscious caramel buttercream. Your cake, your rules!
- **Topping Swaps:**
- **Nuts:** Chopped pecans, walnuts, or almonds add a lovely crunch and sophisticated touch.
- **Edible Flowers:** If you’re feeling fancy, a few food-safe blooms can elevate your cake instantly.
- **Coconut Flakes:** Toasted or plain, coconut adds a tropical twist.
- **Candy Bars:** Chop up your favorite candy bar and sprinkle it over the top. Think Snickers, Kit Kat, M&Ms… the possibilities are endless!
- **Cookie Crumbles:** Oreos, Graham crackers, shortbread – crush ’em up and scatter away.
- **Glaze instead of Frosting:** For a super simple, glossy finish, you could whip up a quick chocolate ganache or a simple powdered sugar glaze. Less fuss, still delicious.
FAQ (Frequently Asked Questions)
Got questions? I’ve got (casual) answers!
- **Q: Can I use store-bought frosting?**
A: Well, technically yes, and honestly, why wouldn’t you if you’re short on time? It’s perfectly fine! No one’s judging your frosting source, only how delicious the end result is. - **Q: What if my cake crumbles a lot when I try to frost it?**
A: Ah, the crumb monster strikes! This usually means your cake might be a tad too fresh or not quite cool enough. The crumb coat is your best friend here. If it’s still crumbly, try chilling the cake for longer before applying any frosting. **A super cold cake is a happy frosting cake!** - **Q: How do I get really smooth sides?**
A: Practice, my friend, practice! But a good trick is to use an offset spatula or a long, straight bench scraper. Apply a generous amount of frosting, then hold your tool perpendicular to the cake and drag it along, rotating the cake (if on a turntable) or moving yourself. Scrape off excess frosting from your tool after each pass. - **Q: Can I use a regular knife for frosting?**
A: Absolutely! A butter knife or a small palette knife works perfectly well for a home baker. Don’t feel pressured to buy fancy tools unless you want to. - **Q: How long will my decorated cake last?**
A: Covered at room temperature, it’s usually good for 2-3 days. In the fridge, it can last 4-5 days. Just make sure it’s covered tightly to prevent it from drying out!
Final Thoughts
See? That wasn’t so bad, was it? You just took a humble rectangle cake and turned it into a masterpiece (or at least, something that looks darn good for a Tuesday night). The best part about decorating is that there are no hard and fast rules. It’s *your* cake, so make it look exactly how you want it! Now go impress someone—or yourself—with your new culinary *and* artistic skills. You’ve earned it!


