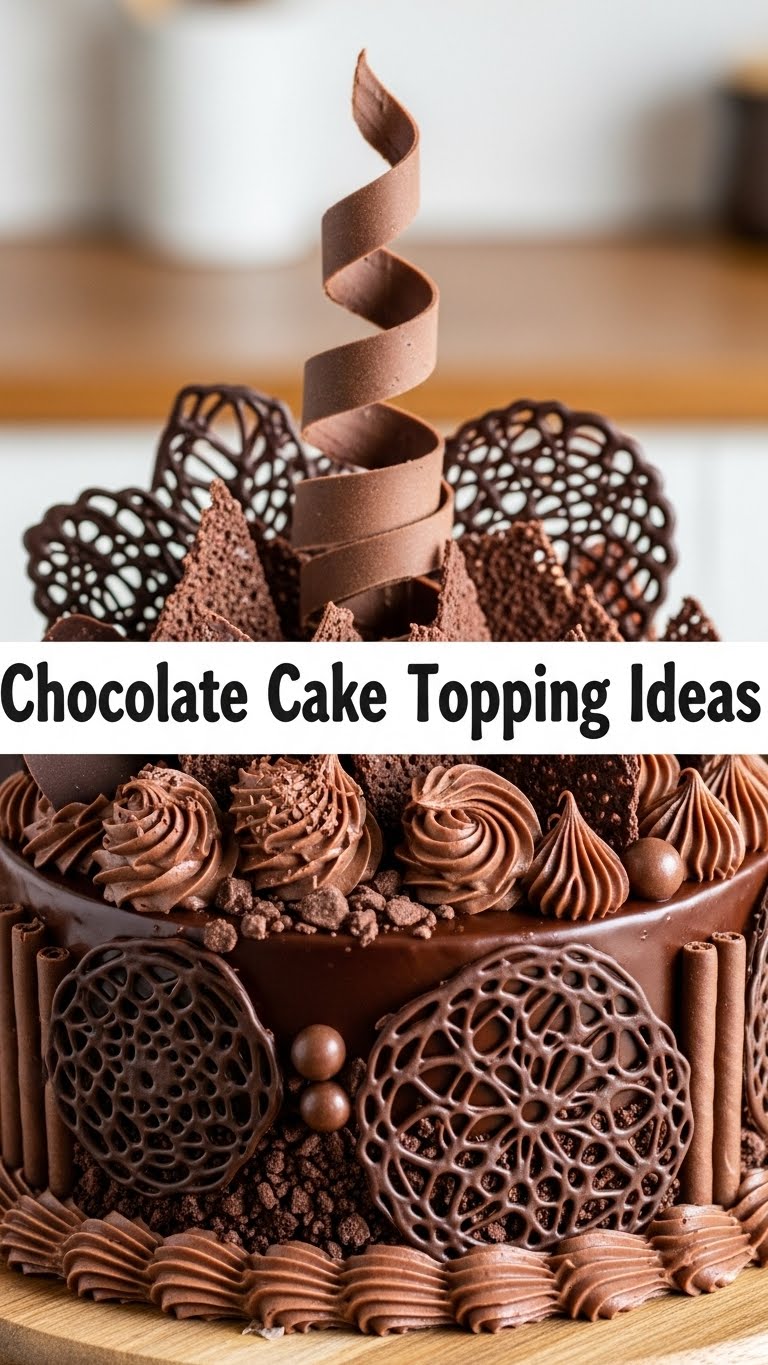
So, you’ve just pulled a glorious chocolate cake out of the oven, and it smells like pure happiness. But wait! Is it *done*? I mean, really, truly, ready-for-its-close-up done? Or is it just… a cake? Because, let’s be real, a chocolate cake without a show-stopping topping is like a Netflix binge without snacks: utterly incomplete and slightly depressing. Fear not, my friend, because we’re about to dive into the wonderful world of chocolate cake crowns that are so easy, even your cat could *almost* make them (if your cat had opposable thumbs and an affinity for sugar, that is). No more boring, naked cakes on our watch!
Why These Toppings Are Awesome
Because nobody has time for complicated recipes that require a culinary degree and obscure ingredients found only in artisanal gnome shops. These toppings are your secret weapon for looking like a baking superstar with minimal effort. We’re talking maximum “OMG, you made this?!” factor with minimum “OMG, I spent five hours on this” actual time investment. It’s **idiot-proof**, truly. If I, a person who once set off a smoke alarm making toast, can nail these, you’re practically a Michelin-starred chef already. Plus, they’re wildly versatile, so you can mix and match to suit your mood or whoever you’re trying to impress (mostly yourself, let’s be honest).
Ingredients You’ll Need
Alright, gather your glorious goodies! We’re covering a few all-star topping options here, so pick your poison, or go wild and make all three!
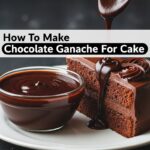
For the Luscious Chocolate Ganache (because, duh)
- 1 cup (about 6 oz) good quality chocolate chips or chopped chocolate: Dark, semi-sweet, milk – your call, boss. Don’t skimp here; your cake deserves better than questionable waxy chocolate.
- 1 cup heavy cream: Yes, the full-fat stuff. This isn’t the time for “light.” We’re making magic, not sad-diet-food.
For the Cloud-Like Whipped Cream (the classic, but better)
- 1 cup very cold heavy cream: Again, heavy! Cold is key for maximum fluffiness, trust me.
- 2-3 tablespoons powdered sugar: Or more, if you have a serious sweet tooth. It’s your party!
- 1/2 teaspoon vanilla extract: A splash of liquid hug for your tastebuds.
For the Sticky-Sweet Salted Caramel Drizzle (fancy AF, but easy)
- 1 cup granulated sugar: Your basic white sugar.
- 1/4 cup water: Just to help the sugar dissolve.
- 1/2 cup heavy cream (warmed): Important that it’s warm, or it’ll seize up. Don’t skip this step!
- 4 tablespoons unsalted butter (cut into pieces): Butter makes everything better, period.
- 1/2 teaspoon sea salt flakes: The “salted” part of salted caramel. Don’t use table salt, it’s not the same vibe.
- 1 teaspoon vanilla extract: Because it’s delicious.
Step-by-Step Instructions
Let’s Make That Ganache Shine!
- Grab your chocolate: Put your chocolate chips or chopped chocolate into a heat-proof bowl. Make sure it’s big enough to stir comfortably.
- Heat the cream: Pour the heavy cream into a small saucepan. Heat it over medium heat until it’s just simmering and you see small bubbles around the edges. **Do not let it boil vigorously!**
- Combine forces: Pour the hot cream directly over the chocolate. Let it sit there, undisturbed, for about 5 minutes. This gives the chocolate time to melt into submission.
- Stir it up: After its little spa treatment, gently stir the mixture with a whisk or spatula, starting from the center and working your way out. Keep stirring until it’s gloriously smooth, glossy, and lump-free.
- Drizzle away: Let it cool slightly to your desired drizzly consistency. If you want it thicker, let it cool more. If it gets too thick, a quick zap in the microwave (5-10 seconds) will loosen it up. **Pro tip:** Use it while it’s still warm for a beautiful glaze effect.
Whip Up That Cream Dream!
- Chill out: Make sure your bowl and whisk (or electric mixer beaters) are super cold. Pop them in the freezer for 10-15 minutes if you can. This helps with aeration.
- Pour and whisk: Pour the super cold heavy cream, powdered sugar, and vanilla extract into your chilled bowl.
- Whip it good: Using an electric mixer (or serious arm power!), start whisking on medium-low speed, then gradually increase to high. Whip until soft peaks form for a luscious dollop, or stiff peaks for something that holds its shape like a champion. **Don’t over-whip, or you’ll get butter!**
- Serve it fresh: Spoon or pipe it onto your cake immediately. Whipped cream is best enjoyed right after it’s made.
Master That Salted Caramel Drizzle!
- Sugar magic: In a medium saucepan, combine the granulated sugar and water. Stir until the sugar is dissolved, then stop stirring!
- Boil, baby, boil: Bring the mixture to a boil over medium-high heat. Let it bubble away, without stirring, until it turns a beautiful amber color. This usually takes about 8-10 minutes. **Keep an eye on it—it can go from perfect to burnt in seconds!**
- Cream time: Once it’s amber, remove the pan from the heat. Carefully (it’ll bubble up a lot!) pour in the warm heavy cream, whisking constantly. The mixture will seize a bit, that’s normal.
- Butter it up: Add the butter pieces, whisking until they’re fully melted and incorporated.
- Salt and vanilla: Stir in the sea salt flakes and vanilla extract.
- Cool down: Let the caramel cool in the pan for about 15-20 minutes, or until it’s thick enough to drizzle beautifully. Transfer to a jar for storage.
Common Mistakes to Avoid
- **Overheating your cream (for ganache):** If it boils too much, it can scorch the chocolate and make your ganache greasy or clumpy. Gentle simmer is your friend.
- **Stirring the sugar/water combo (for caramel):** Once that sugar starts to boil, resist the urge to stir! It can cause crystallization, making your caramel grainy. Just let it do its thing.
- **Using cold cream for caramel:** Adding cold cream to hot sugar will cause it to seize aggressively and potentially splatter, which is no fun and can burn you. **Warm your cream!**
- **Over-whipping the cream:** Unless you want butter (which is cool, but not what we’re aiming for here), stop when you reach those gorgeous peaks.
- **Being impatient:** Good things take a minute. Let the ganache sit, let the caramel cool. Rushing can lead to a sad, runny mess.
Alternatives & Substitutions
Feeling adventurous or missing an ingredient? No stress, we’ve got options!
- For the Ganache: Don’t have chocolate chips? A good quality chocolate bar, chopped finely, works even better! You can also infuse the cream with a dash of liqueur (like Kahlua or Grand Marnier) before heating for an adult twist. **IMO, a little espresso powder in the ganache enhances the chocolate flavor like crazy!**
- For the Whipped Cream: Swap vanilla for almond extract, peppermint extract, or even a citrus zest for a different vibe. No powdered sugar? Granulated sugar works, but powdered dissolves more smoothly. You can also fold in some fruit purée (raspberry, strawberry) for a fruity whipped cream.
- For the Salted Caramel: No sea salt flakes? A pinch of regular fine sea salt will do in a pinch, but the flakes give that satisfying pop of saltiness. You can also add a splash of bourbon or rum to the finished caramel for a boozy kick (let it cool a bit first).
FAQ (Frequently Asked Questions)
Got questions? I probably do too, but here are some common ones you might be pondering.
- **My ganache looks greasy/split! What did I do wrong?** Oh, the horror! This often happens from overheating or sometimes using chocolate with weird ratios. Try adding a tablespoon of *hot* water or milk, one at a time, whisking vigorously until it emulsifies again. It’s like magic!
- **Can I make these toppings ahead of time?** Absolutely! Ganache can be made a day or two in advance and stored in the fridge. Gently reheat and stir to loosen. Caramel keeps beautifully in an airtight container in the fridge for up to 2 weeks (reheat gently). Whipped cream, however, is best made fresh right before serving. **FYI**, it doesn’t hold up super well.
- **What’s the best way to apply the ganache?** Depends on the look you’re going for! For a smooth, shiny pour, use it while warm and runny. For a thicker, spreadable frosting, let it cool and firm up a bit, then beat it with an electric mixer.
- **Can I use margarine instead of butter for the caramel?** Well, technically yes, but why hurt your soul like that? Butter tastes better, performs better, and generally leads to a happier caramel. Just sayin’.
- **My caramel crystallized! Is it ruined?** If it’s just a few crystals, sometimes you can salvage it by adding a tiny bit of water and reheating gently while stirring. But if it’s a solid, grainy mess, it’s often a lost cause. Start fresh, and remember to **not stir** once the sugar is boiling!
Final Thoughts
See? That wasn’t so scary, was it? You’ve now unlocked the power to elevate any chocolate cake from “meh” to “marvelous” with minimal fuss. These toppings are your culinary playground, so feel free to experiment, mix and match, and make them truly your own. Whether you’re making a birthday cake, a “just because” cake, or a “I’m stressed and need chocolate” cake, these toppings will be the cherry (or ganache, or caramel, or whipped cream) on top. Now go impress someone—or yourself—with your new culinary skills. You’ve earned it!

