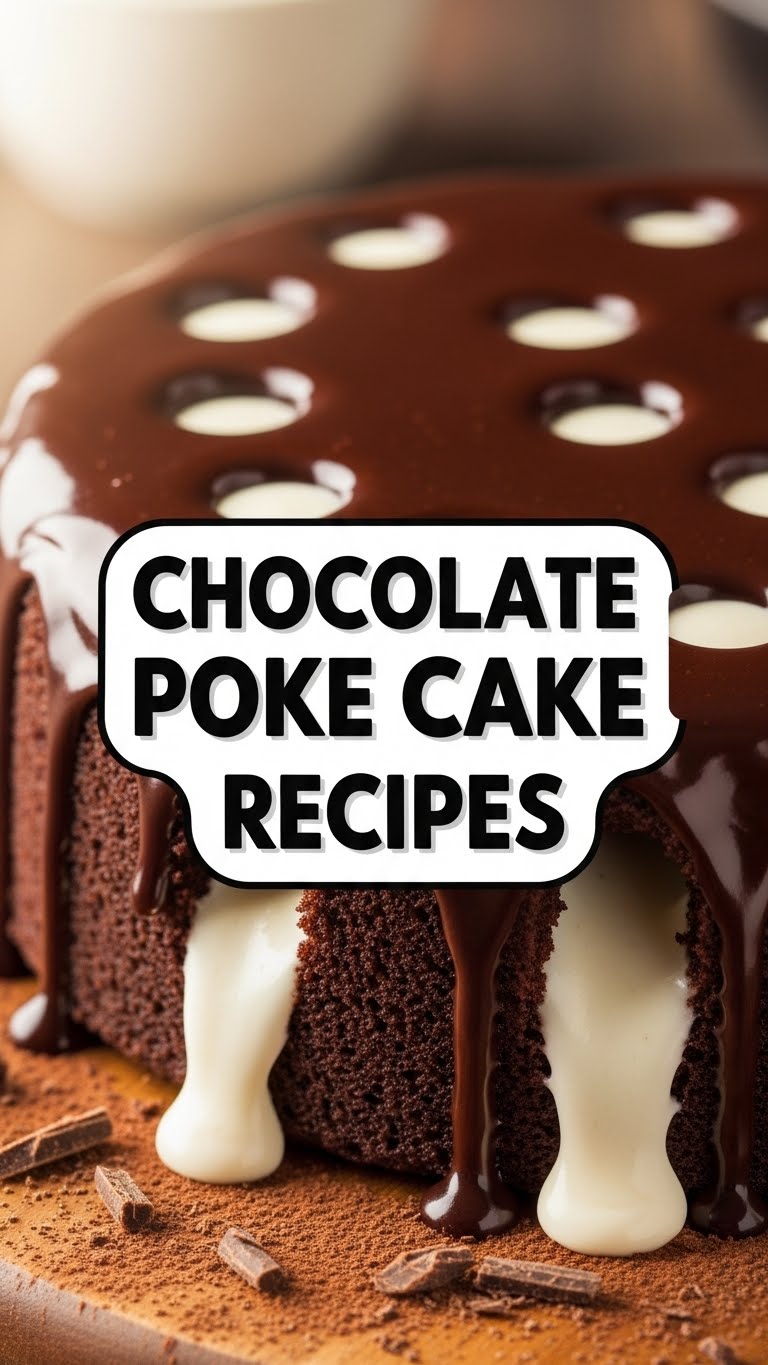
So you’re craving something sinfully chocolatey but the thought of a culinary marathon makes you wanna hibernate? Been there, bought the t-shirt, probably got chocolate on it. Good news: I’ve got your back with a recipe so easy, it practically bakes itself. We’re talking Chocolate Poke Cake, my friend. Prepare for maximum chocolate impact with minimal effort. Your tastebuds (and your couch) will thank you.
Why This Recipe is Awesome
Let’s be real, life’s too short for complicated desserts unless you’re getting paid for it. This Chocolate Poke Cake? It’s basically the culinary equivalent of a warm hug from a chocolate bar. It’s idiot-proof (even I didn’t mess it up, and that’s saying something). You get an intensely moist, outrageously chocolatey cake with basically zero fuss. Plus, it looks like you actually tried, which is always a bonus when you’re aiming for “culinary genius” but feeling “five minutes to midnight.” It’s perfect for parties, Tuesday nights, or just aggressively spooning straight from the pan. No judgment here.
Ingredients You’ll Need
Gather ’round, fellow sweet tooths! Here’s what you’ll need for this glorious chocolatey adventure. Most of this stuff probably lives in your pantry already, so bonus points for not having to leave the house.
- 1 box (approx. 15.25 oz) chocolate cake mix: Don’t judge. We’re here for good times, not baking awards.
- Ingredients to make the cake (eggs, oil, water): Just follow the instructions on your cake mix box. They know what’s up.
- 1 can (14 oz) sweetened condensed milk: This is the magic potion. Do NOT skip it.
- 1/2 cup chocolate syrup: More chocolate? Yes, please and thank you.
- 1 container (8 oz) whipped topping (like Cool Whip), thawed: Or make your own if you’re feeling fancy.
- Chocolate shavings or sprinkles (for garnish): Because bling makes everything better.
Step-by-Step Instructions
Alright, ovens on standby! Let’s get this show on the road. These steps are so easy, you could probably do them blindfolded. (Disclaimer: Don’t actually do them blindfolded. Hot oven, remember?)
- Bake the Cake: First things first, get that cake mix ready. Prepare and bake your chocolate cake according to the package directions in a 9×13 inch baking pan. Make sure you don’t overbake it; a toothpick inserted into the center should come out with moist crumbs, not wet batter.
- Get Your Poke On: Once the cake is out of the oven, let it cool for about 10-15 minutes. Now for the fun part! Using the handle of a wooden spoon (or a fork, or even a chopstick), poke holes all over the warm cake. Go wild, but don’t totally destroy it. You want enough holes for the good stuff to seep in.
- Sweet Shower Time: In a small bowl, whisk together the sweetened condensed milk and the chocolate syrup until combined. Pour this glorious mixture evenly over the poked cake, making sure it gets into all those beautiful little holes.
- Chill Out: Cover the cake and pop it into the fridge for at least 2-3 hours. This is crucial! It needs time to soak up all that yummy goodness and firm up. Patience, young Padawan, patience.
- Top It Off: Once thoroughly chilled, spread the thawed whipped topping generously over the top of the cake. Seriously, don’t be shy here.
- Garnish and Devour: Finish with a sprinkle of chocolate shavings or some festive sprinkles. Slice it up, serve, and bask in the glory of your chocolate masterpiece. You earned this!
Common Mistakes to Avoid
We’re all human, and sometimes humans make… interesting choices. Here are a few blunders to steer clear of if you want your Chocolate Poke Cake to reach its full potential:
- Not Poking Enough Holes: This isn’t a game of subtlety. We want those channels for maximum syrup penetration! Don’t be afraid to make a decent number of holes.
- Overbaking the Cake: A dry cake is a sad cake. Follow the box instructions for baking time and check with a toothpick. A slightly underbaked cake is usually better for poke cakes anyway, since it’s getting extra moisture.
- Impatience is Not a Virtue (Here): Trying to cut into it before it’s properly chilled? Rookie mistake. Give it those 2-3 hours in the fridge. The chill time is non-negotiable! It needs to set.
- Forgetting the Sweetened Condensed Milk: This isn’t just a topping; it’s a foundational flavor and texture component. It’s what makes a poke cake a poke cake. Don’t sub it out!
- Thinking You’ll Only Have One Slice: Buddy, you’re playing with fire. Just accept your fate and grab a bigger plate.
Alternatives & Substitutions
While I’m a purist when it comes to chocolate poke cake, if you’re feeling adventurous (or just out of something), here are a few ideas to shake things up a bit:
- Cake Mix Swap: Feeling wild? Try a yellow cake mix or even a red velvet for a fun twist. Just remember, chocolate is king, IMO.
- Sauce Sensation: Instead of chocolate syrup, try caramel sauce or a swirl of both! A raspberry sauce could also be interesting for a chocolate-raspberry vibe.
- Homemade Whipped Cream: If you’ve got heavy cream and a stand mixer, go for the homemade whipped cream. It’s extra fluffy and tastes amazing, but the ready-made stuff is perfectly fine too!
- Topping Extravaganza: Crushed Oreos, mini chocolate chips, chopped nuts, toasted coconut, or even some mini marshmallows could take your cake to the next level. Get creative!
FAQ (Frequently Asked Questions)
Got questions? I’ve got answers. Probably. Let’s dig in!
- Can I use a homemade chocolate cake recipe instead of a box mix?
Technically, yes! If you’ve got a killer homemade chocolate cake recipe, go for it. But honestly, the box mix works perfectly and saves a ton of time, which is kind of the whole point of this recipe, FYI.
- How many holes should I poke? Are there too many?
You want enough to distribute the milk/syrup mixture, but not so many that your cake disintegrates. Aim for holes about an inch apart across the entire surface. Think of it as creating little wells for deliciousness.
- Can I make this cake ahead of time for a party?
Absolutely! This cake actually gets better the longer it sits and chills (within reason, of course). Making it the day before is ideal, as it gives all those flavors time to meld and the cake to get super moist.
- How long will this chocolate poke cake last in the fridge?
If kept covered in the refrigerator, it should last about 3-4 days. But let’s be real, are you honestly going to have any left by then?
- Why is it called “poke cake”? Is it just because you poke it?
Yup, you got it, Sherlock! The name is wonderfully literal. You poke holes in the cake to fill them with delicious liquid. Simple, right?
- Can I use evaporated milk instead of sweetened condensed milk?
Oh, definitely not! Evaporated milk is unsweetened and has a different consistency. Sweetened condensed milk is key here for the sweetness and the thick, creamy texture. Don’t try to substitute it unless you want a very sad, bland poke cake.
- My cake broke when I tried to poke it. What happened?
Sounds like you might have poked a little too vigorously, or the cake was still too hot and delicate. Let the cake cool for at least 10-15 minutes, and be gentle! You’re making channels, not demolition.
Final Thoughts
There you have it, folks! A ridiculously easy, unbelievably delicious Chocolate Poke Cake recipe that’ll make you look like a kitchen wizard without actually having to do much wizardry. Go forth and conquer that chocolate craving! You’ve totally got this. And hey, if you mess it up, more for me, right? Happy baking (or, you know, “assembling”)!


