So you’re staring at your pantry, dreaming of something sweet, but the thought of a complicated recipe makes you want to crawl back into bed, huh? Been there, baked that! Today, we’re tackling the legendary Chocolate Chip Cake, and trust me, it’s so easy, your oven will practically high-five you.
Why This Recipe is Awesome
This isn’t just any chocolate chip cake; it’s *the* cake for when you want maximum deliciousness with minimal fuss. We’re talking about a quick mix, a single pan, and a ridiculously satisfying result. It’s like the superhero of desserts: swoops in, saves your craving, and leaves you feeling like a culinary genius without breaking a sweat. Plus, it’s pretty much idiot-proof. Seriously, if I can make it without setting off the smoke alarm (a frequent occurrence in my kitchen, FYI), you’re golden.
Ingredients You’ll Need
- 1 ½ cups All-Purpose Flour: The basic stuff. No fancy almond flour unless you’re feeling rebellious.
- 1 cup Granulated Sugar: The sweet stuff that makes everything better.
- 1 teaspoon Baking Powder: For that perfect lift. Nobody wants a flat cake, right?
- ½ teaspoon Salt: Don’t skip it! It balances the sweetness and makes the chocolate sing.
- 1 large Egg: The binder. Happy chickens make happy cakes.
- ½ cup Milk: Any kind works – dairy, almond, oat, whatever floats your boat.
- ½ cup Vegetable Oil: Or canola oil. Keeps it super moist. (You *could* use melted butter for richness, but oil is just easier, IMO.)
- 1 teaspoon Vanilla Extract: The magic potion. Don’t skimp on this!
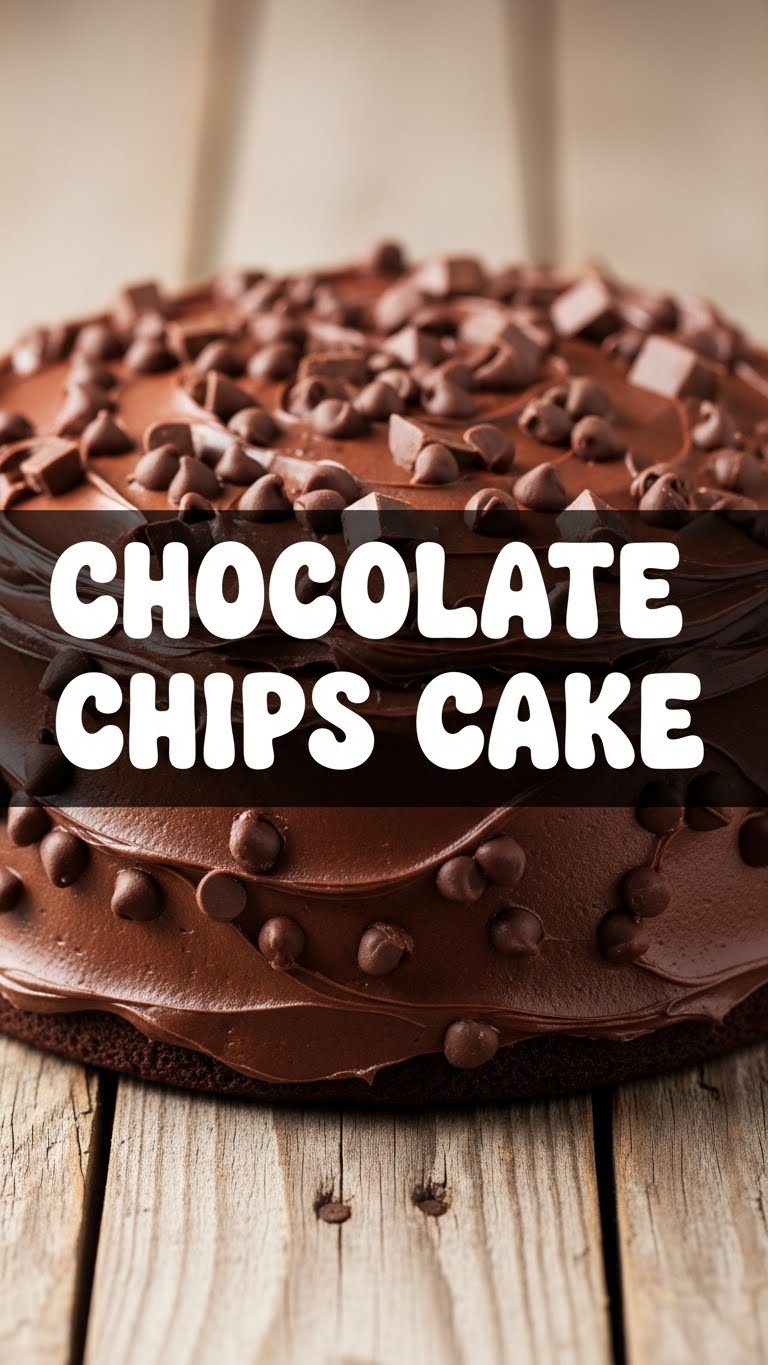
- 1 cup Chocolate Chips: The undisputed stars of the show. Semi-sweet is classic, but hey, you do you.
Step-by-Step Instructions
- Get Ready for Action: Preheat your oven to 350°F (175°C). Grab an 8×8 inch (or similar sized) baking pan and give it a good grease and flour dusting. Or line with parchment paper. Whatever prevents sticky situations.
- Dry Mix Fun: In a large bowl, whisk together the flour, sugar, baking powder, and salt. Give it a good whisk to make sure everything is buddies.
- Wet Mix Magic: In a separate, medium bowl, whisk the egg, milk, vegetable oil, and vanilla extract until they’re all happily combined.
- Combine and Conquer: Pour the wet ingredients into the dry ingredients. Stir with a spatula or wooden spoon until *just* combined. A few lumps are totally fine; we’re making cake, not a science experiment. Do not overmix! Overmixing leads to tough cake, and we’re aiming for fluffy joy.
- Chocolate Shower: Gently fold in your glorious chocolate chips. Make sure they’re evenly distributed, so every slice gets a fair share of chocolatey goodness.
- Pan It Up: Pour the batter into your prepared baking pan and spread it out evenly. Give the pan a little tap on the counter to release any air bubbles.
- Bake Away! Pop that pan into your preheated oven and bake for 25-30 minutes. The cake is done when a toothpick inserted into the center comes out clean (or with a few moist crumbs, but no wet batter).
- Cool Down: Let your masterpiece cool in the pan for about 10-15 minutes before transferring it to a wire rack to cool completely. This is the hardest part, I know.
Common Mistakes to Avoid
- Not Preheating the Oven: Rookie mistake! Your cake needs a warm welcome to rise properly.
- Overmixing the Batter: We talked about this. It’s the fast lane to a rubbery cake. Gently, gently.
- Opening the Oven Door Too Soon: Let the cake bake in peace for at least 20 minutes before peeking. Otherwise, it might just sink out of spite.
- Forgetting to Grease the Pan: A tragedy waiting to happen. Your beautiful cake will be forever fused to the pan. Don’t be that person.
- Trying to Eat It Hot Out of the Oven: Yes, I know it smells incredible. Yes, I know it’s tempting. But let it cool a bit; the flavors (and structural integrity) will thank you.
Alternatives & Substitutions
Feeling adventurous, or just missing an ingredient? No worries, we’ve got options!
- Milk: Ran out of cow’s milk? Any plant-based milk (almond, soy, oat) works perfectly. For a subtle tang, use buttermilk!
- Oil: If you want a richer flavor, swap the vegetable oil for an equal amount of melted unsalted butter. Just make sure it’s cooled a bit before adding to the wet ingredients.
- Chocolate Chips: Mix it up! Use milk chocolate, white chocolate, dark chocolate chunks, or even a blend. Feeling extra? Throw in some toasted nuts, shredded coconut, or dried cranberries along with the chips.
- Extra Flavor Boost: Add a teaspoon of instant espresso powder to the dry ingredients for a deeper chocolate flavor, or a pinch of cinnamon for a warm, cozy vibe. A little orange zest with chocolate is also a divine combo!
FAQ (Frequently Asked Questions)
Got questions? I’ve got (casual) answers!
- Can I use margarine instead of butter/oil? Well, technically yes, but why hurt your soul like that? Oil or real butter will give you much better flavor and texture. Just saying.
- My cake is dry, what happened? Most likely, you overbaked it! Or perhaps used too much flour (measure with a light hand!). Keep an eye on the oven, and remember that moist crumbs on a toothpick are okay.
- Can I make cupcakes instead of a cake? Absolutely! Just divide the batter into a lined muffin tin and reduce the baking time to about 18-22 minutes. Test with a toothpick!
- How long does this cake keep? If it lasts that long (unlikely, let’s be real), it’ll stay fresh at room temperature in an airtight container for 3-4 days. You can also freeze slices for a rainy day treat.
- Can I add frosting? Of course! A simple chocolate ganache, a vanilla buttercream, or even just a dusting of powdered sugar would be divine. But honestly, it’s perfect naked too.
- What if I only have regular chocolate bars, not chips? Chop ’em up! Roughly chop a good quality chocolate bar into small chunks, and you’re good to go. Adds a nice rustic touch!
- Is it okay to eat the batter? Look, technically, raw eggs and all that jazz… but let’s be honest, we’ve all “tasted” it. Just try not to eat *all* of it before it hits the oven!
Final Thoughts
There you have it, folks! Your very own Chocolate Chip Cake, made with love, minimal stress, and maximum deliciousness. You’ve officially leveled up your baking game and earned yourself some serious treat-yourself points. Now go forth and conquer your cravings! Share it with friends, impress your family, or just hoard it all for yourself (no judgment here). You’ve earned it!


