So, you woke up today with a sudden, undeniable craving for something ridiculously cute and chocolatey, but the thought of spending hours in the kitchen makes you want to crawl back under the covers? Same, friend. Same. Good news: I’ve got your back with a recipe so easy and adorable, it practically bakes itself while you’re still deciding which sweatpants to wear. Get ready for the cutest, yummiest chocolate cake that requires minimal effort but delivers maximum “OMG, you made this?!” vibes.
Why This Recipe is Awesome
This isn’t your grandma’s “spend-all-day-in-the-kitchen-and-still-somehow-burn-it” kind of cake. Oh no. This is the **’whip-it-up-in-your-pajamas-and-still-look-like-a-culinary-genius’** kind of cake. It’s so forgiving, it practically bakes itself while you’re scrolling TikTok. Seriously, it’s almost idiot-proof – even I manage to make it look adorable, and my artistic skills usually top out at stick figures. It’s moist, rich, perfectly chocolatey, and just begs for some sprinkles to turn it into a tiny, edible hug. Plus, it only takes one bowl for the batter, which means fewer dishes later. You’re welcome.
Ingredients You’ll Need
Gather your squad, err, ingredients. Nothing too fancy here, just your pantry staples ready to become magic!
- For the Cute Chocolate Cake:
- 1 ½ cups (190g) All-purpose flour (the basic, reliable friend)
- 1 ½ cups (300g) Granulated sugar (for that sweet, sweet joy)
- ¾ cup (65g) Unsweetened cocoa powder (because we’re not shy with the chocolate)
- 1 ½ teaspoons Baking soda (the leavening superhero)
- 1 teaspoon Baking powder (its trusty sidekick – don’t skip either, they’re a tag team!)
- 1 teaspoon Salt (enhances everything, like a good gossip session)
- 2 large Eggs (room temp if you’re feeling fancy, but straight from the fridge works too, shhh)
- ¾ cup (180ml) Milk (any kind: whole, oat, almond – it’s all good)
- ½ cup (120ml) Vegetable oil (or any neutral oil; keeps it moist, like a good moisturizer)
- 2 teaspoons Vanilla extract (the MVP of baking, don’t skimp!)
- ¾ cup (180ml) Hot water or hot brewed coffee (trust me on the coffee, it makes the chocolate *sing*!)
- For the Dreamy Chocolate Buttercream:
- 1 cup (226g) Unsalted butter, softened (the star of any good frosting)
- 3 cups (360g) Powdered sugar (sifted, if you’re not into lumps)
- ½ cup (45g) Unsweetened cocoa powder (more chocolate, yes please!)
- ¼ cup (60ml) Milk or cream (for creaminess, add more or less to desired consistency)
- 1 teaspoon Vanilla extract (always, always)
- A pinch of salt (to cut the sweetness)
Step-by-Step Instructions
Alright, apron on (or not, we’re friends here), let’s get baking!
- Get Prepped: Preheat your oven to 350°F (175°C). Grease and flour two 6-inch round cake pans or one 8-inch round pan. Line the bottoms with parchment paper for easy release. This is crucial for a non-stressful flip!
- Dry Mix Magic: In a large bowl, whisk together the flour, sugar, cocoa powder, baking soda, baking powder, and salt. Give it a good whisk until everything is super combined and there are no sneaky lumps of cocoa.
- Wet Mix Wonder: In a separate bowl (or just dump it all in with the dry if you’re feeling rebellious and brave), whisk the eggs, milk, vegetable oil, and vanilla extract until they’re well blended.
- Combine & Conquer: Pour the wet ingredients into the dry ingredients. Stir them together with a spatula or a whisk until just combined. Don’t overmix! A few small lumps are totally fine.
- The Secret Weapon: Carefully pour in the hot water or coffee. Stir until the batter is smooth. It’ll be a little thin, and that’s exactly what we want! This is where the magic happens for that super moist crumb.
- Bake It Up: Divide the batter evenly between your prepared cake pans. Pop them into the preheated oven. Bake for 30-35 minutes for 6-inch pans, or 35-40 minutes for an 8-inch pan, or until a wooden skewer inserted into the center comes out clean.
- Cool Down: Let the cakes cool in their pans on a wire rack for about 10-15 minutes. Then, carefully invert them onto the wire rack to cool completely. **This is critical!** Don’t even *think* about frosting a warm cake.
- Whip Up the Frosting: While your cakes are cooling, beat the softened butter in a large bowl with an electric mixer until light and fluffy. Add the powdered sugar, cocoa powder, salt, milk/cream, and vanilla. Beat on low speed until combined, then increase to medium-high and beat until the frosting is light, fluffy, and spreadable. Add more milk if it’s too thick, or more powdered sugar if it’s too thin.
- Assemble Your Masterpiece: Once the cakes are completely cool, level them with a serrated knife if needed (no shame in wonky cakes, but a flat top is easier to frost). Place one cake layer on your serving plate, spread a generous amount of frosting, then top with the second layer. Frost the top and sides of the whole cake. Now, unleash your inner artist for the “cute” part!
Common Mistakes to Avoid
We all make mistakes, but let’s try to avoid these rookie blunders, shall we?
- Thinking your oven is psychic: It’s not. **Preheat it, folks!** A cold oven will give you dense, sad cakes.
- Overmixing the batter: Stop stirring once the ingredients are just combined. Overmixing develops the gluten too much, leading to a tough cake. We want tender and moist!
- Opening the oven door every five minutes: The cake needs its privacy! You’ll lose heat and it might sink in the middle. Resist the urge to peek until at least 2/3 of the baking time has passed.
- Trying to frost a warm cake: Oh, honey, no. That’s how you get chocolate soup and a ruined aesthetic. **Be patient, let it cool completely!** Seriously, it’s worth the wait.
- Ignoring the baking soda AND baking powder: They each do different jobs! Don’t assume one can cover for the other. It’s a team effort for that perfect rise.
Alternatives & Substitutions
Feeling adventurous? Or maybe you’re just out of an ingredient. No biggie!
- Dairy-Free? Swap cow’s milk for oat or almond milk. Use a plant-based butter for the frosting. The oil in the cake already helps keep it moist and dairy-free!
- Gluten-Free? Use a good quality 1:1 gluten-free all-purpose flour blend. Your mileage may vary slightly, but it usually works pretty well.
- No Coffee? Just use hot water instead. The coffee really deepens the chocolate flavor without making it taste like coffee, but hot water works perfectly fine too.
- Different Frosting? If chocolate buttercream isn’t your jam (or you’re feeling lazy, no judgment!), try a simple cream cheese frosting, a quick ganache, or even a good quality store-bought frosting. Nobody’s judging, **IMO**.
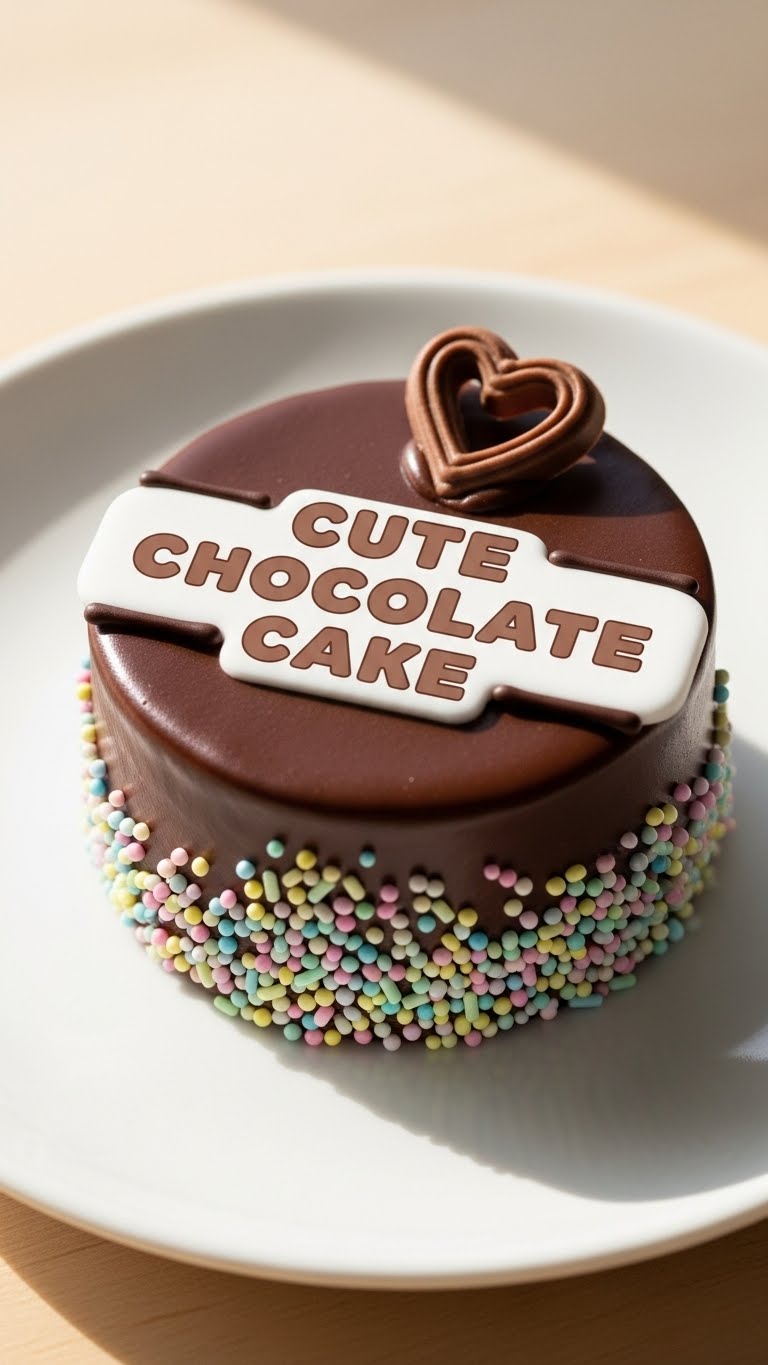
- Amp up the “Cute”! This is the fun part! Add sprinkles (the more, the merrier!), mini chocolate chips, edible glitter, or even some mini marshmallows to the top. Little chocolate shavings also look super fancy with zero effort.
FAQ (Frequently Asked Questions)
Got questions? I’ve got answers, mostly sarcastic ones.
- Can I use margarine instead of butter in the frosting? Well, technically yes, but why hurt your soul like that? Butter just tastes better, let’s be real. It’s cake, live a little!
- My cake is dry! What happened? Did you overbake it? Or maybe accidentally skip the oil or hot liquid? Cakes bake pretty quickly, so keep an eye on it after the recommended time!
- Can I make cupcakes instead? Absolutely! Pour the batter into cupcake liners. They’ll bake faster, usually around 18-22 minutes. Test with a skewer.
- How long does this cake last? If it lasts more than 2 days in your house, you have more self-control than me. Store it in an airtight container at room temperature for up to 3-4 days.
- What if I don’t have buttermilk? No problem! Add 1 tablespoon of white vinegar or lemon juice to your ¾ cup of regular milk. Let it sit for 5-10 minutes until it looks slightly curdled. Voila, homemade “buttermilk”!
- Can I freeze the cake layers? Yes! Once completely cooled, wrap unfrosted layers tightly in plastic wrap and then in foil. They’ll keep in the freezer for up to 2-3 months. Thaw at room temp before frosting.
Final Thoughts
You did it! You’ve conquered the cute chocolate cake mountain. Now go forth and share your masterpiece, or hoard it all for yourself (no judgment here, **FYI**). You’ve earned every single bite. Go on, pat yourself on the back, you culinary superstar! Who knew being a kitchen wizard could be so easy and fun? Now go impress someone—or yourself—with your new culinary skills. You’ve earned it!


