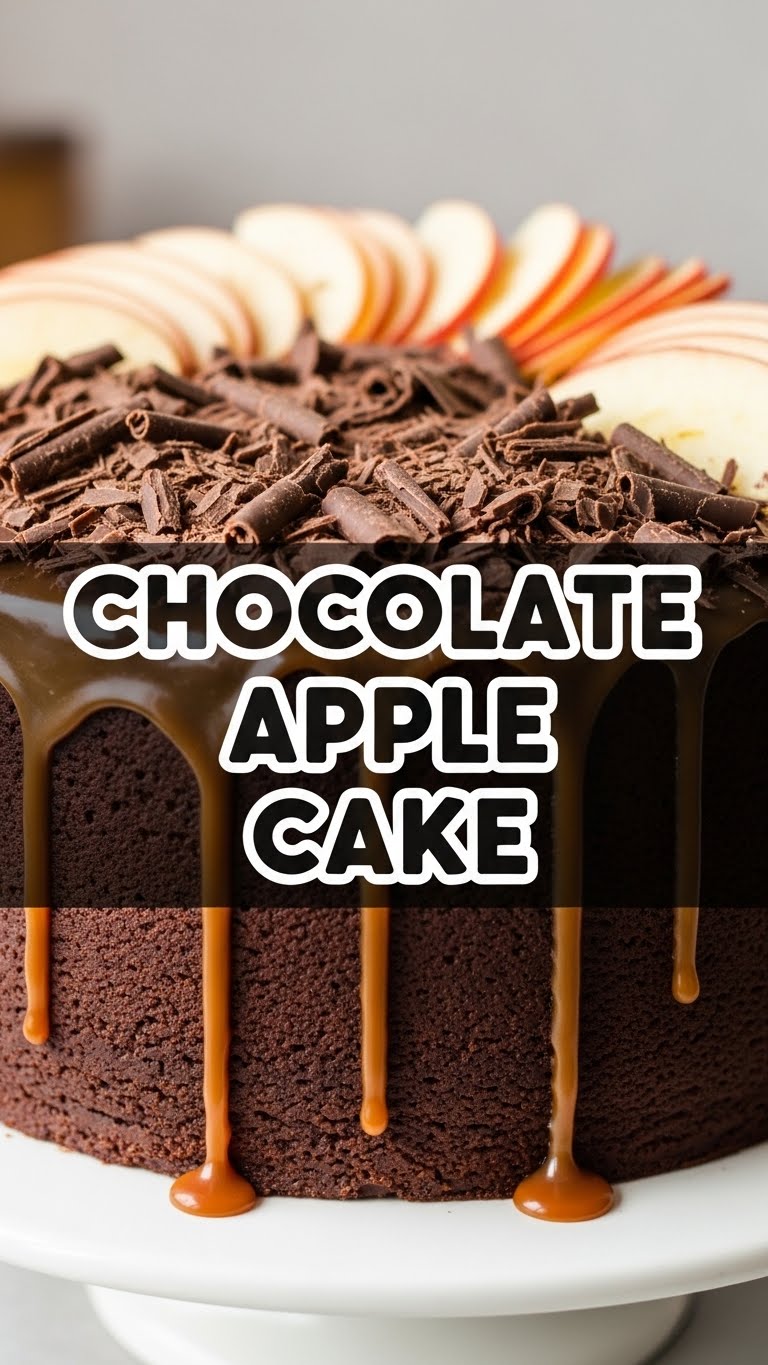
So you’ve got that craving, right? That specific, nagging desire for something sweet, comforting, and a little bit fancy, but without the “fancy” effort. You want cake, but not just *any* cake. You want something that screams “I tried hard!” when really, you just wanted to make something delicious without breaking a sweat. Enter: the Chocolate Apple Cake, your new best friend in the dessert world. It’s the perfect blend of cozy, spiced apples and decadent chocolate, all wrapped up in a package so simple, you’ll wonder if you cheated. (Spoiler: you kinda did, and it’s glorious.)
Why This Recipe is Awesome
Okay, let’s be real. Why bother with this one when there are a bazillion other recipes out there? Because this isn’t just *a* recipe; it’s *the* recipe for when you want maximum flavour with minimal fuss. Think of it: you get the healthy-ish vibe from apples (fruit counts, right?) and the pure, unadulterated joy of chocolate. It’s like a hug in cake form, but a hug that also whispers, “You did great, champ!”
Plus, it’s pretty much **idiot-proof**. I mean, if *I* can make it without setting off the smoke detector, you’re golden. It’s forgiving, adaptable, and smells divine while baking. Your neighbours will be jealous, your family will be impressed, and you? You’ll be basking in the glory of a perfect bake. No stress, just deliciousness. You’re welcome.
Ingredients You’ll Need
Time to gather your edible arsenal! Don’t worry, nothing too exotic here. Your pantry probably already has most of this stuff hiding somewhere.
- All-Purpose Flour: About 1 ½ cups. The backbone of our cakey dreams.
- Granulated Sugar: 1 cup. For that sweet, sweet goodness. Feel free to eyeball it if you like things less sweet, but don’t go too crazy, okay?
- Unsweetened Cocoa Powder: ½ cup. The chocolatey magic! Don’t skimp on this, unless you want a sad, beige cake.
- Baking Soda: 1 teaspoon. Our little leavening hero, making sure your cake isn’t a brick.
- Salt: ½ teaspoon. Just a pinch to balance all that sweetness. Don’t skip it; it’s a flavour enhancer, not just for fries!
- Cinnamon: 1 teaspoon. Because apples and cinnamon are soulmates. Fight me.
- Nutmeg: ¼ teaspoon (optional, but highly recommended). Adds that extra “oomph.”
- Eggs: 2 large. Our binders! Make sure they’re at room temp if you’re feeling extra professional.
- Vegetable Oil (or any neutral oil): ½ cup. Keeps our cake moist and lovely. You can use melted butter, but oil is my lazy-day go-to.
- Milk: ½ cup. Any kind works, dairy or non-dairy. It’s all about hydration, baby!
- Vanilla Extract: 1 teaspoon. Because vanilla makes everything better. It’s a fact.
- Apples: 2 medium, peeled, cored, and diced. Granny Smith or Honeycrisp work wonderfully, giving a nice tart contrast to the chocolate. Don’t overthink it, just chop ’em up!
- Chocolate Chips (optional, but why would you skip them?): ½ cup. For that extra burst of chocolatey joy! Semisweet or dark are best.
Step-by-Step Instructions
Alright, apron on (or not, if you’re a rebel). Let’s get baking!
- Prep Your Battlefield: First things first, **preheat your oven to 350°F (175°C)**. Grease and flour (or line with parchment paper) an 8×8 inch square baking pan or a 9-inch round one. Don’t skip this, unless you enjoy wrestling your cake out of the pan.
- Whisk the Dry Stuff: In a large bowl, whisk together the flour, sugar, cocoa powder, baking soda, salt, cinnamon, and nutmeg (if using). Make sure there are no lumps of cocoa lurking, or you’ll get bitter surprises!
- Mix the Wet Wonders: In a separate medium bowl, beat the eggs, oil, milk, and vanilla extract until well combined.
- Combine & Conquer: Pour the wet ingredients into the dry ingredients. Stir with a spatula until *just* combined. **Do not overmix!** A few lumps are totally fine. Overmixing leads to tough cakes, and nobody wants that.
- Fold in the Goodies: Gently fold in your diced apples and chocolate chips (if using). Make sure they’re evenly distributed so every slice gets some apple-chocolate goodness.
- Pan It Up: Pour the batter into your prepared baking pan. Spread it evenly with your spatula. Give the pan a gentle tap on the counter to release any air bubbles.
- Bake Until Golden (and Chocolatey): Pop it into your preheated oven. Bake for **30-35 minutes**, or until a toothpick inserted into the center comes out clean. If it comes out with wet batter, give it a few more minutes.
- Cool Down: Once baked, let the cake cool in the pan for about 10-15 minutes. Then, carefully invert it onto a wire rack to cool completely. Resist the urge to cut into it immediately – it needs a moment to set!
Common Mistakes to Avoid
Look, we all make mistakes. But some are easily sidestepped. Learn from my past kitchen mishaps, my friend.
- Not Preheating Your Oven: Rookie mistake! Your oven needs to be at the correct temperature *before* the cake goes in. Otherwise, your cake won’t rise properly, and you’ll end up with a dense, sad disc.
- Overmixing the Batter: I repeat: **do not overmix!** Stir until just combined. Lumps are your friends here. Overmixing develops the gluten too much, making your cake tough and chewy instead of tender and moist.
- Ignoring the “Cool Completely” Rule: I know, it smells amazing, and you want a slice NOW. But cutting a hot cake often results in it crumbling. Let it cool; patience is a virtue, especially in baking.
- Forgetting to Grease the Pan: Unless you enjoy chiseling cake remnants from a pan, grease and flour (or parchment line) it properly. Trust me on this one.
- Using Too Many Apples: While we love apples, too many will make your cake overly moist and potentially heavy, affecting its texture. Stick to the suggested amount.
Alternatives & Substitutions
Feeling adventurous? Or just realized you’re missing one tiny ingredient? No sweat. Here are some ideas to make this cake *your* cake.
- Flour Power: You can totally swap out some of the all-purpose flour for whole wheat flour if you’re trying to be “healthier.” Start with substituting about a quarter of it, and see how you like the texture. Gluten-free all-purpose flour blends usually work well too!
- Sugar Swap: Brown sugar can be used instead of granulated for a slightly deeper, more caramel-y flavour. Honey or maple syrup? Sure, but you might need to slightly reduce other liquids to maintain the right consistency.
- Oil vs. Butter: As mentioned, melted butter can definitely replace the oil for a richer flavour. Just make sure it’s cooled slightly before adding to the wet ingredients.
- Spice it Up: Not a fan of cinnamon/nutmeg? Or maybe you want more? Try adding a pinch of allspice or even a tiny bit of cardamom for an exotic twist.
- Apple Variety: While I prefer a tart apple like Granny Smith for contrast, feel free to use sweeter varieties like Fuji or Gala if you prefer a sweeter cake overall. Just adjust your sugar content if needed.
- Extra Goodies: Want more texture? Add chopped walnuts or pecans along with the apples and chocolate chips. A sprinkle of sea salt on top before baking? Chef’s kiss!
FAQ
Got questions? I’ve got (casual) answers!
- “Can I use applesauce instead of diced apples?” Well, technically yes, but why? You’ll lose all that lovely texture from the actual apple pieces. If you do, use unsweetened applesauce and reduce the oil slightly. But seriously, diced apples are where it’s at.
- “My cake came out dry, what happened?” Oh no! Did you overbake it? Or maybe overmix? Either of those can suck the moisture right out. Next time, keep a closer eye on the baking time and **mix just until combined**.
- “Can I make this dairy-free?” Absolutely! Just use your favorite plant-based milk (almond, soy, oat, etc.) and ensure your chocolate chips are dairy-free. Easy peasy.
- “How long does this cake last?” If it lasts longer than two days in your house, I’d be genuinely shocked! But officially, stored in an airtight container at room temperature, it’s good for 3-4 days. In the fridge, maybe a day or two longer.
- “Can I add frosting?” You can, but this cake is usually moist and flavorful enough to stand on its own! If you *must*, a simple cream cheese frosting or a chocolate ganache would be divine. But IMO, it’s perfect as is.
- “What kind of pan should I use?” An 8×8 inch square pan or a 9-inch round pan works best. Anything larger and your cake might be too thin; smaller, and it might overflow or take forever to bake through.
Final Thoughts
And there you have it! Your very own Chocolate Apple Cake, ready to impress, delight, and disappear suspiciously quickly. See? I told you it wasn’t rocket science. Baking should be fun, not a chore, and this recipe absolutely delivers on that front. It’s comforting, it’s delicious, and it makes your kitchen smell like a dream. Now go impress someone—or yourself—with your new culinary skills. You’ve earned it! Maybe even pour yourself a coffee (or wine, no judgment) and enjoy a slice. You deserve it after all that… *ahem*… hard work. 😉 Happy baking, friend!


