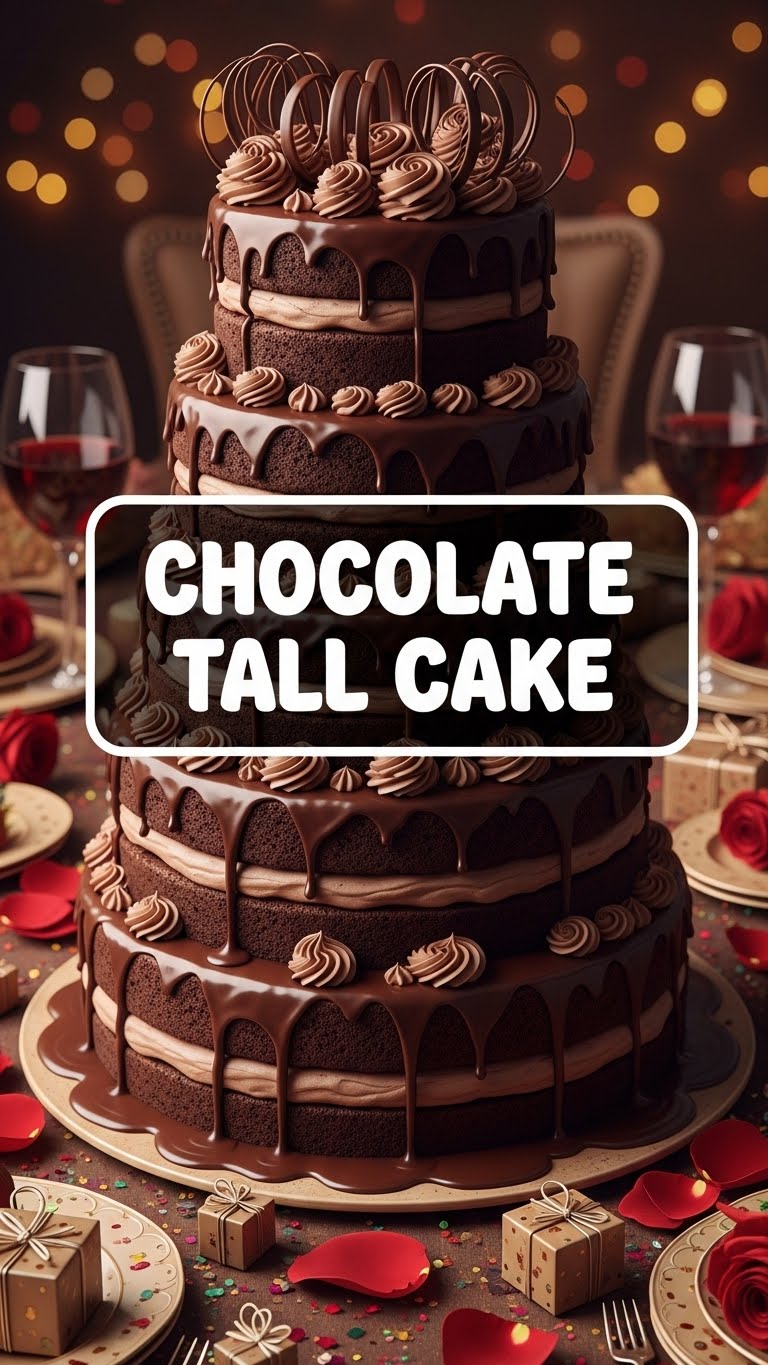
So you’re craving something tasty but too lazy to spend forever in the kitchen, huh? Same. And not just any tasty – we’re talking full-on, soul-satisfying chocolate deliciousness that also looks like you actually tried. Good news, my friend. I’ve got your back with a recipe for a Chocolate Tall Cake that’s so easy, even your cat could probably supervise. (Disclaimer: please don’t let your cat bake.)
Why This Recipe is Awesome
Okay, first things first. This isn’t just *a* chocolate cake; it’s *the* chocolate cake. It’s tall, it’s dramatic, and it screams “I know what I’m doing” even if you’re internally screaming, “Please don’t stick to the pan!” And guess what? It’s pretty much **idiot-proof**. Seriously, if I didn’t mess it up, you’re golden. It comes out ridiculously moist, deeply chocolatey, and stacked high enough to make any occasion feel like a fancy party (even if it’s just Tuesday and you’re wearing sweatpants). Plus, the frosting? Oh, the frosting is a dream – silky smooth and rich without being sickly sweet. Basically, it’s a showstopper that requires minimal actual “showing off” on your part. Win-win!
Ingredients You’ll Need
Get your grocery list ready. Don’t worry, nothing too wild here.
- **All-Purpose Flour:** About 2 cups. The white stuff that makes things cake-y.
- **Granulated Sugar:** 2 cups. For that essential sweetness, obviously.
- **Unsweetened Cocoa Powder:** ¾ cup. Make it good quality; it makes a difference!
- **Baking Soda:** 2 teaspoons. Our secret weapon for that beautiful rise.
- **Baking Powder:** 1 teaspoon. Backup for the rise. Teamwork makes the dream work!
- **Salt:** 1 teaspoon. Don’t skip it; it balances the sweetness.
- **Buttermilk:** 1 cup. Adds amazing moisture and a slight tang. If you don’t have it, see alternatives below!
- **Warm Water:** 1 cup. Hot coffee works even better for deeper chocolate flavor, FYI!
- **Vegetable Oil:** ½ cup. For super moistness.
- **Large Eggs:** 2, at room temperature. Happy eggs, happy cake.
- **Vanilla Extract:** 2 teaspoons. Pure vanilla, please. Don’t skimp here.
For the Chocolate Buttercream Frosting:
- **Unsalted Butter:** 1 cup (2 sticks), softened. The star of the show!
- **Powdered Sugar:** 4 cups (about 1 lb). Sifted, unless you like lumps.
- **Unsweetened Cocoa Powder:** ½ cup. Again, good quality is key.
- **Milk (or Cream):** ¼ cup. Whole milk is best.
- **Vanilla Extract:** 1 teaspoon. More vanilla, because why not?
- **Pinch of Salt:** Just a tiny bit to cut through the sweetness.
Step-by-Step Instructions
- **Get Ready, Set, Bake!** Preheat your oven to 350°F (175°C). Grab two 8-inch round cake pans. Grease ’em well and flour ’em, or line with parchment circles. Your future self will thank you.
- **Mix the Dry Stuff:** In a large bowl, whisk together the flour, sugar, cocoa powder, baking soda, baking powder, and salt. Give it a good whisk until everything looks uniform.
- **Combine the Wet Stuff:** In a separate medium bowl, whisk the buttermilk, warm water (or coffee!), vegetable oil, eggs, and vanilla extract.
- **Bring Them Together:** Pour the wet ingredients into the dry ingredients. Mix on low speed with an electric mixer (or by hand with a whisk) just until *just* combined. Don’t overmix, we’re making cake, not bread!
- **Divide and Conquer:** Divide the batter evenly between your two prepared cake pans.
- **Bake Away!** Pop them into the preheated oven for 30-35 minutes, or until a wooden skewer inserted into the center comes out clean.
- **Cool Down:** Let the cakes cool in their pans for about 10-15 minutes before inverting them onto a wire rack to cool completely. **This is crucial.** Hot cake + frosting = disaster.
- **Make the Frosting Magic:** While the cakes cool, beat the softened butter in a large bowl until creamy and light (about 2 minutes). Gradually add the powdered sugar and cocoa powder, alternating with the milk and vanilla, beating until smooth and fluffy. Add a pinch of salt to balance. If it’s too thick, add a tiny bit more milk; too thin, add more powdered sugar.
- **Stack ‘Em High:** Once the cakes are completely cool, level them if needed (a serrated knife works wonders). Place one cake layer on your serving plate, slather with frosting, then top with the second layer. Frost the top and sides of the entire cake. Go wild, make it pretty!
- **Admire and Devour:** Take a moment to admire your masterpiece. Then, slice and serve! You’ve earned it.
Common Mistakes to Avoid
- **Not Preheating the Oven:** Rookie mistake! Your cake won’t rise properly if it goes into a cold oven. **Always preheat.**
- **Overmixing the Batter:** Seriously, stop. Overmixing develops the gluten too much, leading to a tough, dry cake. Mix until *just* combined, then walk away.
- **Frosting a Warm Cake:** This isn’t a melted chocolate fondue party. Frosting will slide right off a warm cake. **Patience, grasshopper.**
- **Ignoring Room Temperature Ingredients (Especially Eggs & Butter for Frosting):** Cold ingredients don’t emulsify properly, leading to lumpy batter and separated frosting. Plan ahead!
- **Eyeballing Ingredients:** Baking is a science, not abstract art. Use proper measuring cups and spoons for best results.
Alternatives & Substitutions
Life happens, ingredients run out. No stress!
- **No Buttermilk? No Problem!** You can totally make your own. Just measure 1 cup of regular milk (whole is best), remove 1 tablespoon, and replace it with 1 tablespoon of white vinegar or lemon juice. Let it sit for 5-10 minutes until it looks slightly curdled. Voila!
- **Hot Coffee Instead of Water:** Highly, highly recommend this! It deepens the chocolate flavor without making the cake taste like coffee. If you’re a coffee hater, don’t worry, you won’t taste it. IMO, it’s a game-changer.
- **Dairy-Free Options:** For the cake, use your favorite dairy-free milk (almond, soy, oat) for the buttermilk hack, and use a neutral oil. For the frosting, swap butter for a good quality dairy-free stick butter alternative and dairy-free milk.
- **Less Sweet Frosting:** You can reduce the powdered sugar in the frosting by about half a cup if you prefer it less sweet. Just adjust the milk content as needed.
FAQ (Frequently Asked Questions)
- **Can I use margarine instead of butter for the frosting?** Well, technically yes, but why hurt your soul like that? Butter tastes infinitely better and provides a much better texture. Save margarine for… well, I don’t know what for, but not this delicious frosting!
- **My cake layers are domed. What do I do?** Perfectly normal! Let them cool completely, then use a long serrated knife to carefully level the tops so they’re flat. You can snack on the scraps, chef’s treat!
- **How do I store this masterpiece?** At room temperature, covered, for up to 2-3 days. If it lasts that long, you’re doing something wrong (not eating enough of it!). You can also pop it in the fridge for up to a week, but let it come to room temp before serving for the best flavor and texture.
- **Can I make this cake into cupcakes?** Absolutely! Divide the batter into cupcake liners (fills about 24-30). Bake for 18-22 minutes. Keep an eye on them!
- **My frosting is too runny/too thick! Help!** Don’t panic! If it’s too runny, gradually add more powdered sugar, a tablespoon at a time, beating after each addition. If it’s too thick, add milk (or cream) a teaspoon at a time. It’s a delicate balance, but you’ll get there.
Final Thoughts
So there you have it, your new go-to recipe for a show-stopping Chocolate Tall Cake that’s as impressive as it is delicious. You just created something amazing with your own two hands, probably while humming a triumphant tune. Now go impress someone – or yourself – with your new culinary skills. You’ve earned that slice (or two). Enjoy!

