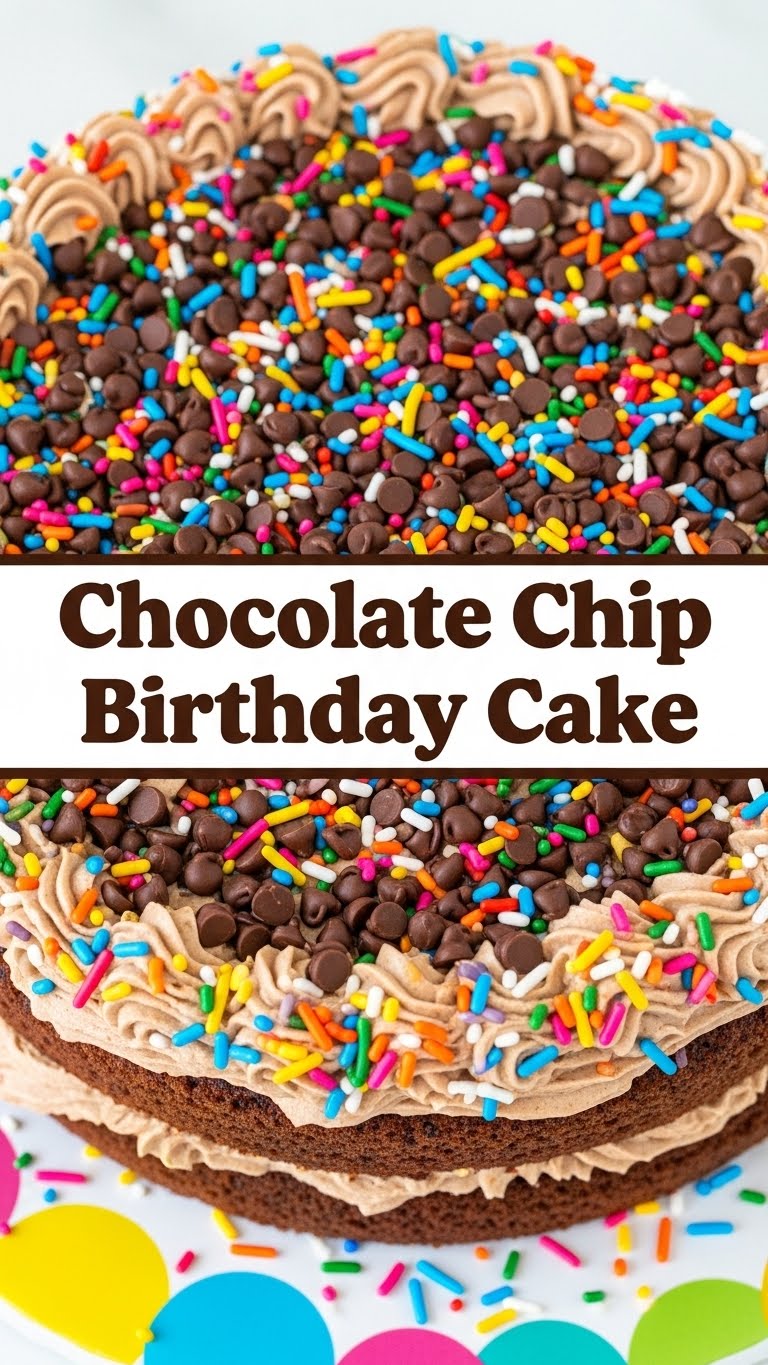
Alright, my culinary compadre, ever had one of those days where your brain screams ‘CAKE!’ but your body whispers ‘…but make it easy’? You’ve landed in the right spot. BTW, forget fancy-pants, multi-tier monstrosities. Today, we’re making a Chocolate Chip Birthday Cake that’s basically a party in your mouth without the party prep stress. It’s simple, it’s delicious, and it’ll make you feel like a baking wizard without actually needing a wand.
Why This Recipe is Awesome
Because let’s be real, life’s too short for complicated baking. This isn’t just a cake; it’s a hug in dessert form, wrapped in chocolate chips, and guaranteed to put a smile on your face (or whoever you deign to share it with, if you deign to share). It’s so straightforward, even my cat could probably follow the instructions if she had opposable thumbs and an interest in anything other than naps. Seriously, it’s virtually idiot-proof. No obscure ingredients, no bizarre techniques, just pure, unadulterated cake joy. Plus, it tastes like childhood birthday parties, but, you know, better because you made it.
Ingredients You’ll Need
- All-Purpose Flour: About 2 cups. The backbone of our cakey dreams. Don’t substitute with almond flour unless you’re feeling adventurous (and possibly regretful).
- Granulated Sugar: 1 ¾ cups. Because sugar makes everything better. Fact.
- Baking Powder: 1 tablespoon. Our magical lift-off agent. Don’t skimp, or your cake will be sad and flat.
- Salt: ½ teaspoon. Just a pinch to balance out all that sweetness. Think of it as the cake’s tiny, but mighty, therapist.
- Unsalted Butter: 1 stick (½ cup), softened. Room temperature is key, people! Cold butter is the enemy of fluffy cake.
- Large Eggs: 3 of them. Room temp, too, if you’re feeling fancy. They bind everything together like a delicious glue.
- Whole Milk: 1 cup. Adds moisture and richness. Full-fat or go home (kidding… mostly).
- Vanilla Extract: 2 teaspoons. The soul of almost every good cake. Don’t even think about imitation vanilla. Your taste buds deserve better.
- Chocolate Chips: 1 cup (or more, no judgment here!). Semi-sweet, milk, dark – pick your poison. It’s a chocolate chip cake, after all!
- Sprinkles (optional, but highly recommended): Because birthdays aren’t just for kids, and neither are sprinkles. Rainbow jimmies, please!
Step-by-Step Instructions
- Prep Time: Preheat your oven to 350°F (175°C). Seriously, do it now. Grease and flour a 9-inch round cake pan. Or line it with parchment paper if you’re a pro.
- Dry Mix Fun: In a medium bowl, whisk together your flour, sugar, baking powder, and salt. Give it a good whisk until everything is friendly with each other.
- Wet Mix Magic: In a separate, larger bowl, cream together your softened butter and eggs until light and fluffy. This usually takes a couple of minutes with an electric mixer.
- Alternating Goodness: Now for the slightly tricky part (but you got this!). Gradually add your dry ingredients to the wet ingredients, alternating with the milk. Start and end with dry. Mix on low speed until just combined after each addition. Don’t overmix! Overmixing is the enemy of tender cake.
- Vanilla & Chips: Stir in the vanilla extract. Then, gently fold in those glorious chocolate chips. And the sprinkles, if you’re using them. This is where the real fun begins!
- Bake It!: Pour the batter into your prepared cake pan. Pop it into the preheated oven and bake for 30-35 minutes, or until a wooden skewer inserted into the center comes out clean.
- Cool Down: Let the cake cool in the pan for about 10-15 minutes before flipping it out onto a wire rack to cool completely. Patience, young grasshopper.
- Decorate & Devour: Once completely cool, frost it with your favorite vanilla or cream cheese frosting (or just eat it plain, I won’t tell!). Add more sprinkles because, why not? Slice, serve, and bask in the glory of your baking prowess.
Common Mistakes to Avoid
Listen up, buttercup, because these are the pitfalls that stand between you and cake nirvana:
- Cold Ingredients: Using cold butter and eggs. This is a big no-no! Room temperature ingredients emulsify better, giving you a smoother, fluffier cake. Plan ahead, people!
- Not Preheating the Oven: Thinking you don’t need to preheat the oven. Rookie mistake! A cold oven means uneven baking and a sad, dense cake.
- Overmixing: Whipping that batter into submission. When you add the flour, mix just until combined. Overmixing develops gluten, leading to a tough, chewy cake. We want tender!
- Ignoring the Skewer Test: Pulling it out too early. A cake that’s not fully baked in the middle is just raw batter, not a cake. Use that skewer!
- Cutting a Warm Cake: Trying to frost or cut the cake while it’s still warm. It will crumble, trust me. Patience is a virtue, especially in cake making.
Alternatives & Substitutions
Feeling a little rebellious, or just out of one ingredient? Here are some friendly suggestions:
- Butter: Can you use margarine? Well, technically yes, but why hurt your soul like that? Butter gives superior flavor and texture, IMO. If you must, use a high-quality stick margarine.
- Milk: Any milk works in a pinch (2%, skim, almond, oat). Just know that whole milk gives the richest, moistest result.
- Chocolate Chips: Get wild! Swap them for white chocolate chips, dark chocolate chunks, or even a mix of different chocolates.
- Flour: If you’re gluten-intolerant, a 1:1 gluten-free baking flour blend might work, but results can vary. I haven’t personally tested it, so proceed with caution (and maybe a backup dessert).
- Extracts: Out of vanilla? Almond extract can be a fun (and strong!) substitute for a different flavor profile. Start with half the amount and adjust.
FAQ (Frequently Asked Questions)
- Can I make cupcakes instead? Absolutely! Reduce baking time to about 18-22 minutes, checking with a skewer. Same deliciousness, smaller packages.
- My cake sank in the middle, what happened? Usually, this means either your oven wasn’t hot enough, you opened the oven door too early, or you used too much leavening agent (baking powder). Don’t fret, it happens to the best of us!
- Can I use oil instead of butter? You can, but the texture will be different – more dense, less fluffy. Butter adds that rich, classic cake flavor we’re going for.
- How long does this cake last? Covered at room temperature, it’s good for 3-4 days. In the fridge, maybe a day or two longer. But let’s be honest, it won’t last that long.
- Can I add more chocolate chips? Is that even a question? The limit does not exist! Go wild, you magnificent baking beast.
- Do I really need room temperature ingredients? Yes, yes you do. It helps everything combine smoothly, preventing a lumpy batter and ensuring a uniform, tender crumb. It’s a small step that makes a huge difference.
Final Thoughts
So there you have it, my friend! A chocolate chip birthday cake recipe that’s as easy as pie (but way more fun to eat). You’ve now unlocked the secret to homemade cake happiness without the stress or the need for a culinary degree. Now go impress someone—or yourself—with your new culinary skills. You’ve earned it! And don’t forget to grab a huge slice for yourself first. You deserve it.


