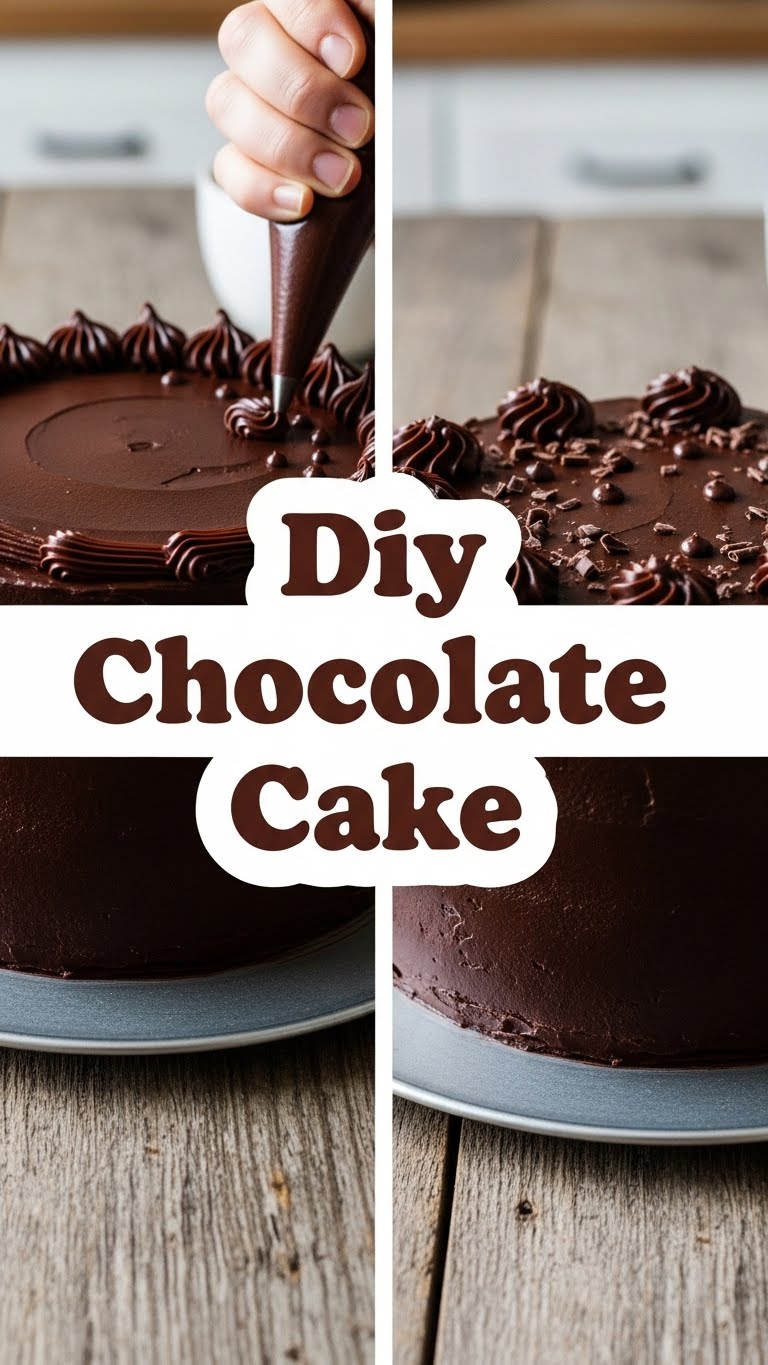
So you’re scrolling through TikTok, spot a ridiculously perfect chocolate cake, and suddenly your soul demands one, but your energy levels are firmly stuck at ‘nap time’? Girl, same. Lucky for us, I’ve got the ultimate DIY chocolate cake recipe that’s so easy, you’ll wonder if you accidentally swapped ingredients with a magic spell. Get ready to bake a masterpiece without breaking a sweat (or the bank)!
Why This Recipe is Awesome
Okay, let’s be real. There are approximately 900 gazillion chocolate cake recipes out there. So why *this* one? Because it’s not trying to be fancy. It’s the kind of cake that says, ‘I taste amazing, but I won’t demand your firstborn child or three hours of your precious Netflix time.’ Plus, **it’s genuinely idiot-proof.** No lie, I once baked this while half-asleep, and it still turned out a masterpiece. You literally just dump things together. Magic, I tell ya.
Ingredients You’ll Need
- **1 ½ cups (about 180g) all-purpose flour:** The backbone of our operation. Don’t worry, no fancy sifting required unless you *want* to feel extra sophisticated.
- **1 ½ cups (300g) granulated sugar:** For that sweet, sweet goodness. Yes, it’s a lot. No, we’re not judging.
- **¾ cup (75g) unsweetened cocoa powder:** The star of the show! Go for good quality if you can; it makes a difference, trust me.
- **1 ½ teaspoons baking soda:** Our little leavening hero. Don’t confuse it with baking powder; they’re not interchangeable here!
- **1 teaspoon salt:** Just a pinch to make all those chocolatey flavors pop. Think of it as the hype man for your taste buds.
- **1 cup (240ml) milk:** Any milk works. Whole, skim, almond, oat – whatever your dairy (or non-dairy) heart desires.
- **½ cup (120ml) vegetable oil:** Or canola oil. This is our secret to a super moist cake. Butter’s great, but oil keeps things tender for longer.
- **2 large eggs:** Room temperature, ideally. They just behave better when they’re not shivering cold.
- **1 teaspoon vanilla extract:** The unsung hero. A good quality one elevates everything.
- **1 cup (240ml) boiling water:** Sounds weird, tastes divine. This really brings out the cocoa flavor and makes the batter super smooth. Don’t skip it!
Step-by-Step Instructions
- **Get Prepped (and Preheat!):** First things first, go preheat your oven to 350°F (175°C). While it’s warming up, grease and flour two 8-inch round cake pans. Or, if you’re like me and hate washing extra dishes, line them with parchment paper.
- **Mix the Dry Stuff:** In a large bowl, whisk together your flour, sugar, cocoa powder, baking soda, and salt. Make sure there are no lumpy bits of cocoa trying to hide. We want an even distribution of deliciousness!
- **Add the Wet Stuff (Except the Hot Water):** Now, pour in the milk, oil, eggs, and vanilla extract. Beat it on medium speed with an electric mixer (or a strong arm and a whisk) for about 2 minutes. Scrape down the sides of the bowl to make sure everything gets acquainted.
- **The Magic Hot Water:** Reduce your mixer speed to low. Carefully, pour in the boiling water. The batter will look thin – don’t panic! That’s exactly what we want. Beat until just combined, but avoid overmixing.
- **Divide and Bake:** Divide the batter evenly between your prepared cake pans. Pop them into the preheated oven.
- **Bake ’em Up:** Bake for 30-35 minutes, or until a wooden skewer inserted into the center comes out clean. **Don’t open the oven door too early**, you’ll deflate your dreams!
- **Cool Down:** Let the cakes cool in the pans for about 10-15 minutes. Then, gently invert them onto a wire rack to cool completely. Seriously, *completely cool* before frosting, unless you want a chocolate puddle.
Common Mistakes to Avoid
- **Thinking you don’t need to preheat the oven:** Rookie mistake, my friend. Your cake will thank you for starting with a hot oven, trust me. It helps with the rise!
- **Overmixing the batter:** Once you add the wet ingredients, mix *just* until combined. Overmixing develops the gluten too much, giving you a tough, dense cake. We’re aiming for fluffy, not hockey puck.
- **Not letting the cakes cool completely:** Patience is a virtue, especially when it comes to frosting. Frosting a warm cake is a one-way ticket to melted mess-ville.
- **Substituting ingredients willy-nilly:** While I encourage experimentation (see the next section!), stick to the recipe for your first go. Baking is a science, after all, and messing with ratios can lead to unexpected (and often crumbly) results.
Alternatives & Substitutions
Feeling adventurous, or just missing an ingredient? No worries, I got you!
- **No cocoa powder?** Okay, you might have to rename it ‘Mystery Cake,’ but for a different flavor, you could try adding instant coffee powder (1-2 tablespoons dissolved in the hot water) for a mocha cake, or even a bit of cinnamon for a Mexican chocolate vibe.
- **No milk?** Water works in a pinch, but your cake might be slightly less rich. Dairy-free milks are totally fine!
- **Want to go gourmet?** Add a shot of espresso to the boiling water instead of plain water. It deepens the chocolate flavor like crazy! Also, a dash of almond extract alongside the vanilla can be pretty epic.
- **Not a fan of oil?** You *can* use melted butter, but your cake might be a tad less moist over time. **IMO**, oil is the winner for longevity here.
FAQ (Frequently Asked Questions)
- **Can I make this as a bundt cake?** You bet! Just make sure your bundt pan is well-greased and floured. You’ll likely need to bake it for a bit longer, maybe 45-55 minutes. Keep an eye on it!
- **What kind of frosting should I use?** Oh, the possibilities! A classic chocolate buttercream is always a winner. Or, if you’re feeling fancy, a cream cheese frosting or even a simple ganache would be divine. Your cake, your rules!
- **My cake is dry! What went wrong?** Usually, a dry cake means you either overbaked it (check that skewer often!) or overmixed the batter. Make sure you measure your flour correctly too; too much flour equals dry cake.
- **Can I freeze this cake?** Absolutely! Once cooled, wrap the unfrosted layers tightly in plastic wrap and then foil. It’ll keep in the freezer for up to 2-3 months. Just thaw at room temp before frosting. So handy for emergencies!
- **Do I *really* need boiling water? It sounds risky.** Yes, you really do! The hot water blooms the cocoa powder, intensifying its flavor and creating that smooth, thin batter. It’s part of the magic, don’t fear the steam!
- **Can I use margarine instead of butter?** Well, technically yes, but why hurt your soul like that? Margarine might work, but butter or oil gives you that superior texture and flavor. Treat yo’ self!
Final Thoughts
And there you have it, folks! Your very own, absolutely killer DIY chocolate cake. See? Told you it wasn’t rocket science. Now you’ve got this amazing, moist, chocolatey goodness staring back at you, just begging to be eaten. Go ahead, have a slice (or three!). You totally earned it after all that ‘hard work’ (mostly mixing, let’s be real). Now go impress someone—or yourself—with your new culinary skills. You’ve earned it!


