So, you’ve hit that specific wall where only chocolate can save you, but you also want to pretend you’re a super chef without, you know, being a super chef? Or maybe you just desperately need a dessert that tastes like a warm hug but doesn’t require a culinary degree or a full day of slaving over a hot stove. You’ve come to the right place, my friend! Today, we’re diving headfirst into a Double Chocolate Cake recipe that’s so easy, it practically bakes itself. (Okay, maybe not *that* easy, but close enough!)
Why This Recipe is Awesome
Seriously, this isn’t just a cake; it’s a hug in dessert form, wrapped in more chocolate. It’s so **mind-blowingly simple**, you’ll wonder why you ever bothered with those cardboard-tasting box mixes. Plus, it’s virtually idiot-proof. Even my cat could probably bake this if he had opposable thumbs and a chef’s hat. We’re talking maximum chocolate impact for minimum effort. **No fancy equipment needed**, just your regular kitchen stuff and a desperate craving for deliciousness. It’s the kind of cake that makes people ask for the recipe, and you can just casually shrug and say, “Oh, this old thing? It was nothing,” like the domestic god/goddess you are.
Ingredients You’ll Need
Gather ’round, my sweet-toothed companions! Here’s what you’ll need to make your chocolate dreams a reality. No obscure ingredients, promise!
- All-purpose flour: 1 ¾ cups. The backbone of all things bready. Don’t skip it, obviously.
- Granulated sugar: 2 cups. Sweetness! Duh. We’re making cake, not a kale smoothie.
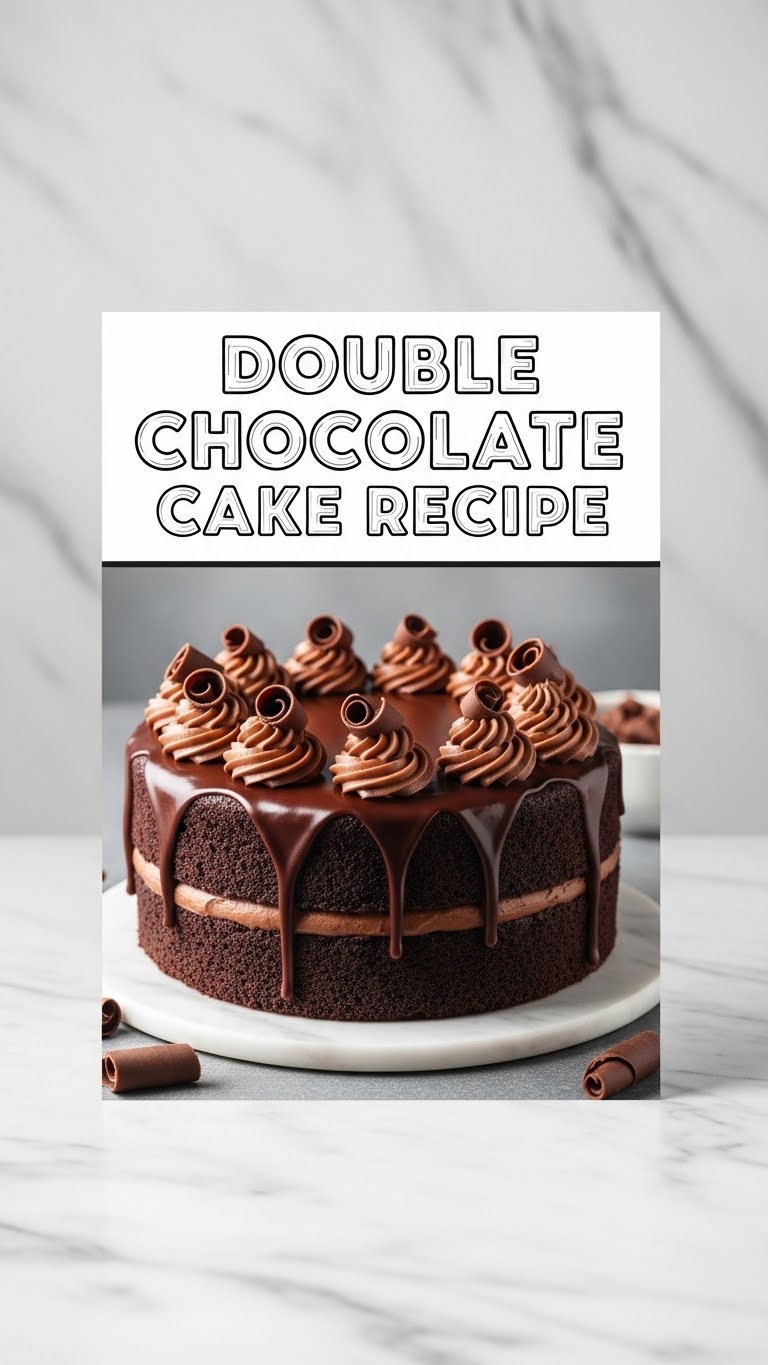
- Unsweetened cocoa powder: ¾ cup. Make sure it’s good stuff, no dusty old relics from the back of the pantry. This is where the “double” chocolate comes from!
- Baking soda: 2 teaspoons. For lift. We want fluffy, not flat.
- Salt: 1 teaspoon. Just a pinch, makes everything taste better and balances the sweetness. Trust me on this.
- Large eggs: 2, at room temperature. If you’re feeling fancy, room temp helps things emulsify. Otherwise, just grab ’em from the fridge.
- Milk: 1 cup. Whole milk is best for richness, but honestly, whatever you have will probably work.
- Vegetable oil: ½ cup. Keeps it super moist. No dry cake here, thank you very much!
- Vanilla extract: 2 teaspoons. Essential. Don’t cheap out on the fake stuff, your taste buds will know.
- Boiling water: 1 cup. Sounds weird, right? But it makes the chocolate taste even more chocolatey. It’s magic!
For the Seriously Amazing Chocolate Frosting:
- Unsalted butter: ½ cup (1 stick), softened. Cold butter is a nightmare, so plan ahead!
- Powdered sugar (confectioners’ sugar): 3 cups. For that smooth, melt-in-your-mouth frosting.
- Unsweetened cocoa powder: ½ cup. More chocolate, obviously.
- Milk: 3-4 tablespoons. Just a splash or two to get the right consistency.
- Vanilla extract: 1 teaspoon. Again, gotta have it.
- Pinch of salt: Balances the sweetness beautifully.
Step-by-Step Instructions
Alright, apron on, game face on (or just your regular face, we’re not judging). Let’s get baking!
- Preheat and Prep: Preheat that oven to 350°F (175°C). Seriously, **don’t skip the preheat**—it’s vital for an even bake. Grease and flour two 8 or 9-inch round cake pans. Or use parchment paper circles if you’re feeling extra fancy.
- Whisk the Dry Stuff: In a large bowl, whisk together your dry ingredients: flour, sugar, cocoa powder, baking soda, and salt. Make sure there are no lumpy bits. No one likes a lumpy cake, IMO.
- Add the Wet Wonders: Add the wet ingredients to the dry: eggs, milk, oil, and vanilla extract. Beat it on medium speed for about 2 minutes until it’s gloriously smooth and well combined. Scrape down the sides of the bowl; you don’t want any dry spots hiding out.
- The Secret Ingredient: Now for the magic! Carefully pour in the boiling water. The batter will be thin, but **don’t panic, that’s normal**. Mix it just until combined. Overmixing is the enemy of fluffy cake.
- Bake ‘Em Up: Divide the batter evenly between your prepared cake pans. Pop them into the preheated oven and bake for 30-35 minutes, or until a toothpick inserted into the center comes out clean. **Patience, my friend!** Resist the urge to open the oven door every two minutes.
- Cool Down: Let the cakes cool in the pans for about 10-15 minutes before flipping them out onto a wire rack to cool completely. **A completely cool cake is crucial before frosting.** Otherwise, you’ll have a melted chocolate mess, and while delicious, not what we’re aiming for.
- Frosting Time! In a medium bowl, beat softened butter until it’s light and fluffy. Gradually add the powdered sugar, cocoa powder, salt, milk, and vanilla extract. Beat until smooth and creamy. If it’s too thick, add more milk a teaspoon at a time. Too thin? More powdered sugar. You’re the boss!
- Assemble Your Masterpiece: Once the cakes are *actually* cool, frost ’em up! Stack those beauties, slather on that glorious frosting, and admire your handiwork. Maybe sprinkle some chocolate shavings on top if you’re feeling extra.
Common Mistakes to Avoid
Look, we all make mistakes. But these ones? We can totally sidestep them with a little heads-up.
- Not preheating your oven: Rookie mistake! Your cake won’t rise properly and will bake unevenly. Planning ahead saves lives (and cakes).
- Overmixing the batter: Once those wet and dry ingredients are *just* combined, stop! Overmixing develops gluten, leading to a tough, dense cake. We want tender, not chewy.
- Opening the oven door constantly: Resist the urge! Every time you peek, you let out heat, which can cause your cake to sink. Wait until at least 25 minutes have passed, then do your quick toothpick test.
- Frosting a warm cake: Seriously, don’t do it. Unless you’re going for a ‘deconstructed melted chocolate puddle’ vibe, let those cakes cool down completely. **Patience is a virtue, especially in baking.**
- Not greasing and flouring your pans properly: This is how cakes get stuck. And no one wants a cake that puts up a fight when you’re trying to get it out of the pan.
Alternatives & Substitutions
Feeling adventurous? Or just realized you’re missing an ingredient? No worries, I got you!
- Dairy-free? Swap regular milk for almond or soy milk. For butter, use a good quality dairy-free butter stick in the frosting. Easy peasy.
- No boiling water? Warm tap water can work in a pinch, but the boiling water really amps up the chocolate flavor and dissolves the cocoa better. Just sayin’.
- Different pan sizes? You can totally use a 9×13 inch pan; just adjust baking time (usually a bit longer, around 35-40 mins). Keep an eye on it!
- Want even *more* chocolate? Fold in a cup of chocolate chips into the batter before baking. Because, why not? **More chocolate is always the answer.**
- No unsweetened cocoa powder for the frosting? If you only have sweetened, reduce the powdered sugar slightly and taste as you go. You’ll figure it out!
FAQ (Frequently Asked Questions)
Let’s tackle some burning questions, shall we?
- Can I use instant coffee instead of cocoa powder? Whoa there, partner! No, absolutely not. But you can *add* a teaspoon of instant coffee or espresso powder to the cocoa powder to deepen the chocolate flavor. It’s a secret weapon that won’t make your cake taste like coffee, just more intensely chocolatey!
- My cake came out dry, what happened? Oh no! Likely overbaked. Keep a close eye on your baking time and always use the toothpick test. Oven temperatures can vary, so adjust accordingly for your specific appliance.
- Can I make this into cupcakes? Absolutely! Just fill cupcake liners about two-thirds full and bake for 20-25 minutes. Makes about 24 cupcakes, perfect for sharing (or, you know, not).
- How long does this cake last? If you can resist eating it all in one go, it’ll be good for 3-4 days at room temperature, covered. Or up to a week in the fridge. Freezes well too!
- Do I *really* need room temperature eggs? Technically, no, but room temp ingredients emulsify better, leading to a smoother batter and a lighter cake. If you forget, a quick warm bath for your eggs (still in their shells, please!) for 5-10 minutes works wonders.
- What if my frosting is too runny/stiff? Troubleshooting time! Too runny? Add more powdered sugar, a tablespoon at a time, until it firms up. Too stiff? Add more milk, a teaspoon at a time, until it’s spreadable. You got this, baker!
Final Thoughts
So there you have it, folks! Your new go-to double chocolate cake recipe. Go forth and conquer your cravings. Bake it for a party, for a friend, or just for yourself (no judgment here, **FYI, self-care often involves cake**). You’ve totally got this. Now go impress someone—or yourself—with your new culinary skills. You’ve earned it!


