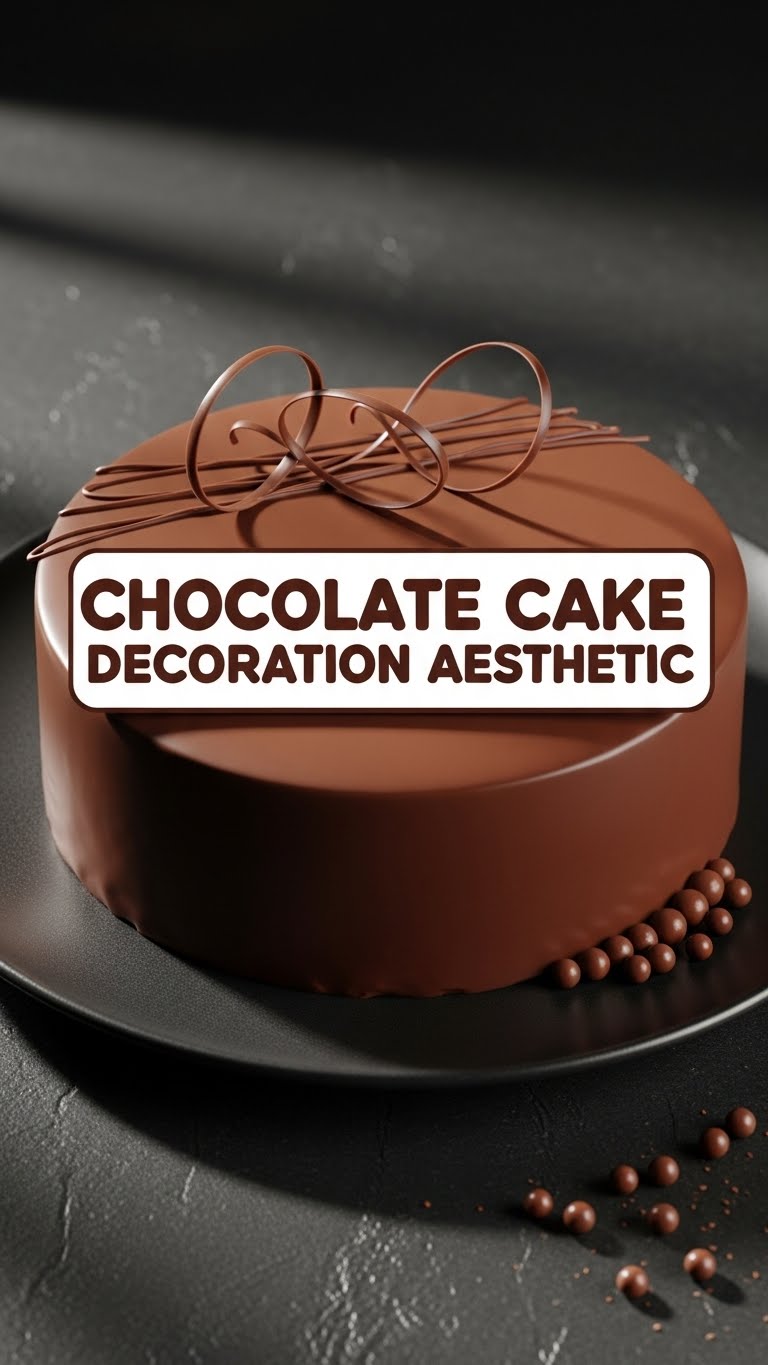
So you’ve wrestled a chocolate cake into existence, huh? Congrats! Whether it’s from a box mix, your grandma’s secret recipe, or a glorious impulse buy from the grocery store, you’ve got a delicious base. But let’s be real, the *real* magic, the *glamour*, the part that gets all the ‘oohs’ and ‘aahs’ on your Instagram feed? That’s the decoration, baby! It’s time to unleash your inner cake artist, even if your inner artist usually just draws stick figures.
Why This Decoration Guide is Awesome
Forget perfectly leveled layers and crumb coats that make you wanna weep. This ‘recipe’ isn’t about baking a cake; it’s about making any chocolate cake look like a million bucks with minimal fuss. Think of it as your cheat sheet to cake stardom without the culinary school debt. It’s about turning a humble cake into a showstopper, even if your hands shake a little when you hold a piping bag. It’s practically idiot-proof – and trust me, I’ve tried to idiot-proof things before. Plus, the less effort you put into the *decorating* struggle, the more energy you have for the *eating* part. Priorities, am I right?
Ingredients You’ll Need (aka Your Creative Arsenal)
Here’s what you’ll want to have on hand to turn that chocolate canvas into a masterpiece:
- Your Chocolate Cake Canvas: (Store-bought or homemade, no judgment here! Just make sure it’s completely cool, FYI.)
- Frosting/Glaze of Choice: (Chocolate buttercream, ganache, cream cheese frosting – whatever floats your boat, as long as it’s delicious. Store-bought tubs are totally fine, BTW. Don’t let anyone tell you otherwise.)
- Sprinkles & Toppings Galore: (Rainbow sprinkles, chocolate sprinkles, edible glitter, chopped nuts, mini chocolate chips, cocoa powder – the more, the merrier! Unleash your inner unicorn or sophisticated pastry chef here.)
- Fresh Fruit: (Raspberries, strawberries, cherries, orange zest – for that ‘I’m healthy, kinda’ vibe that balances out all the chocolate.)
- Optional Fancy Bits: (Chocolate shavings, edible flowers, crushed Oreos, pretzels, your favorite mini candy bars cut into pieces, or even a fancy edible gold spray if you’re feeling extra.)
- Basic Tools: (An offset spatula or butter knife, maybe a piping bag with a few tips if you’re feeling ambitious, and a plate or cake stand to display your art.)
Step-by-Step Instructions: Aesthetic Edition!
Here are a few ways to make your chocolate cake visually stunning without needing a culinary degree:
- The Rustic Swirl (Effortlessly Chic):
Grab your offset spatula (or a butter knife works too!) and load it up with frosting. Spread a generous layer over the top of your cooled cake, then gently drag the spatula in swirling motions. Don’t aim for perfection; the uneven, natural swirls are the whole point. Think “artfully messy.”
- The Dramatic Drip (Pure Glamour):
If you’re using ganache or a slightly warmed, thinned frosting, this is your move! Spoon a small amount near the edge of the cake, letting it slowly drip down the sides. Repeat around the entire perimeter, then fill in the top. The beauty is in the imperfection of the drips. Less is more initially – you can always add another drip layer.
- The Sprinkle Party (Joyful Explosion):
After frosting, grab your sprinkles! You can cover the entire top generously, or just focus them around the edge. For extra fun, gently press some sprinkles onto the sides of the cake. This is where you really let loose; there’s no wrong way to sprinkle!
- The Fruit Crown (Elegant & Fresh):
Once your cake is frosted, artfully arrange fresh berries or sliced fruit on top. You can make a full circle, a crescent moon, or just pile them in the center. The vibrant colors against the dark chocolate are a total showstopper. A dusting of powdered sugar over the fruit adds a lovely finish.
- The Minimalist Dust (Understated Sophistication):
For a super quick and elegant look, simply dust your frosted cake with cocoa powder or powdered sugar. You can use a small sieve for an even coat. Want to get fancy? Place a doily or a cutout stencil on top, dust, and then carefully remove it for a beautiful pattern.
Common Mistakes to Avoid (So You Don’t Cry Over Cake)
- Warm Cake + Cold Frosting = Disaster: Seriously, this is cake decorating 101. Patience, young grasshopper. Let that cake cool completely, or you’ll have a melted, crumbly mess on your hands. Nobody wants frosting soup.
- Overthinking It: This isn’t a Michelin-star dessert, it’s a chocolate cake! The goal is to have fun and make something pretty *and* delicious. Imperfections add character, IMO. Embrace the “rustic chic” look.
- Too Much Frosting at Once: Especially if you’re trying a drip. Start with a small amount, you can always add more. It’s like makeup, but for cake. You can’t un-add frosting easily.
- Not Having Fun: If you’re stressed, the cake knows. And it won’t look as pretty. Put on some music, pour yourself a beverage, and enjoy the creative process.
Alternatives & Substitutions (Mix It Up!)
Feeling adventurous or just missing an ingredient? No worries, we’ve got options!
- Frosting Swaps: Not a buttercream fan? Try a light whipped cream for a fresher feel, or a meringue frosting for something fluffier. If you’re doing a drip, a thin glaze made from powdered sugar and milk can work beautifully if ganache feels too heavy.
- Topping Creativity: Instead of classic sprinkles, how about crushed potato chips for a sweet and salty kick? Or toasted coconut flakes? Mini marshmallows? Get wild! Crushed digestive biscuits or graham crackers add a nice texture too.
- Tool Hacks: No offset spatula? A regular butter knife or even the back of a spoon will get the job done for spreading frosting. No piping bag? A ziploc bag with a small corner snipped off works perfectly for simple piping or drips.
FAQ (Frequently Asked Questions… with Attitude)
- Can I use margarine instead of butter in my frosting? Well, technically yes, but why hurt your soul like that? Butter just tastes better, let’s be honest.
- My frosting is too stiff/runny, help! Too stiff? Add milk or cream, a tiny bit at a time. Too runny? Add more powdered sugar until it’s just right. It’s a delicate dance, but you’ll get there.
- Do I *have* to chill the cake before frosting? Yes, unless you enjoy dealing with crumb-covered frosting. A cool cake is a less crumbly cake. Trust the process!
- What if my piping skills are non-existent? Don’t even sweat it! Embrace the rustic swirl, the generous sprinkle, or the elegant fruit crown. Nobody needs perfect rosettes to appreciate a good chocolate cake.
- How long will my decorated masterpiece last? Depends on your toppings! If you’ve used fresh fruit, probably 2-3 days max in the fridge. Without fruit, most frosted cakes are good for 3-4 days. But let’s be real, it’ll probably be gone before then.
- Is it okay to use store-bought everything? Absolutely! Who has time for everything from scratch, honestly? This is about the *aesthetic* and the *joy*, not proving you’re a culinary saint.
Final Thoughts
See? Not so scary, right? Cake decoration is all about playing, experimenting, and making something beautiful (and edible!). There are no hard and fast rules, just delicious possibilities. So go forth, wield your spatula with confidence, and make that chocolate cake a work of art that makes you smile. You totally got this, and more importantly, you get to eat it! Win-win!


