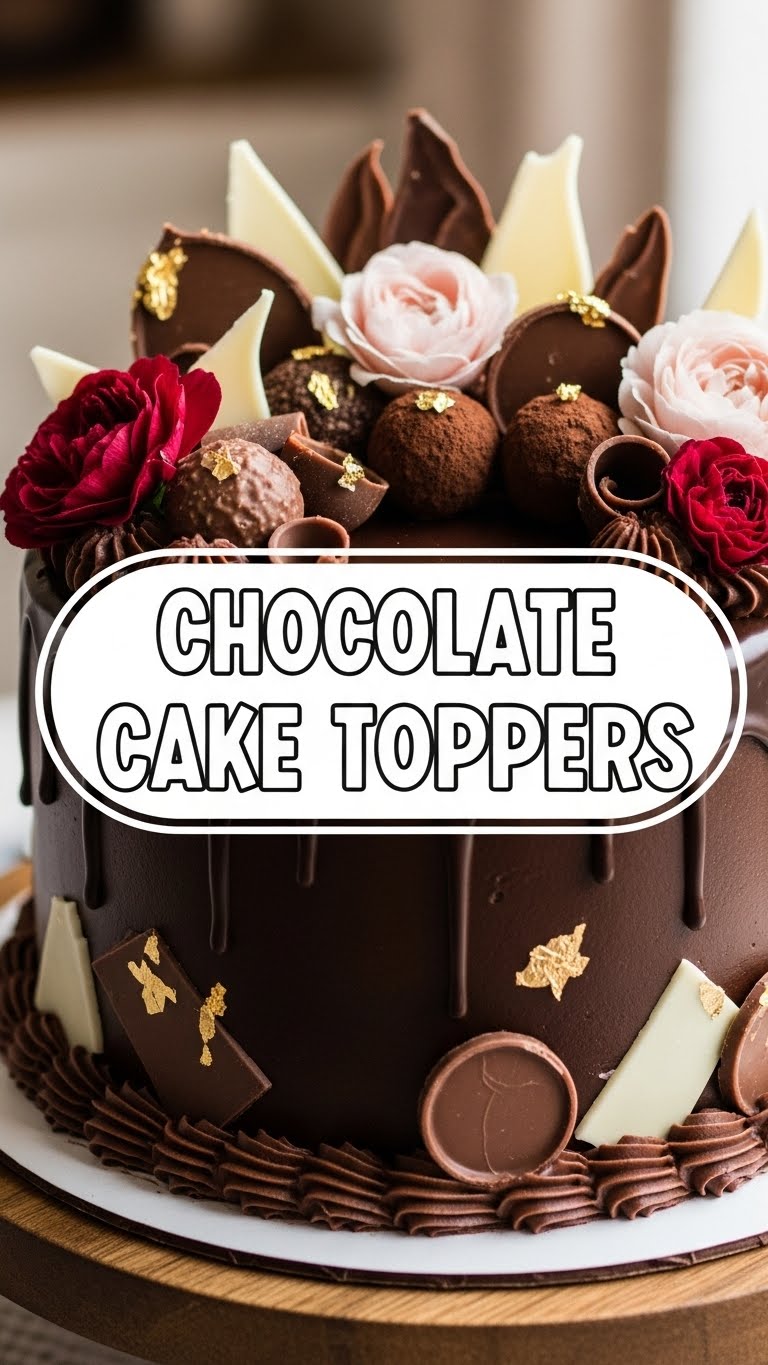
So, you’ve whipped up a magnificent chocolate cake, or, let’s be honest, you totally just bought one from the store (no judgment here, we’ve all been there!). But now it’s sitting there, looking a little… naked? A bit bland? Don’t even think about just slapping some sprinkles on it and calling it a day. We’re going for *impact*, darling, with minimal effort. This is where chocolate cake toppers come in to save your dessert’s dignity!
Why This Recipe is Awesome
Listen up, buttercup. This isn’t really a “recipe” in the traditional sense, more like a brilliant strategy for faking culinary genius. Why is it awesome? Because it takes zero actual baking skills, requires minimal attention span, and makes you look like you spent hours slaving away. It’s essentially the cheat code for fancy cakes. Plus, it’s idiot-proof—even I didn’t mess it up, and my kitchen is usually a disaster zone. We’re talking instant gourmet status without the Michelin star stress. You get to play with melted chocolate, which, let’s be real, is a therapeutic activity in itself.
Ingredients You’ll Need
Get ready for a shocker… it’s mostly chocolate! Who would’ve thought?
- Good Quality Chocolate: About 1-2 cups. Chips, a bar chopped up, whatever you have. Dark, milk, white – your call, your adventure. Don’t cheap out too much here; your taste buds will thank you.
- Sprinkles/Toppings: Unicorn sprinkles? Gold dust? Chopped nuts? Crushed Oreos? Whatever makes your heart sing. This is where the fun begins, people.
- Optional: Candy Melts: If you want some vibrant, non-chocolate colors without dealing with food dye in chocolate (it can get messy, trust me).
- Parchment Paper or Silicone Mat: Essential for not having your beautiful creations stick to the counter like stubborn barnacles.
- Squeeze Bottle or Piping Bag (or Ziploc Bag with a Snip): For artistic drizzling and drawing. No fancy equipment needed, a Ziploc with a tiny corner snipped off works like a charm.
Step-by-Step Instructions
- Melt Your Chocolate: Grab your chocolate and put it in a microwave-safe bowl. Zap it in 30-second intervals, stirring vigorously after each one, until it’s smooth and glorious. Don’t be a hero and try to melt it all at once; burnt chocolate is a sad, sad thing. Alternatively, use a double boiler if you’re feeling fancy or paranoid about burning.
- Prep Your Canvas: Lay out a sheet of parchment paper or a silicone mat on a flat surface (a baking sheet works great for easy moving).
- Get Creative: Spoon your melted chocolate into your piping bag or Ziploc. Now, go wild! You can draw simple shapes like stars, hearts, squiggles, or even letters for a custom message. Think abstract art, no pressure for perfection.
- Sprinkle the Magic: Immediately after drawing your shapes, shower them with your chosen sprinkles, nuts, or whatever delightful little bits you’ve got. This needs to happen while the chocolate is still wet, or nothing will stick. Duh.
- Chill Out: Carefully transfer your baking sheet (with the parchment and chocolate designs) to the fridge for about 15-20 minutes, or until the chocolate is completely firm. Don’t rush this part; patience is a virtue, especially in dessert decoration.
- Gently Detach: Once firm, carefully peel your chocolate toppers off the parchment paper. They should come off easily. If they don’t, they need more chilling time.
- Topper Time!: Stick your fabulous creations onto your chocolate cake. Stand back, admire your handiwork, and accept all the compliments like the domestic god/goddess you are.
Common Mistakes to Avoid
- Overheating the Chocolate: Burnt chocolate is chunky, bitter, and unsalvageable. Go low and slow with melting. You can always add more heat, but you can’t un-burn chocolate.
- Impatience is a Virtue (Sometimes): Trying to peel the toppers off before they’re fully set? Hello, broken chocolate bits! **Chill them properly.** Seriously.
- Forgetting the Sprinkles Immediately: If you wait for the chocolate to set even a little, your sprinkles will just roll off like they’re dodging a bad date.
- Using Watery Food Coloring Directly: If you want colored chocolate, use oil-based food coloring or candy melts. Water-based coloring will make your chocolate seize up and become a crumbly mess. **You’ve been warned.**
Alternatives & Substitutions
Feeling adventurous? Good! This isn’t a science experiment; it’s art!
- Chocolate Type Swap: Not a dark chocolate fan? Use milk chocolate! Love a stark contrast? Go with white chocolate for your toppers. IMO, white chocolate toppers on a dark chocolate cake are *chef’s kiss*.
- Flavor Boosts: Add a tiny drop of peppermint extract or orange zest to your melted chocolate before piping for an extra flavor kick. Just a drop, though; you don’t want a perfumey topper.
- Different Molds: Don’t want to draw freehand? Use silicone candy molds! Melt your chocolate, pour it in, sprinkle, chill, and pop out. Instant perfect shapes!
- Natural Toppers: Instead of sprinkles, consider finely chopped pistachios, toasted coconut flakes, or even crushed freeze-dried raspberries for a pop of color and natural flavor.
FAQ (Frequently Asked Questions)
Got questions? I’ve got answers (mostly humorous ones).
- What kind of chocolate should I use?
Any chocolate you like to eat! Seriously. Good quality baking chocolate or chocolate chips work best because they melt smoothly. Can you use that dollar store candy bar? Technically yes, but why hurt your soul like that?
- My chocolate seized up, what happened?!
Oh, you poor thing. Most likely, a tiny drop of water got into your chocolate. Chocolate and water are like oil and… well, water. They don’t mix. Or you overheated it. Try again, but be more careful, you magnificent amateur chocolatier.
- How long do these chocolate toppers last?
If stored in an airtight container in a cool, dry place, they can last a couple of weeks. But let’s be real, are they actually going to last that long? Probably not, you’ll eat them all first. FYI.
- Do I need special equipment to make these?
Nope! A microwave or a saucepan, a bowl, a spoon, parchment paper, and a Ziploc bag are literally all you need. Don’t let fancy chefs tell you otherwise.
- What if my toppers break when I peel them off?
Sadness! It usually means they weren’t chilled enough, or you were a bit too aggressive. **Pop ’em back in the fridge** for a bit longer. If they’re truly shattered, just melt them down and try again. No waste here!
- Can I use food coloring to make different colored chocolate toppers?
You *can*, but only use oil-based food coloring. Water-based food coloring will turn your beautiful melted chocolate into a chunky, clumpy mess that’s only good for the bin. You’ve been warned!
Final Thoughts
See? You just transformed a humble chocolate cake into a showstopper with minimal fuss and maximum fun. Your friends (or your Instagram followers) are going to think you’ve secretly enrolled in a pastry arts program. So go ahead, bask in the glory, take a million pictures, and then devour that cake! Now go impress someone—or yourself—with your new culinary “skills.” You’ve earned it!

