Ever woken up with an undeniable, all-consuming craving for chocolate cake? Not just any cake, but a big, glorious, 1kg chocolate cake that whispers sweet nothings to your soul? And then, just as quickly, the panic sets in: “1kg?! That sounds like a whole day in the kitchen!” Relax, my friend. We’re about to embark on a chocolate journey that’s more fun than frightful, ending with a show-stopping cake that you actually made (and didn’t break a sweat over, probably).
Why This Recipe is Awesome
Okay, let’s be real. Nobody wants a complicated recipe when chocolate cravings hit. This isn’t that. This recipe is your new best friend because:
- It’s practically **idiot-proof**. Seriously, if I can bake this without setting off the smoke alarm, you’re golden.
- It delivers a massive amount of **chocolatey goodness** for minimal fuss. We’re talking rich, moist, and deeply satisfying.
- You’ll look like a culinary genius, even if your secret superpower is just following clear instructions (and maybe a little bit of pre-mixed frosting).
- It’s the perfect size for a party, or, you know, a very intense solo Netflix binge. No judgment here.
Ingredients You’ll Need
Time to gather your edible arsenal! Don’t worry, these are mostly pantry staples. Go forth and conquer!
- For the Cake:
- 2 cups (250g) All-Purpose Flour: The trusty foundation of all good cakes.
- 2 cups (400g) Granulated Sugar: Because life needs sweetness, duh.
- ¾ cup (75g) Unsweetened Cocoa Powder: Go dark, go rich, no weak chocolate allowed.
- 2 tsp Baking Soda: Our magic lift-off agent.
- 1 tsp Baking Powder: Its trusty sidekick, ensuring a sky-high cake.
- 1 tsp Salt: Just a pinch to make all those chocolate flavors sing!
- 1 cup (240ml) Milk (or Buttermilk for extra moistness): Happy cow juice.
- ½ cup (120ml) Vegetable Oil: For that melt-in-your-mouth texture.
- 2 Large Eggs: The binders of our cakey dreams.
- 2 tsp Vanilla Extract: Adds that “oomph!”
- 1 cup (240ml) Hot Water (or hot brewed coffee for a deeper chocolate flavor): Our secret weapon! Don’t skip this.
- For the Chocolate Buttercream Frosting:
- 1 cup (226g) Unsalted Butter, softened: Your frosting’s creamy core.
- 3-4 cups (360-480g) Powdered Sugar (Confectioners’ Sugar): Sifted, please, nobody likes lumpy frosting.
- ¾ cup (75g) Unsweetened Cocoa Powder: Again, go dark or go home.
- ¼ cup (60ml) Milk or Cream: To get that perfect spreadable consistency.
- 1 tsp Vanilla Extract: A little extra somethin’.
- A pinch of salt: Balances the sweetness beautifully.
- For the Design (Optional but Recommended!):
- Chocolate shavings, sprinkles, fresh berries, or even a simple dusting of cocoa powder. Get creative!
Step-by-Step Instructions
Ready to get your bake on? Let’s do this!
- Prep Your Stage: Preheat your oven to 175°C (350°F). Grease and flour two 8-inch round cake pans. Or, line them with parchment paper. **Don’t skip this!** Unless you enjoy wrestling a cake out of a pan, which, who does?
- Mix the Dry Stuff: In a large bowl, whisk together the flour, sugar, cocoa powder, baking soda, baking powder, and salt. Make sure there are no lumpy bits.
- Combine the Wet Stuff (Mostly): In a separate medium bowl, whisk together the milk, oil, eggs, and vanilla extract until well combined.
- Bring Them Together: Pour the wet ingredients into the dry ingredients. Mix on low speed (or by hand with a spatula) until just combined. **Do not overmix!** A few small lumps are totally fine.
- The Secret Ingredient Reveal: Carefully pour the hot water (or coffee) into the batter. Mix on low speed until the batter is smooth. It will be thin – don’t panic, that’s what we want!
- Bake It Up: Divide the batter evenly between your two prepared cake pans. Pop them in the preheated oven and bake for 30-35 minutes, or until a wooden skewer inserted into the center comes out clean.
- Cool Down: Let the cakes cool in their pans on a wire rack for about 10-15 minutes. Then, carefully invert them onto the wire rack to cool completely. **This part is crucial!** Frosting a warm cake is a recipe for disaster.
- Make the Frosting: While the cakes are cooling, cream the softened butter in a large bowl with an electric mixer until light and fluffy. Gradually add the sifted powdered sugar and cocoa powder, alternating with the milk/cream and vanilla extract, mixing until smooth. Add a pinch of salt to balance the sweetness. If it’s too thick, add more milk a teaspoon at a time. If too thin, add more powdered sugar.
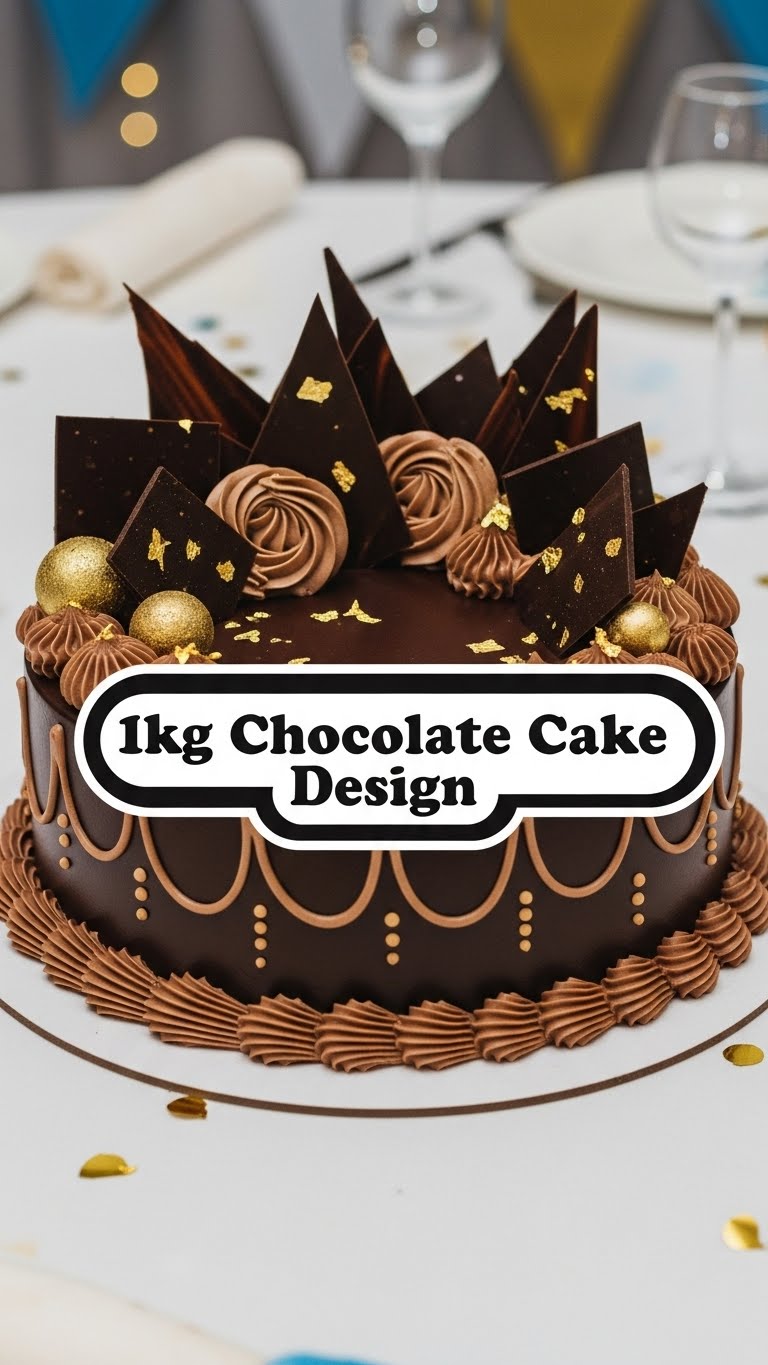
- Assemble & Decorate: Once the cakes are completely cool, place one layer on your serving plate. Spread about 1/3 of the frosting on top. Place the second cake layer on top and spread the remaining frosting over the top and sides of the cake. Now for the fun part: decorate! Add chocolate shavings, sprinkles, or whatever makes your heart sing.
Common Mistakes to Avoid
We’ve all been there. Learn from my past kitchen mishaps!
- Opening the Oven Door Too Soon: Patience, my friend. Resist the urge to peek before at least 25 minutes have passed, or your cake might sink faster than a lead balloon.
- Frosting a Warm Cake: Unless you’re aiming for a melty, sliding, gooey mess, let those cakes cool completely. Seriously. I’m talking room temperature, not “a little bit warm.”
- Overmixing the Batter: When you combine the wet and dry ingredients, mix just until no streaks of flour remain. Overmixing develops gluten, leading to a tough, dry cake. Nobody wants a hockey puck.
- Not Greasing & Flour-Dusting Your Pans: Thinking you can skip this step? Rookie mistake. Your cake will laugh in your face as it adheres stubbornly to the pan. Use parchment paper if you’re feeling fancy!
- Eyeballing Measurements: While baking is fun, it’s also a science. Especially for a 1kg cake, precise measurements matter. Break out those measuring cups and spoons!
Alternatives & Substitutions
Life’s about options, especially when it comes to cake!
- No Buttermilk? No Problem! If the recipe calls for buttermilk and you don’t have any, simply add 1 tablespoon of white vinegar or lemon juice to a measuring cup, then fill it up to 1 cup (240ml) with regular milk. Let it sit for 5 minutes before using. Voila!
- Coffee vs. Hot Water: Using hot brewed coffee instead of hot water will **seriously intensify** the chocolate flavor without making your cake taste like coffee. It’s a game-changer, IMO. Try it!
- Different Frosting: Not a buttercream fan? Try a simple chocolate ganache (equal parts hot cream and chopped chocolate, stir until smooth) or a cream cheese frosting for a tangy twist.
- Dairy-Free? You Got This! Swap regular milk for your favorite plant-based milk (almond, oat, soy). For the frosting, use dairy-free butter alternatives.
- Gluten-Free? You can definitely use a good quality gluten-free all-purpose flour blend. Just make sure it contains xanthan gum, or add ½ tsp per cup of flour. Results might vary slightly, but it’s worth a shot!
FAQ (Frequently Asked Questions)
Got questions? I’ve got (casual) answers!
- Can I make this cake ahead of time? Absolutely! The cake layers can be baked a day or two in advance, wrapped tightly in plastic wrap, and stored at room temperature (or in the fridge). Frost closer to serving time.
- How long does this 1kg chocolate cake keep? A well-covered chocolate cake (if there’s any left!) will stay fresh at room temperature for 3-4 days, or up to a week in the fridge.
- Is it really 1kg? Yes, with the generous layers and frosting, this recipe usually yields a cake around the 1kg mark, sometimes even a bit more. It’s a substantial treat!
- My frosting is too thin/thick, what do I do? Too thin? Add more sifted powdered sugar, a tablespoon at a time. Too thick? Add more milk or cream, a teaspoon at a time, until you reach your desired consistency.
- Can I add chocolate chips to the batter? Um, is that even a question? YES! Throw in ½ to 1 cup of your favorite chocolate chips for an extra chocolate explosion.
- Can I use margarine instead of butter for the frosting? Well, technically yes, but why hurt your soul like that? Butter just tastes better and gives a richer, creamier frosting. Trust me on this one.
Final Thoughts
Phew! You did it! You’ve successfully navigated the wonderful world of 1kg chocolate cake creation. You’ve gone from “craving” to “culinary hero” in just a few (fun!) steps. Now, go impress someone—or yourself—with your new culinary skills. You’ve earned that huge, glorious slice of cake. Don’t forget to savor every single, decadent bite. You deserve it! And hey, if you share, you’re an even better human. Just sayin’.


