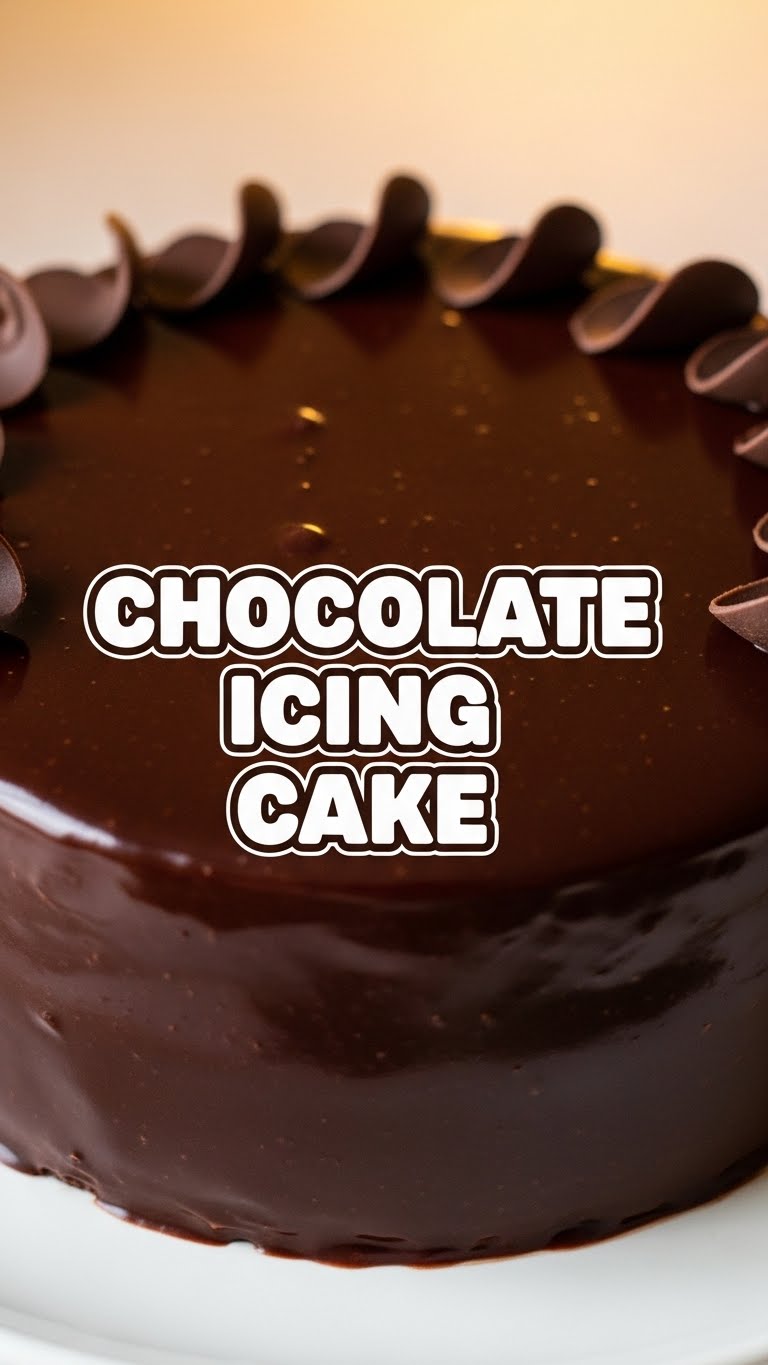
So you’re craving something tasty but too lazy to spend forever in the kitchen, huh? Same. And let’s be real, sometimes that chocolate craving hits so hard it feels like a physical assault. Good news, my friend! We’re about to whip up a Chocolate Icing Cake that’s so ridiculously easy and delicious, you’ll wonder if you accidentally stumbled into a five-star bakery… and then remember you did it all yourself. You culinary genius, you!
Why This Recipe is Awesome
Look, I get it. Life’s busy. Your TikTok feed isn’t going to scroll itself. This recipe understands that. It’s like the chill friend who says, “Don’t worry, I got you.”
- It’s practically idiot-proof. Seriously, even *I* didn’t mess it up, and my kitchen adventures often involve smoke alarms and calling for takeout.
- Quick satisfaction. From zero to chocolate hero in less time than it takes to decide what to watch on Netflix.
- Minimal dishes. Because who has time for a sink full of suds when there’s cake to be eaten?
- It’s CHOCOLATE. Do I even need to elaborate? It cures all ailments, mends broken hearts, and makes Mondays bearable.
Ingredients You’ll Need
Gather your posse of deliciousness. We’re keeping it simple, because complicate is not in our vocabulary today.
- For the Cake:
- 1 box (approx. 15.25 oz) Chocolate Cake Mix (Yes, a mix! Don’t judge, we’re friends here.)
- 3 large Eggs (Happy little protein bundles)
- 1/2 cup Vegetable Oil (Any neutral oil works, no need for anything fancy unless you *want* to be fancy)
- 1 cup Water or Milk (Milk makes it a bit richer, just sayin’)
- For the Ridiculously Delicious Chocolate Icing:
- 1/2 cup (1 stick) Unsalted Butter, softened (The good stuff. Not margarine. We’re better than that.)
- 1/2 cup Unsweetened Cocoa Powder (Dark, mysterious, chocolatey goodness)
- 3-4 cups Powdered Sugar (aka Confectioners’ Sugar. Like fairy dust, but for sweetness. Start with 3, add more if you like it super thick)
- 1 teaspoon Vanilla Extract (A splash of magic)
- 3-5 tablespoons Milk or Cream (For that perfect spreadable consistency. Whole milk or heavy cream for ultimate decadence.)
- Pinch of Salt (Seriously, don’t skip this. It makes the chocolate pop!)
Step-by-Step Instructions
Alright, apron on (or not, we’re not judging your fashion choices). Let’s get this chocolate party started!
- Preheat & Prep: Crank that oven to 350°F (175°C). Grab a 9×13 inch baking pan (or two 8-inch round pans if you’re feeling layered and ambitious). Grease and flour it like you’re prepping for a Michelin-star meal.
- Mix It Up: In a large bowl, dump your cake mix, eggs, oil, and water (or milk). Beat it with an electric mixer on low speed for about 30 seconds, then crank it up to medium and beat for 2 minutes. Scrape down the sides if you need to. You want it smooth, but don’t overmix!
- Pour & Bake: Pour that lovely batter into your prepared pan(s). Pop it in the preheated oven. Bake for 30-35 minutes for a 9×13 pan, or 28-32 minutes for round pans. How do you know it’s done? A toothpick inserted into the center should come out clean.
- Cool Down: Once baked, let the cake cool in the pan for about 10-15 minutes. Then, if using round pans, invert it onto a wire rack to cool completely. For a 9×13, you can often just leave it in the pan to cool. This step is crucial! Do not, I repeat, *do not* ice a warm cake. Meltdown city.
- Icing Time! While your cake is chilling, let’s make the star of the show. In a medium bowl, beat the softened butter until it’s light and fluffy. Add the cocoa powder and beat until combined.
- Sweeten & Smooth: Gradually add the powdered sugar, one cup at a time, beating well after each addition. The mixture will look crumbly at first – don’t panic! Add the vanilla extract, pinch of salt, and 1 tablespoon of milk/cream at a time, beating until you get a smooth, spreadable consistency. You might not need all 5 tablespoons, or you might need a tiny bit more. Trust your gut (and your spoon).
- Frost & Feast: Once your cake is completely cool, spread that glorious chocolate icing all over it. Use an offset spatula or the back of a spoon to make pretty swirls.
- Enjoy: Slice, serve, and accept all the compliments. You’ve earned ’em!
Common Mistakes to Avoid
We all make mistakes, darling. But with these insider tips, you won’t be making *these* ones. Consider it a cheat sheet to culinary greatness.
- Thinking you don’t need to preheat the oven. Rookie mistake, friend. A cold oven equals unevenly baked cake. Patience, young grasshopper.
- Overmixing the batter. You want a fluffy cake, not a dense, rubbery hockey puck. Mix until just combined, then stop. Seriously.
- Frosting a warm cake. I know, the temptation is real. But resist! You’ll end up with chocolate soup, not beautiful icing. Cool that cake completely!
- Not sifting powdered sugar for the icing. Hello, mysterious lumps! Sifting ensures smooth, dreamy icing. Do it. Your taste buds will thank you.
- Eyeballing baking ingredients. Baking is chemistry, not jazz improv. Be precise, especially with the cake mix additions.
Alternatives & Substitutions
Feeling adventurous? Or maybe you just ran out of something. No worries, we’ve got options.
- From-Scratch Cake: If you’re feeling like a domestic goddess/god and have more time than I do (jealous!), feel free to use your favorite from-scratch chocolate cake recipe. The icing recipe will still be your trusty sidekick.
- Milk Alternatives: For the cake or the icing, feel free to use plant-based milks like almond milk, soy milk, or oat milk. The texture might be slightly different, but still delicious!
- Add-ins: Want to jazz up the cake? Throw in a handful of chocolate chips, mini marshmallows, or even a sprinkle of espresso powder (enhances the chocolate flavor, FYI!).
-
Icing Variations:
- Cream Cheese Frosting: Replace some of the butter with softened cream cheese for a tangy twist.
- Espresso Icing: Dissolve a teaspoon of instant espresso powder in the milk before adding it to the icing for a mocha vibe.
- Nutella Swirl: Swirl in a tablespoon or two of Nutella at the end of making the icing.
FAQ (Frequently Asked Questions)
Got questions? I’ve got answers! (Mostly.)
- Can I use margarine instead of butter in the icing? Well, technically yes, but why hurt your soul like that? Butter is love, butter is life. Margarine works, but it won’t give you the same rich flavor and texture. IMO, stick to butter for the best results!
- How long does this cake last? If you manage not to devour it all in one sitting, it’ll keep covered at room temperature for 2-3 days, or in the fridge for up to a week. (Though it rarely lasts that long, let’s be honest.)
- Can I make the cake ahead of time? Absolutely! Bake the cake, let it cool completely, then wrap it tightly in plastic wrap and store at room temp for up to 2 days, or freeze for a month. Frost it on the day you plan to serve.
- My icing is too thick/thin! Help! Easy fix! If it’s too thick, add more milk/cream, one teaspoon at a time, until it reaches your desired consistency. If it’s too thin, gradually add more powdered sugar until it thickens up. You’re the boss!
- Can I make cupcakes instead of a sheet cake? You betcha! Just line a muffin tin with liners and fill them about two-thirds full. Baking time will be shorter, usually around 18-22 minutes. Keep an eye on them!
- Do I really *have* to cool the cake completely? Yes, my friend, yes! This isn’t a suggestion, it’s a commandment. Hot cake + cold icing = a sad, soupy mess. Patience is a virtue, especially when chocolate is involved.
Final Thoughts
There you have it! Your very own, incredibly easy, ridiculously delicious Chocolate Icing Cake. You’ve conquered the kitchen, satisfied that chocolate monster, and probably impressed yourself a little bit. Now go impress someone else—or just yourself again—with your new culinary skills. You’ve earned it! Grab a fork (or your fingers, I won’t tell), put on your favorite show, and enjoy every single chocolatey bite. You’re awesome.


