So you’re craving something tasty but too lazy to spend forever in the kitchen, huh? Same. High five! We’ve all been there, staring into the fridge, wishing a magical dessert would just *poof* into existence. Well, friends, while I can’t guarantee a magic wand, I *can* offer you the next best thing: a Chocolate Custard Cake recipe that’s so ridiculously easy and utterly delicious, you’ll feel like a culinary wizard without breaking a sweat. Trust me, this isn’t your grandma’s fussy, hours-long baking project. This is ‘I want dessert NOW, but also I want it to look like I tried really hard’ baking.
Why This Recipe is Awesome
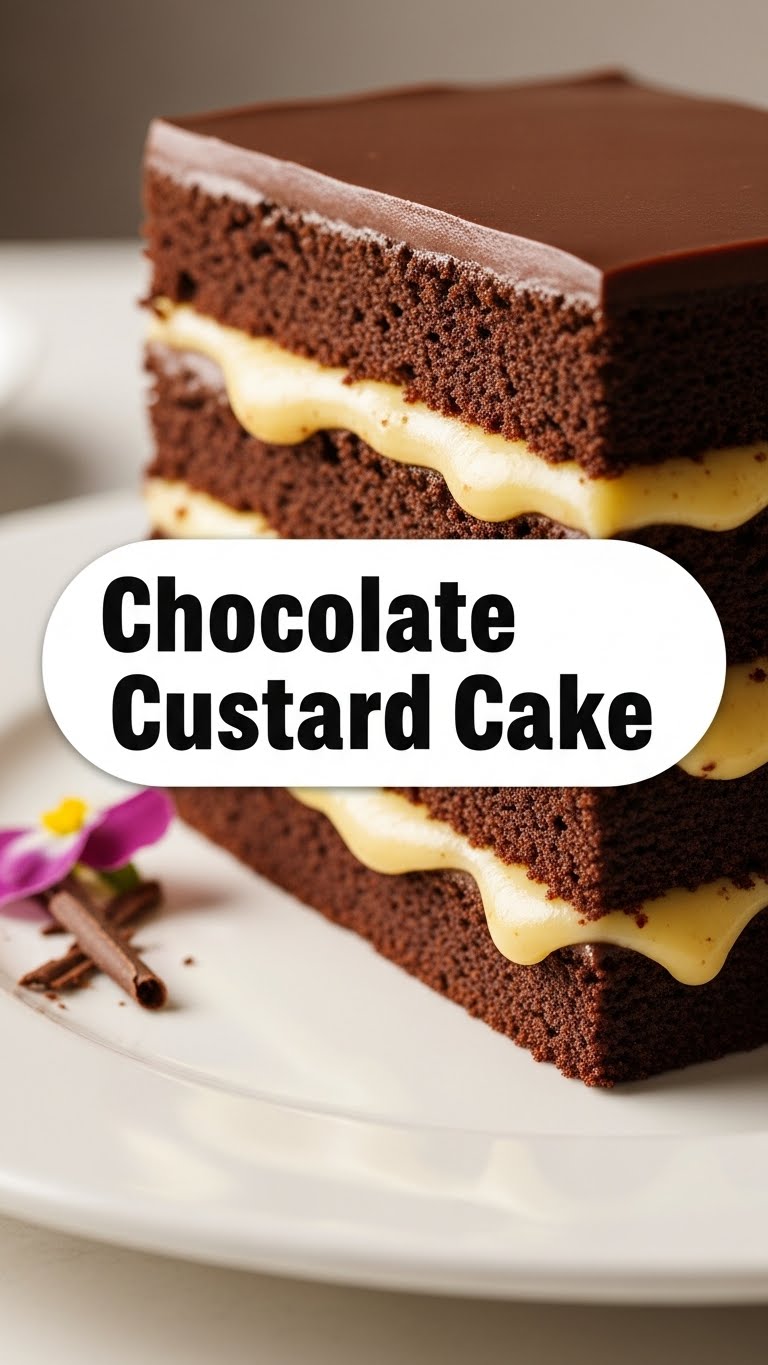
Okay, let’s get real. This Chocolate Custard Cake isn’t just awesome; it’s practically a miracle. Why? Because you pour one simple batter into a pan, bake it, and it magically separates into THREE distinct layers: a dense, fudgy base, a creamy, luscious custard in the middle, and a light, airy cake top. **Mind. Blown.** It’s essentially idiot-proof. Seriously, even I, a person who once set off a smoke alarm making toast, managed to nail this. It’s also a fantastic way to impress your friends or significant other with minimal effort. Plus, chocolate. Need I say more?
Ingredients You’ll Need
Get ready for a super short shopping list! Most of these are probably chilling in your pantry already, waiting for their moment to shine.
- **4 Large Eggs**, separated (yolks and whites, play nice!)
- **1 ½ cups (300g) Granulated Sugar** (because sweetness is a choice, not a suggestion)
- **½ cup (60g) All-Purpose Flour** (the glue that holds dreams together)
- **¼ cup (25g) Unsweetened Cocoa Powder** (make it good quality, your taste buds will thank you)
- **½ cup (113g) Unsalted Butter**, melted and slightly cooled (or salted, if you like a little rebel butter)
- **2 cups (480ml) Warm Milk** (whole milk works best for ultimate creaminess, IMO)
- **1 teaspoon Vanilla Extract** (the MVP of flavor)
- **Pinch of Salt** (because even chocolate needs a buddy)
- **Powdered sugar** for dusting (optional, but makes it look fancy AF)
Step-by-Step Instructions
- **Preheat & Prep:** First things first, get that oven nice and toasty to **325°F (160°C)**. Grease and lightly flour an 8×8 or 9×9 inch baking pan. You can also line it with parchment paper for easy removal.
- **Egg White Magic:** In a clean, medium bowl, whip those egg whites with an electric mixer until they form stiff peaks. This means they should hold their shape when you lift the beaters. Set them aside for now, they’re feeling important.
- **Yolk Power:** In a large bowl, whisk the egg yolks with the granulated sugar until the mixture is pale and creamy. This should take about 2-3 minutes.
- **Add the Good Stuff:** Pour the melted butter and vanilla extract into the yolk mixture. Whisk until fully combined.
- **Dry & Wet Dance:** Sift the flour, cocoa powder, and that pinch of salt into the yolk mixture. Mix until just combined – don’t overdo it! Then, slowly pour in the warm milk, whisking continuously until the batter is smooth.
- **Gentle Folding:** Now for the delicate part. Gently fold in the whipped egg whites, a third at a time, into the chocolate batter. Don’t worry if there are still some small white bits floating around; that’s totally normal and helps with the layering! Just be gentle; we want to keep that airy volume.
- **Bake It Up:** Pour the magical batter into your prepared pan. Carefully place it in the preheated oven and bake for **45-60 minutes**. The cake should be set on top, but still a bit jiggly in the middle. That jiggle is your custard layer, FYI!
- **Chill Out:** This is the hardest part, I won’t lie. Let the cake cool completely on a wire rack, then cover it and **chill it in the refrigerator for at least 2-3 hours**, or even better, overnight. This step is non-negotiable for the layers to fully set and for maximum deliciousness.
- **Serve & Impress:** Once properly chilled, slice, dust with powdered sugar if you’re feeling fancy, and bask in the glory of your multi-layered masterpiece.
Common Mistakes to Avoid
We’re aiming for culinary triumph, not kitchen chaos. Steer clear of these common pitfalls!
- **Not preheating the oven:** Rookie mistake! An uneven temperature can mess with the layering magic.
- **Overmixing the batter:** Especially after adding the flour and egg whites. Gentle is the name of the game, or you’ll lose that airy texture.
- **Skipping the chilling:** Seriously, don’t do it. Your layers won’t be distinct, and the custard won’t be set. Patience is a virtue, especially when chocolate is involved.
- **Peeking too often:** Every time you open the oven door, the temperature drops, potentially causing your cake to sink. Resist the urge!
Alternatives & Substitutions
Feeling adventurous? Or maybe you’re just out of one ingredient (we’ve all been there). Here are some ideas:
- **Milk:** While whole milk gives the best creamy texture, you can totally use 2% or even unsweetened almond milk if you’re dairy-free or just prefer it. The custard might be slightly less rich, but still delish.
- **Gluten-Free Flour:** Swap out the all-purpose flour for a 1:1 gluten-free baking blend. Make sure it contains xanthan gum for the best results.
- **Spice It Up:** Add a pinch of cayenne pepper for a subtle Mexican hot chocolate kick, or a tiny bit of instant coffee powder to deepen the chocolate flavor. Trust me on the coffee – it doesn’t make it taste like coffee, just makes the chocolate sing!
- **Chocolate Chips:** If you’re a true chocoholic, sprinkle some mini chocolate chips into the batter before baking. It won’t mess with the layers too much and adds an extra burst of chocolatey goodness.
FAQ (Frequently Asked Questions)
- **Q: Can I make this ahead of time?**
A: Absolutely! In fact, it’s encouraged. It needs time to chill, so making it the day before you plan to serve it is a brilliant move. Just keep it covered in the fridge. - **Q: Why isn’t my cake separating into three distinct layers?**
A: A few culprits! Did you overmix the egg whites or the batter? Did you chill it long enough? Also, oven temps can vary, so ensure your oven is calibrated correctly. - **Q: Can I use margarine instead of butter?**
A: Well, technically yes, but why hurt your soul like that? Butter truly makes all the difference in flavor and texture here. Stick with butter for optimal deliciousness. - **Q: How do I store leftovers?**
A: Tightly covered in the refrigerator for up to 3-4 days. But let’s be real, leftovers are a myth with this cake. - **Q: My cake sank in the middle, what happened?**
A: Too much oven-door peeking is often the cause! Or maybe it wasn’t quite baked through, and the structure collapsed. Ensure it’s jiggly but set.
Final Thoughts
There you have it, folks! Your new go-to recipe for when you need to impress with minimal fuss, or just treat yourself because, well, you deserve it. This Chocolate Custard Cake is a testament to the fact that baking can be fun, easy, and incredibly rewarding. So, go forth, whip up this magic, and prepare for compliments. Now go impress someone—or yourself—with your new culinary skills. You’ve earned it!


