So you’re craving something rich, chocolatey, and maybe a little fancy without, you know, *trying* too hard? Welcome to my kitchen, friend. We’re about to make a chocolate cake that’s so good, it should probably be illegal. No fuss, no drama, just pure, unadulterated deliciousness. Get ready to impress yourself!
Why This Recipe is Awesome
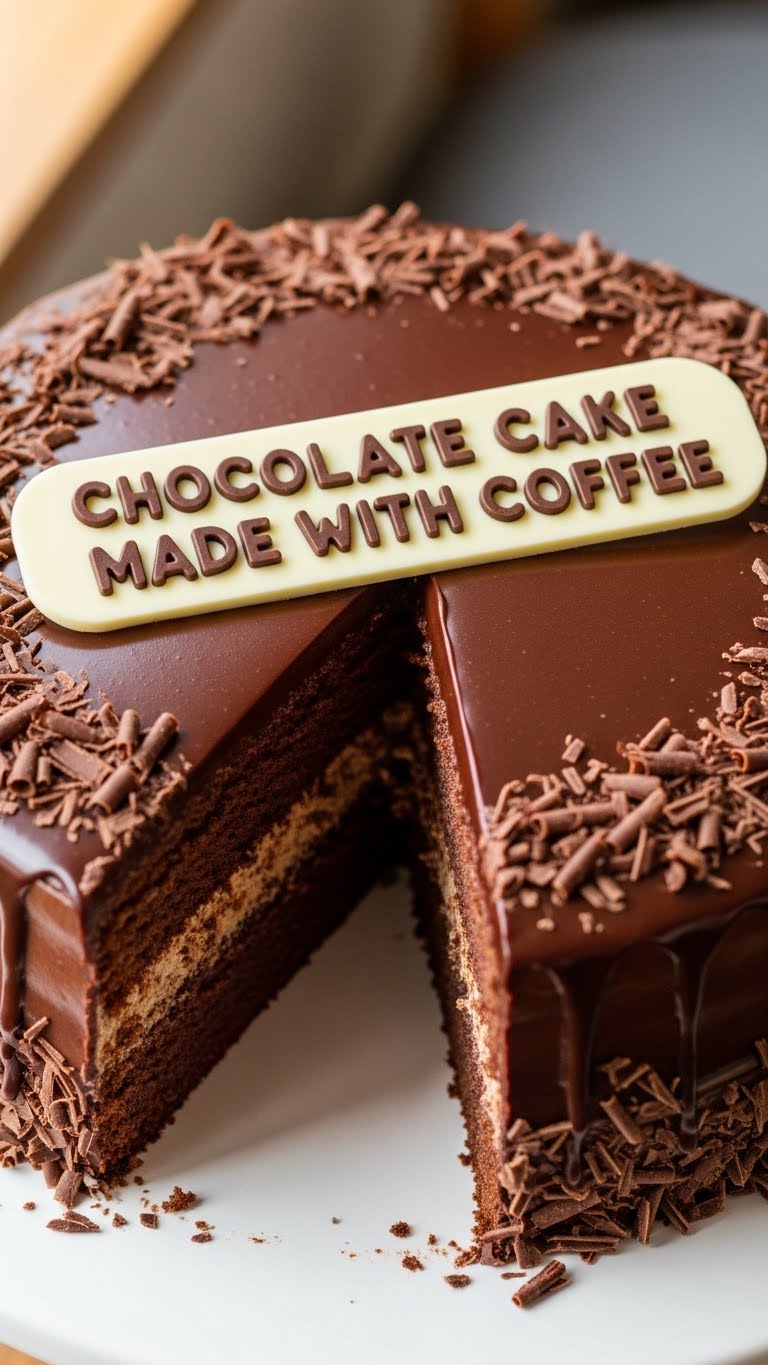
Okay, first off, it’s a chocolate cake. Enough said, right? But wait, there’s more! This isn’t just *any* chocolate cake; it’s a chocolate cake infused with coffee. Think of coffee as chocolate’s hype man – it just makes everything better, deeper, and more intensely chocolatey. It won’t taste like coffee, I promise; it just makes the chocolate sing. Plus, it’s pretty much **idiot-proof**. Even I, Queen of ‘oops, did I just burn water?’, can nail this. And it comes together faster than you can say ‘I need more chocolate in my life.’
Ingredients You’ll Need
- All-Purpose Flour: 2 cups. Because we’re not fancy bakers here, just regular folks making magic.
- Granulated Sugar: 2 cups. For that sweet, sweet bliss.
- Unsweetened Cocoa Powder: ¾ cup. The good stuff. Dark chocolate vibes, baby!
- Baking Soda: 1½ teaspoons. Our lift-off engineer. Don’t skip this, unless you want a chocolate brick.
- Baking Powder: 1 teaspoon. The other lift-off engineer, working in tandem.
- Salt: 1 teaspoon. Just a pinch, to make all the other flavors pop.
- Large Eggs: 2. Room temperature if you’re feeling ambitious, straight from the fridge if you’re like me.
- Milk: 1 cup. Any kind works, whole milk gives it that extra lusciousness, though.
- Vegetable Oil: ½ cup. Or any neutral oil. Keeps it super moist. Butter is for frosting, IMO.
- Vanilla Extract: 2 teaspoons. Because everything is better with vanilla.
- Hot Strong Black Coffee: 1 cup. This is our secret weapon, folks! Make it strong.
Step-by-Step Instructions
- Prep the Battlefield: Preheat your oven to 350°F (175°C). Grease and lightly flour two 8-inch round cake pans. If you only have one, you can bake in batches or use a 9×13-inch pan, but adjust baking time accordingly.
- Dry Mix Party: In a large bowl, whisk together the flour, sugar, cocoa powder, baking soda, baking powder, and salt. Make sure there are no lumps lurking!
- Wet Mix Party: In a separate medium bowl, whisk together the eggs, milk, vegetable oil, and vanilla extract until well combined.
- Combine Forces: Pour the wet ingredients into the dry ingredients. Mix with a whisk or electric mixer on low speed until *just* combined. Seriously, stop before it’s perfectly smooth.
- Coffee Time! Carefully pour in the hot coffee and whisk until the batter is smooth. Don’t panic, the batter will be quite thin – that’s totally normal and what makes this cake so moist!
- Into the Oven: Divide the batter evenly between your prepared cake pans. Pop them into the preheated oven and bake for 30-35 minutes, or until a wooden skewer or toothpick inserted into the center comes out clean.
- Cool Down: Let the cakes cool in their pans on a wire rack for about 10-15 minutes. Then, carefully invert them onto the wire rack to cool completely before frosting. This part is crucial for non-crumbly frosting!
Common Mistakes to Avoid
- Overmixing: Seriously, stop. You’re not making cement. Just mix until *just* combined or your cake will be tough like my ex’s heart.
- Not Preheating: Thinking you don’t need to preheat the oven? Rookie mistake. Your cake will thank you for the consistent heat from the start.
- Opening the Oven Door Constantly: Patience, young grasshopper. Every time you peek, you let out heat and risk your cake sinking. Just trust the process!
- Skipping the Coffee: I mean, you *could*, but why would you? You’d be missing out on the secret sauce for next-level chocolate intensity. Don’t be that person.
Alternatives & Substitutions
- Coffee Strength: Decaf works if you’re baking for midnight snackers and don’t want the caffeine kick. Espresso powder (1-2 tablespoons) mixed into hot water is also an A+ move for extra oomph and convenience.
- Milk: Nut milks like almond or oat are totally fine if you’re going dairy-free. Just make sure they’re unsweetened, unless you want a super-duper sweet cake.
- Oil vs. Butter: You *can* melt butter and use it instead of oil, but honestly, oil really does make it ridiculously moist. For the frosting, though, only butter, my friend. Only butter.
- Cocoa Powder: Dutch-processed cocoa will give you a darker, less acidic cake with a smoother flavor. Regular unsweetened cocoa (like Hershey’s) is also great and will give a slightly sharper chocolate taste. Both are winners!
FAQ (Frequently Asked Questions)
- Can I use instant coffee? Absolutely! Just make sure it’s strong, like you’re brewing for a marathon runner who hasn’t slept in days.
- Will my cake taste like coffee? Nope, not really! The coffee just enhances the chocolate, making it deeper and richer. It’s like a secret agent for flavor, not the main star.
- Can I make this as cupcakes? OMG YES! Adjust baking time, usually 18-22 minutes. Keep a close eye on them, and fill liners about two-thirds full.
- What kind of frosting should I use? A classic chocolate buttercream or a simple ganache would be divine. Or, if you’re feeling extra, a coffee buttercream? Mind. Blown.
- My cake sank in the middle, what happened? Probably opened the oven too early (see above!), or maybe your baking soda/powder is past its prime. Check those dates, baking leaveners don’t last forever, FYI!
- Can I halve the recipe? Yup, totally! Just cut all ingredients in half and bake in a smaller pan (e.g., an 8-inch square pan or two 6-inch rounds).
Final Thoughts
And there you have it, folks! Your very own, ridiculously delicious, coffee-infused chocolate cake. Seriously, give yourself a massive pat on the back. You just leveled up your baking game without breaking a sweat (or a bank, for that matter). Now go impress someone—or yourself—with your new culinary skills. You’ve earned it! Maybe pair it with an actual cup of coffee. Just sayin’. Happy baking!


