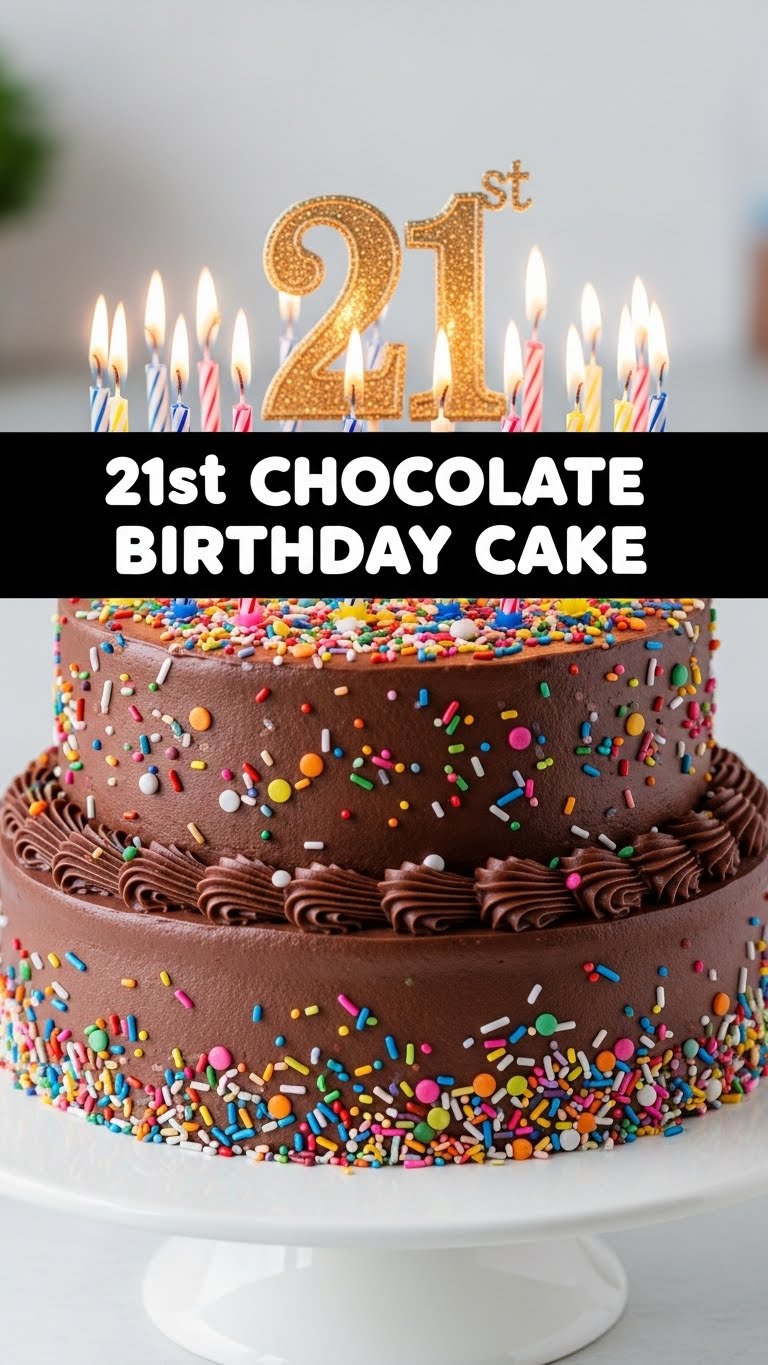
So, you’ve officially hit the big 2-1 (or you’re just celebrating like you have), and your internal alarm is screaming, “CAKE, NOW!” But not just any cake, right? We’re talking that rich, decadent, ‘OMG I can’t believe I made this’ kind of chocolate cake. Something that says, “I’m an adult now, and I deserve all the chocolate.” Well, buckle up, buttercup, because we’re about to make the **21st Chocolate Birthday Cake** – and it’s so easy, you’ll wonder why you ever bought one.
Why This Recipe is Awesome
Let’s be real, you want deliciousness without the drama, right? This isn’t just *any* chocolate cake recipe; this is your new go-to. It’s the kind of cake that’s so moist, so fudgy, and so intensely chocolatey, people will think you secretly paid a fancy baker. But nope, it was just you, your kitchen, and a sprinkle of pure genius (aka, this recipe). **It’s practically idiot-proof**, even if your past culinary adventures involve setting off the smoke detector with toast. Plus, it uses simple ingredients you probably already have, so no wild goose chase for obscure powders. Bonus: it makes your whole house smell like a chocolate factory, which is basically aromatherapy, IMO.
Ingredients You’ll Need
Gather ’round, my sweet-toothed friends. Here’s your shopping list – or rather, your “check the pantry” list:
- 2 cups all-purpose flour: The backbone of our cakey dreams.
- 2 cups granulated sugar: Because sweet, duh.
- ¾ cup unsweetened cocoa powder: The darker, the better for that deep chocolate punch.
- 2 teaspoons baking soda: Our magical leavening agent for fluffiness.
- 1 teaspoon baking powder: Its trusty sidekick, ensuring a perfect rise.
- 1 teaspoon salt: Don’t skip this! It balances all the sweetness.
- 1 cup whole milk: For richness, or whatever milk you have chilling in the fridge.
- ½ cup vegetable oil: The secret to that super moist texture.
- 2 large eggs: Room temperature, if you’re feeling fancy (they mix better!).
- 2 teaspoons vanilla extract: A generous splash, because vanilla makes everything better.
- 1 cup hot water (or hot brewed coffee!): **This is the secret weapon!** Trust me on the coffee – it deepens the chocolate flavor like crazy.
For the Dreamy Chocolate Buttercream Frosting:
- 1 cup (2 sticks) unsalted butter: Softened, but not melted.
- 3-4 cups powdered sugar (confectioners’ sugar): Sifted, unless you like lumpy frosting (you don’t).
- ¾ cup unsweetened cocoa powder: Again, the good stuff.
- ½ cup whole milk (or heavy cream): Adjust as needed for consistency.
- 2 teaspoons vanilla extract: More vanilla, because why not?
- Pinch of salt: To cut through the sweetness.
Step-by-Step Instructions
Alright, let’s get this party started! Follow these simple steps and try not to lick the bowl *too* much.
- Preheat & Prep: Preheat your oven to 350°F (175°C). Grease and flour two 8 or 9-inch round cake pans. You can also line the bottoms with parchment paper for easy release.
- Whisk the Dry Stuff: In a large bowl, whisk together the flour, granulated sugar, cocoa powder, baking soda, baking powder, and salt. Give it a good whisk to make sure everything is evenly distributed.
- Mix the Wet Stuff: In a separate medium bowl, whisk together the milk, vegetable oil, eggs, and vanilla extract until well combined.
- Combine & Conquer: Pour the wet ingredients into the dry ingredients. Mix on low speed with an electric mixer (or by hand with a whisk) until just combined. **Do not overmix!** A few lumps are totally fine.
- Add the Secret Weapon: Carefully pour in the hot water (or coffee). Mix on low speed until the batter is smooth. The batter will be thin – don’t panic, that’s how it should be!
- Divide & Bake: Divide the batter evenly between your two prepared cake pans. Bake for 30-35 minutes, or until a wooden skewer or toothpick inserted into the center comes out clean.
- Cool Down: Let the cakes cool in the pans for about 10-15 minutes before inverting them onto a wire rack to cool completely. **This step is crucial!** No one wants melted frosting.
- Make the Dreamy Frosting: While the cakes are cooling, beat the softened butter in a large bowl with an electric mixer until light and fluffy. Gradually add the powdered sugar and cocoa powder, alternating with the milk and vanilla, beating until smooth and creamy. Add the pinch of salt. If it’s too thick, add a tiny bit more milk; too thin, add more powdered sugar.
- Assemble Your Masterpiece: Once the cakes are completely cool, place one layer on your serving plate or cake stand. Spread a generous amount of frosting on top. Place the second cake layer on top and frost the top and sides of the entire cake. Get creative with your frosting skills, or just smear it on – it’s going to taste amazing either way!
- Devour: Slice, serve, and bask in the glory of your chocolatey creation!
Common Mistakes to Avoid
We’ve all been there, staring at a deflated cake or crumbly frosting. Learn from my (and others’) mistakes, so you don’t have to!
- Not Preheating Your Oven: This isn’t just a suggestion; it’s a command! An un-preheated oven leads to uneven baking and sad, dense cakes. Rookie mistake.
- Overmixing the Batter: Once you add the wet to the dry, mix *just* until combined. Overmixing develops the gluten too much, giving you a tough, chewy cake instead of a tender one. Say no to rubber cake!
- Opening the Oven Door Too Soon: Resist the urge to peek! Opening the door lets cold air in, which can make your cake sink. Give it at least 25 minutes before you even think about looking.
- Frosting a Warm Cake: This is a cardinal sin. Your beautiful frosting will melt and slide right off, creating a chocolatey, sticky mess. Patience, young padawan! **Always let your cakes cool completely.**
- Ignoring the Salt: It seems tiny, but salt in both the cake and frosting cuts through the sweetness and enhances the chocolate flavor. Don’t skip it!
Alternatives & Substitutions
Feeling adventurous? Or just realized you’re missing an ingredient? No stress, I got you!
- Coffee vs. Water: As mentioned, **hot brewed coffee instead of hot water will seriously amp up the chocolate flavor.** It doesn’t make the cake taste like coffee, just more intensely chocolatey. Give it a try!
- Dairy-Free Option: You can easily swap out the milk for your favorite dairy-free milk (almond, soy, oat). For the frosting, use a dairy-free butter alternative and plant-based milk.
- Buttermilk Substitute: No buttermilk? No problem! Add 1 tablespoon of white vinegar or lemon juice to a measuring cup, then fill the rest with regular milk until you reach 1 cup. Let it sit for 5-10 minutes until it looks slightly curdled. Voila!
- Different Extracts: Want to get wild? Try adding a teaspoon of peppermint extract for a mint chocolate cake, or almond extract for a subtle nutty note.
- Add-ins: Fold in a cup of chocolate chips, mini marshmallows, or chopped nuts into the batter for extra texture and flavor.
FAQ (Frequently Asked Questions)
Got questions? I’ve got (casual and humorous) answers!
Q: Can I use margarine instead of butter for the frosting?
A: Well, technically yes, you *can*. But why hurt your soul (and your taste buds) like that? Butter just tastes infinitely better and gives a richer, creamier frosting. Stick with butter if you want that truly dreamy texture!
Q: My cake batter seems really thin after adding the hot water/coffee. Is that normal?
A: Totally normal! Don’t panic. That thin batter is the secret to a super moist, tender crumb. Trust the process!
Q: Can I make this cake ahead of time?
A: Absolutely! The cake layers can be baked a day or two in advance, wrapped tightly in plastic wrap, and stored at room temperature (or in the fridge). You can even freeze them for up to a month! Just make sure they’re completely cool before wrapping.
Q: How should I store leftover cake?
A: Keep it covered tightly (a cake dome is perfect!) at room temperature for up to 3-4 days. For longer storage, pop it in the fridge, but let it come to room temp before serving for the best texture.
Q: I don’t have two cake pans. Can I just use one?
A: You could, but you’d need to halve the batter and bake two separate times, or use a larger bundt pan and adjust the baking time significantly (and likely end up with a denser cake). For best results, I’d recommend sticking with two round pans or buying another one – they’re worth it!
Q: Can I use instant coffee powder instead of brewed coffee?
A: Yes, absolutely! Just dissolve 1-2 tablespoons of instant coffee powder in the hot water. It works just as well to boost that chocolate flavor.
Final Thoughts
Look at you, culinary superstar! You just whipped up a show-stopping 21st Chocolate Birthday Cake that’s going to make everyone swoon. Whether you’re celebrating a milestone, a Tuesday, or just the fact that you successfully made something from scratch, you deserve to enjoy every single bite. Now go forth and impress someone—or better yet, just yourself—with your new culinary skills. You’ve earned it!

