So, you’ve baked a cake, huh? And now it’s sitting there, looking all… naked? Like it’s begging for a fabulous outfit? Yeah, I get it. A plain cake is just a canvas waiting for its chocolate masterpiece. And you, my friend, are about to become the Picasso of confectionery! No fancy art degree required, promise. Just a love for chocolate and maybe a slight addiction to making things look ridiculously good without *too* much effort.
Why This “Recipe” (AKA Guide to Glorious Chocolate Design) is Awesome
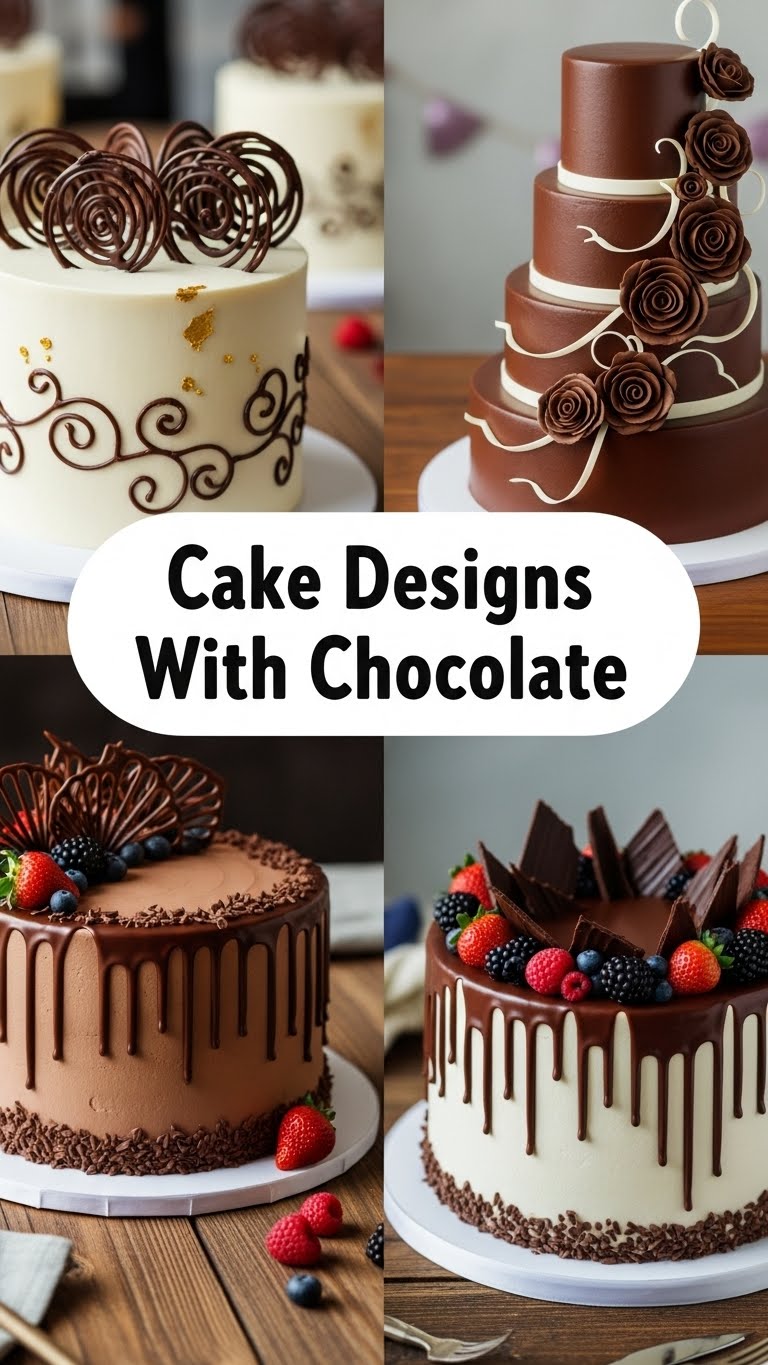
Because let’s be real, a plain cake is like a really good book without a cover. Still great, but where’s the razzle-dazzle? This guide isn’t about baking a cake (you’ve got that covered, champ!). It’s about taking your perfectly baked creation and turning it into a showstopper with the magical powers of chocolate. We’re talking:
- **Effortless Elegance:** We’re going for maximum visual impact with minimum fuss. You’ll look like a pro, and no one needs to know how easy it actually was. 😉
- **Chocolate, Duh:** Is there any other reason? It’s chocolate. On a cake. Enough said.
- **Idiot-Proof Techniques:** Seriously. If I can do it without burning down the kitchen (mostly), you can too. These are gateway chocolate designs, leading you to a world of edible art without the stress.
- **Instant Mood Booster:** Both for you while you create, and for anyone who gets to eat your glorious creation. Double win!
Ingredients (AKA Your Chocolate Arsenal) You’ll Need
Think of these less as ingredients and more as your tools for edible art. Quality matters here, folks. Don’t skimp on the chocolate unless you’re into disappointment.
- **Good Quality Chocolate:** About 8-10 oz (225-280g) total.
- **For Drips & Designs:** Dark chocolate (60-70% cocoa for that rich taste), milk chocolate (for a sweeter vibe), or even white chocolate (can be colored!). **Choose wisely, grasshopper.**
- **For Shavings/Curls:** A solid block of baking chocolate or a thick bar of your favorite eating chocolate. It needs to be firm.
- **Heavy Cream:** ½ cup (120ml) for that silky ganache drip. Don’t even *think* about light cream. We’re not health fanatics today.
- **Optional Fun Stuff:**
- **Powdered Sugar:** A tablespoon or two for ganache, if you like it sweeter.
- **Butter:** A tiny knob (about 1 tbsp) for extra shine in your ganache. Pure luxury!
- **Piping Bag & Nozzles:** For fancy swirls or writing. Or just use a Ziploc bag with the corner snipped – no judgment here.
- **Parchment Paper or Silicone Mat:** Essential for chocolate shards or curls.
- **Offset Spatula or Regular Spatula:** For spreading and smoothing.
- **Vegetable Peeler or Sharp Knife:** For making those elegant chocolate shavings.
- **Your Beautifully Baked Cake:** The star of the show, obviously! Chilled is best for decorating.
Step-by-Step Instructions: Let’s Get Chocolaty!
Alright, pre-game pep talk: Chill your cake! A cold cake surface helps chocolate set faster and prevents a melty mess. Trust me on this one. Now, pick your adventure!
Technique 1: The Glorious Chocolate Ganache Drip
- **Chop That Chocolate:** Finely chop your chosen chocolate. The smaller the pieces, the faster and smoother it melts. Put it in a heatproof bowl.
- **Heat the Cream:** In a small saucepan, gently heat your heavy cream until it just barely simmers around the edges. **Do NOT boil it like a mad scientist potion!** Remove from heat immediately.
- **Pour & Wait:** Pour the hot cream directly over your chopped chocolate. Let it sit undisturbed for about 5 minutes. This is where the magic happens, so be patient!
- **Stir It Up:** After 5 minutes, gently stir the mixture from the center outwards until it’s smooth, glossy, and completely combined. If it’s too thick, add a tiny bit more warm cream; too thin, add more chopped chocolate and let it melt. Stir in a tiny knob of butter for extra sheen, if you’re feeling fancy. Let it cool slightly until it’s thick enough to drip slowly, but still pourable (like thick honey).
- **Drip, Drip, Hooray!** Spoon a small amount of ganache onto the edge of your chilled cake. Use the back of the spoon to gently push it over the edge, creating beautiful drips. Repeat all around the cake. Once the edges are dripped, pour the remaining ganache onto the top of the cake and spread it evenly with an offset spatula. **Don’t overthink it, let gravity do its thing!**
Technique 2: Elegant Chocolate Shavings or Curls
- **Prep Your Block:** Grab your solid block of chocolate. If it’s too hard from the fridge, let it sit at room temp for 10-15 minutes. It needs a little give, but not melty.
- **Shave Away:** Hold the chocolate block firmly. Using a vegetable peeler (for fine shavings) or a sharp knife (dragged across the surface for curls), gently scrape down the side of the chocolate.
- **Collect & Chill:** Watch as beautiful curls or delicate shavings form! Let them fall onto parchment paper. If they’re warming up in your hands, pop them back in the fridge for a minute.
- **Decorate:** Once you have a nice pile, gently transfer them to your cake with a small spoon or your (clean!) fingers. Scatter them around the top, or press them gently onto the sides for a textured look.
Technique 3: Quick Chocolate Shards (for that “artfully broken” vibe)
- **Melt & Spread:** Gently melt a good amount of chocolate (microwaving in 30-second intervals, stirring each time, or using a double boiler). Spread it thinly (about 1/8 inch thick) onto a sheet of parchment paper or a silicone mat.
- **Optional Add-ins:** While still wet, sprinkle with sea salt, chopped nuts, sprinkles, or even edible glitter. This is your moment to shine!
- **Chill Out:** Pop the parchment paper and chocolate into the fridge for 15-20 minutes, or until completely firm.
- **Break & Place:** Once hardened, simply peel the chocolate from the parchment and break it into irregular shards. Stand them upright on top of your cake, poke them into the frosting, or arrange them dramatically. **No two shards are alike, and that’s the beauty of it!**
Common Mistakes to Avoid (Unless You Want a Learning Experience, LOL)
- **Overheating Chocolate:** This is the arch-nemesis of smooth chocolate. Microwaving on high for too long or letting cream boil will “seize” your chocolate, turning it into a grainy, clumpy mess. **Low and slow, baby!**
- **Impatient Ganache Stirring:** Don’t just dump hot cream and immediately start furiously stirring. Let it sit! That initial melt is crucial for a smooth ganache.
- **Warm Cake, Warm Drips:** Trying to drip ganache onto a room-temperature cake is like trying to ice skate uphill. It will just slide right off into a sad puddle. **Chill your cake, always!**
- **Fingering Chocolate Curls:** The heat from your hands will melt those beautiful curls faster than you can say “chocolate coma.” Use a tool or very cold, quick hands.
- **Not Enough Chocolate:** Always make a little extra. You don’t want to run out mid-drip! Plus, extra chocolate is never a bad thing, IMO.
Alternatives & Substitutions
Feeling creative? Here are some ways to shake things up:
- **Flavored Ganache:** Infuse your cream with coffee beans, orange zest, mint leaves, or a splash of liqueur (like Kahlua or Grand Marnier) before heating. Strain it before pouring over chocolate. Ooh la la!
- **Colored White Chocolate:** Want a vibrant drip? Use good quality white chocolate and add a tiny bit of gel food coloring (oil-based works best for chocolate) to your ganache. **Food coloring paste works, liquid doesn’t mix well.**
- **Alternative “Shavings”:** No chocolate block? You can use a cheese grater on a frozen chocolate bar for a more rustic, crumbly look. Still delicious!
- **Piped Chocolate Designs:** Melt some chocolate, put it in a piping bag with a small round nozzle, and pipe intricate patterns, text, or shapes onto parchment paper. Chill until firm, then gently peel off and adorn your cake. **Easy peasy, lemon squeezy.**
- **Nutella Drip:** For a super quick cheat, warm up some Nutella slightly until it’s drippable. It works wonders!
FAQ (Frequently Asked Questions)
Got questions? I’ve got (casual) answers!
- **Can I use chocolate chips for ganache?**
Well, technically yes, but why risk it? Chocolate chips often contain stabilizers that can make your ganache less smooth and shiny. **Opt for good quality chocolate bars or callets for the best results.** - **My ganache is too thick/thin! Help!**
Too thick? Add a tablespoon of warm cream and stir until smooth. Too thin? Add a tablespoon or two of finely chopped chocolate and let it melt in, stirring gently. Patience is key! - **How do I store my beautifully decorated cake?**
Most chocolate-decorated cakes are fine at room temperature for a day or two (unless your kitchen is a sauna). For longer storage, cover loosely and refrigerate. Let it come to room temp before serving for the best flavor and texture. - **Can I make chocolate curls ahead of time?**
Absolutely! Make them, then store them in an airtight container in the fridge or freezer. Just handle them gently when you’re ready to decorate. - **My drips aren’t perfect, they’re too long/short! What’s wrong?**
Nothing’s wrong, you’re human! Drips are notoriously finicky. The temperature of your ganache, the temperature of your cake, and the amount you spoon over the edge all play a role. Practice makes (more) perfect, but a “wonky” drip still tastes amazing. **Embrace the imperfection!** - **Is tempering chocolate necessary for these designs?**
For *these* designs, nope! We’re going for quick and easy. Tempering is for when you want perfectly shiny, snap-able chocolate that won’t bloom (get those white streaks). For drips and casual shavings, just melting is fine. FYI!
Final Thoughts
And there you have it! You’ve officially graduated from “cake baker” to “cake artist” (at least in the chocolate department). Now go impress someone—or yourself—with your new culinary skills. You’ve earned those bragging rights, and frankly, you’ve earned that slice of cake. Go on, enjoy the fruits (or rather, chocolates) of your labor!


