Ever stared at a plain cake and thought, “Meh, it needs a little *pizzazz*”? Or maybe you just have a serious chocolate craving and a vague desire to make something, anything, without turning your kitchen into a disaster zone? Yeah, me too. This recipe for chocolate balls is basically your culinary superhero, swooping in to save your cake (and your sanity) with minimal effort and maximum deliciousness.
Why This Recipe is Awesome
Okay, let’s be real. This isn’t just a recipe; it’s a life hack. Firstly, it’s **no-bake**, which means no oven-watching anxiety. Secondly, it’s practically idiot-proof. Seriously, if I can do it without a major meltdown, you definitely can. It’s also super versatile, perfect for using up leftover cake crumbs or even those forgotten biscuits lurking in your pantry. Plus, who doesn’t love tiny, shiny balls of chocolate goodness? They make any cake look instantly fancier, and you get to tell everyone you “made” them. You’re basically a professional pastry chef now. You’re welcome.
Ingredients You’ll Need
Gather your troops! Here’s what you’ll need for these bite-sized bursts of joy:
- 2 cups cake crumbs or biscuit crumbs: Stale cake? Leftover biscuits? Crush ’em up! The dryer, the better. Digestive biscuits work a treat, or even those slightly-too-dry chocolate chip cookies.
- 1/2 cup sweetened condensed milk: This is our sticky, sweet magic glue. Don’t skimp, unless you want crumbly sadness.
- 1/4 cup cocoa powder: The good stuff, not that weird hot chocolate mix. We’re going for deep, dark chocolatey vibes.
- 1 teaspoon vanilla extract (optional, but highly recommended): Because everything is better with a whisper of vanilla, IMO.
- Pinch of salt: Just a tiny bit to make the chocolate flavor pop! Trust me on this one.
- For coating (pick one or mix ‘n’ match!):
- Extra cocoa powder: For a sophisticated, slightly bitter finish.
- Melted chocolate (milk, dark, or white): Because why stop at just one layer of chocolate?
- Sprinkles: Rainbow, chocolate, glitter – go wild!
- Desiccated coconut: For a tropical twist.
- Chopped nuts: A little crunch never hurt anyone.
Step-by-Step Instructions
- **Crush It Up:** If you haven’t already, get those cake or biscuit crumbs super fine. A food processor is your best friend here, but a ziploc bag and a rolling pin work just as well (and double as a stress reliever!). Aim for no big lumps.
- **Mix the Dry Stuff:** In a medium bowl, combine your cake/biscuit crumbs, cocoa powder, and that tiny pinch of salt. Give it a good whisk to make sure everything’s evenly distributed.
- **Add the Wet Wonders:** Pour in the condensed milk and vanilla extract (if using). Now, get your hands dirty! Or use a sturdy spoon, whatever. Mix until everything comes together into a thick, moldable dough. It should be sticky but hold its shape. If it’s too dry, add a tiny bit more condensed milk; too wet, a spoon of extra crumbs.
- **Roll ‘Em Out:** Grab small portions of the mixture, about a tablespoon each. Roll them between your palms into cute, uniform balls. Think marble-sized to golf-ball-sized, depending on how dramatic you want your cake decoration to be.
- **Chill Out:** Place your newly formed chocolate balls on a parchment-lined tray. Pop them in the fridge for at least 30 minutes. This helps them firm up and keeps them from turning into a sticky mess when you coat them.
- **Coat & Conquer:** Once chilled, it’s time for the fun part! Roll them in your chosen coating. If using melted chocolate, dip them one by one, letting the excess drip off, then place them back on the parchment paper and add sprinkles immediately if you’re using them.
- **Final Chill:** Back into the fridge they go for another 15-20 minutes, especially if you coated them in melted chocolate. This ensures everything sets nicely.
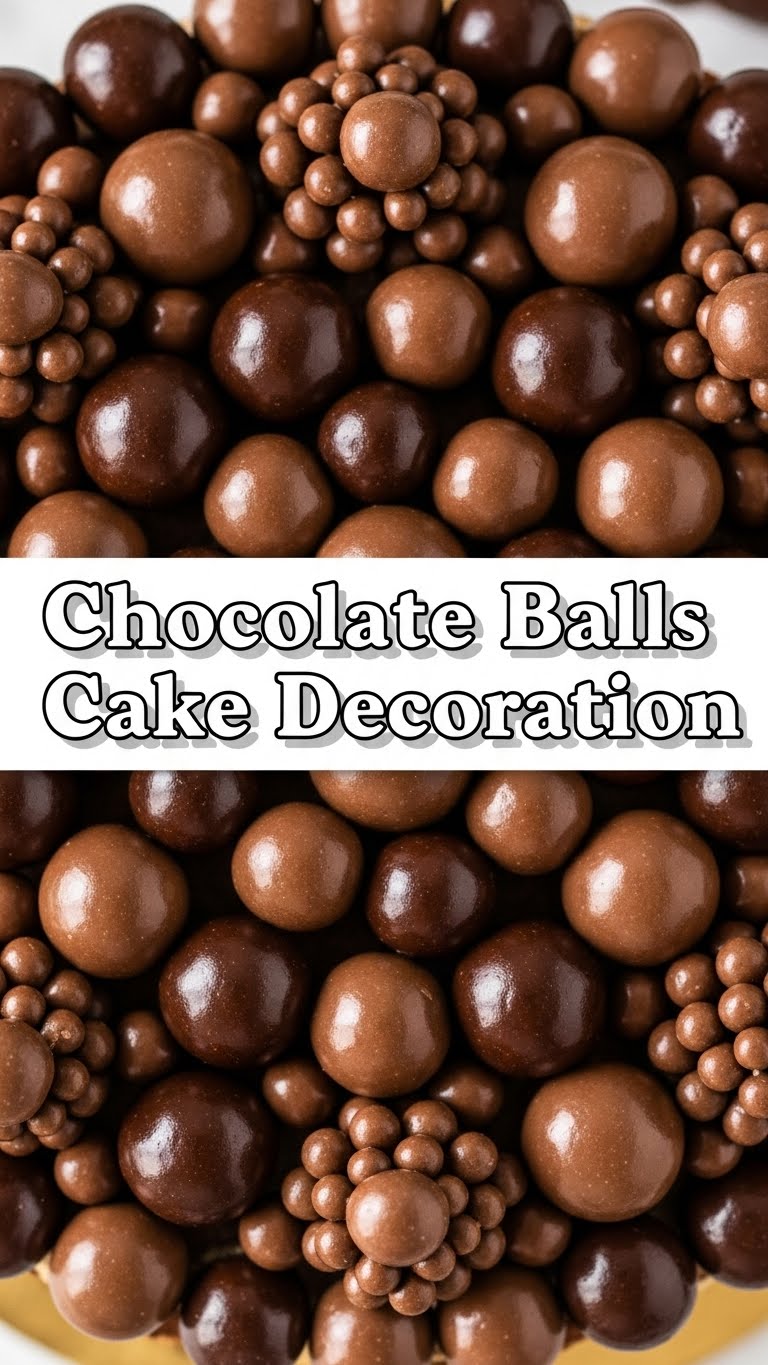
- **Decorate Away!** Now you have beautiful, delicious chocolate balls ready to adorn your cake. Arrange them creatively, pile them high, or dot them strategically. Your cake, your rules!
Common Mistakes to Avoid
- **Over-wetting the Mixture:** Adding too much condensed milk at once is a rookie mistake. It’ll become a sticky, unmanageable goop. Add it gradually until it just comes together.
- **Not Chilling Enough:** Thinking you can skip the chilling step? Nuh-uh. You’ll end up with melty, misshapen balls and chocolate-covered hands (which, admittedly, isn’t the worst thing, but still).
- **Using Hot Melted Chocolate for Coating:** Let your melted chocolate cool down a bit before dipping. If it’s too hot, it’ll melt your perfectly chilled balls.
- **Forgetting the Pinch of Salt:** Seriously, it makes a difference. Don’t skip it!
- **Eating Half the Dough Before Rolling:** Okay, maybe not a “mistake” per se, but it does reduce your yield. Self-control is key… or just make extra.
Alternatives & Substitutions
Feeling adventurous? Here are some tweaks:
- **Binder Swap:** No condensed milk? No problem! You can use cream cheese frosting, Nutella, or even a mix of softened butter and powdered sugar (like a quick buttercream). The consistency will vary, so adjust crumbs as needed.
- **Flavor Boosts:** Add a splash of coffee liqueur (like Kahlúa), rum, or even a little peppermint extract for a festive twist. Just a tiny bit, though!
- **Dairy-Free:** Use crushed Oreo cookies (remove the cream for plain chocolate) and mix with a dairy-free condensed coconut milk or a plant-based cream cheese alternative.
- **Gluten-Free:** Opt for gluten-free biscuits or cake crumbs. The rest of the recipe is naturally GF!
- **Healthier-ish Version:** Swap some cocoa for protein powder, use unsweetened shredded coconut, and perhaps a touch of maple syrup instead of condensed milk for a less sweet treat. (But let’s be honest, we’re making chocolate balls for cake decoration, not kale salad.)
FAQ (Frequently Asked Questions)
Got questions? I’ve got answers (and sarcasm):
Can I use any type of cake?
Absolutely! Sponge cake, chocolate cake, even vanilla pound cake works great. Just make sure it’s not too moist, or you’ll need fewer binders.
How long do these chocolate balls last?
If they last more than a day in your fridge without being devoured, you have more willpower than me! Seriously though, stored in an airtight container in the fridge, they’ll last about a week.
Do I have to chill them? Can’t I just roll and go?
Technically, you *can*, but why would you want to suffer? They’ll be stickier, harder to handle, and likely lose their perfect round shape. Chill for best results!
What if my mixture is too dry and crumbly?
Add condensed milk, a teaspoon at a time, until it comes together. Don’t go overboard, you want it moist enough to stick, not wet.
What if it’s too sticky to roll?
Two options: either add a bit more crushed crumbs/cocoa powder, or pop the whole bowl into the fridge for 15-20 minutes to firm up slightly. A little trick is to lightly grease your hands with a tiny bit of oil or spray when rolling.
Can I freeze these?
You betcha! Store them in an airtight container for up to a month. Thaw them in the fridge before using or eating. They’re great for impromptu cake emergencies!
Final Thoughts
See? That wasn’t so hard, was it? You just whipped up a batch of delicious, fancy-looking chocolate balls without breaking a sweat (or a single expensive kitchen gadget). Now go impress someone—or yourself—with your new culinary skills. Your cake just got an instant upgrade, and you’ve earned every single bite. Happy decorating, friend!


