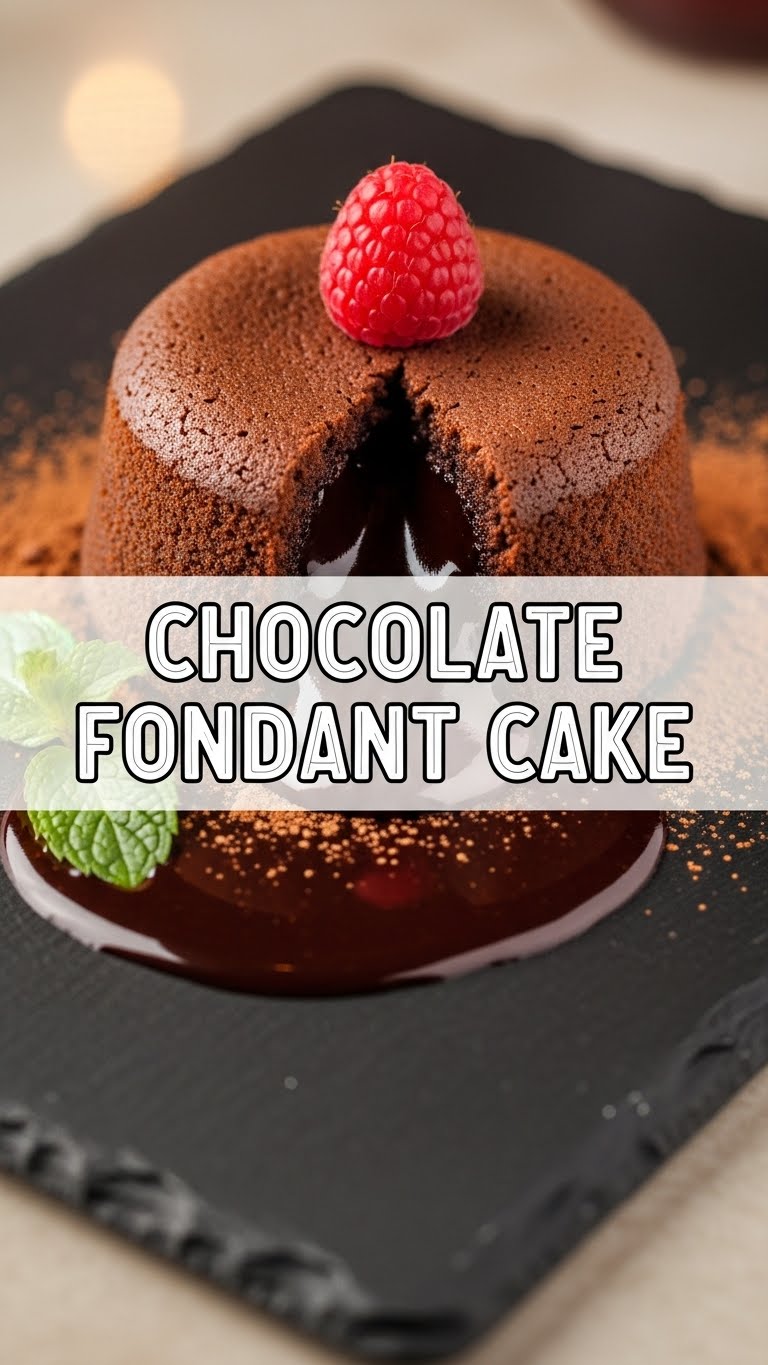
So, you’re craving something ridiculously impressive, super decadent, but also, like, kinda secretly easy to make? And you definitely don’t want to spend all day slaving away in the kitchen? Honey, same. Get ready to meet your new best friend: the Chocolate Fondant Cake. It’s basically a fancy French restaurant dessert that decided to ditch the pretension and move into your kitchen. You’re welcome.
Why This Recipe is Awesome
Okay, let’s be real. This isn’t just “awesome,” it’s legendary. Why? Because it’s a chocolate cake with a molten, gooey, lava-like chocolate center. Yes, you read that right. It’s basically a magic trick you perform in your oven. And the best part? It’s *deceptively* easy. Seriously, even if your culinary skills usually peak at instant noodles, you can nail this. It takes minimal ingredients, minimal effort, and delivers maximum “OMG, you made this?!” vibes. **You’ll look like a Michelin-star chef, but only you and I will know the truth.** Wink, wink.
Ingredients You’ll Need
Don’t sweat it, we’re not asking you to hunt down exotic berries or rare truffle oil. This is all basic stuff, mostly already chilling in your pantry.
- **150g good quality dark chocolate** (around 70% cocoa is perfect. Don’t cheap out here, your taste buds will thank you. This is the star of the show, after all!)
- **100g unsalted butter** (because you’re in control of the salt, not some factory.)
- **2 large eggs** (the magic glue that holds this molten masterpiece together.)
- **2 large egg yolks** (extra richness, extra gooeyness. Trust the process.)
- **50g caster sugar** (superfine sugar dissolves quickly, which is what we want here.)
- **30g plain flour** (just a touch, to give it some structure without making it too cakey.)
- **Pinch of salt** (enhances all that chocolatey goodness.)
- **A little extra butter and cocoa powder** for greasing and dusting your ramekins (don’t skip this, unless you want your fondant to stay stuck forever).
Step-by-Step Instructions
Alright, apron on, game face ready. Let’s get baking!
- **Prep those ramekins:** First things first, grab four individual ramekins. Generously butter them, then dust them with cocoa powder. Tap out any excess. This step is crucial for an easy release later.
- **Melt the good stuff:** Break up your dark chocolate and chop your butter into small pieces. Pop them in a heatproof bowl set over a saucepan of simmering water (a bain-marie, if you’re feeling fancy). Stir occasionally until completely smooth and melted. Be careful not to let the bowl touch the water. Once melted, take it off the heat and let it cool slightly.
- **Whisk those eggs:** In a separate bowl, whisk the whole eggs, egg yolks, and caster sugar together until pale and slightly thickened. You’re aiming for a light, frothy consistency.
- **Combine the magic:** Gently fold the slightly cooled chocolate and butter mixture into your egg and sugar mix. Be gentle; we want to keep all that lovely air you whisked in.
- **Add the dry bits:** Sift the flour and a pinch of salt into the chocolate mixture. Fold it in until just combined. **Do not overmix!** Overmixing develops gluten and can make your fondant tough instead of tender.
- **Fill ’em up:** Divide the mixture evenly among your prepared ramekins. You want them about two-thirds full.
- **Bake to perfection:** Place the ramekins on a baking tray and pop them into a preheated oven at **180°C (350°F / Gas Mark 4)** for 10-14 minutes. The exact time depends on your oven and how gooey you like your center. You’re looking for the edges to be set, but the center should still be jiggly.
- **The grand reveal:** Carefully remove from the oven. Let them cool in their ramekins for just 1-2 minutes. Then, invert each cake onto a plate. A gentle tap on the bottom of the ramekin usually does the trick. Dust with a little extra cocoa powder or icing sugar, maybe add a scoop of vanilla ice cream or some fresh berries, and serve immediately!
Common Mistakes to Avoid
We all make mistakes, darling. But with this recipe, let’s try to avoid the common pitfalls that stand between you and chocolate nirvana.
- **Overbaking:** This is the cardinal sin of fondant making! Bake it too long, and you’ll end up with a regular chocolate cake (which is fine, but not what we’re going for). **Watch that oven like a hawk!** The edges should be set, but the middle should still wobble.
- **Not greasing/dusting ramekins properly:** Rookie mistake! If you don’t butter and cocoa-dust those ramekins generously, your beautiful fondants will be stuck faster than a cat up a tree.
- **Using cheap chocolate:** We talked about this. Seriously, good quality chocolate makes *all* the difference. Don’t compromise!
- **Overmixing the batter:** Once you add the flour, just fold until combined. Don’t go crazy. Too much mixing means a dense, chewy cake, and nobody wants that.
- **Impatience:** Trying to invert them too soon. Give them that minute or two to set slightly in the ramekin, it makes them much easier to release.
Alternatives & Substitutions
Feeling a little adventurous? Or maybe you just ran out of something? No worries, we’ve got options!
- **Chocolate type:** While dark is king IMO, you can totally use milk chocolate if you prefer a sweeter, less intense flavor. Just know it might be a bit softer and sweeter. Or try a mix of dark and milk for a balance! White chocolate? That’s a different recipe entirely, my friend.
- **Flour power:** If you’re gluten-free, a good quality gluten-free plain flour blend should work perfectly here. Just make sure it’s a 1:1 substitute.
- **Flavor boost:** Want to elevate it? Add a teaspoon of espresso powder with the flour to deepen the chocolate flavor. A splash of orange zest or a tiny bit of chilli powder can also add an unexpected kick!
- **No ramekins? No problem:** If you don’t have ramekins, you can use oven-safe mugs or even muffin tins (fill them about two-thirds and adjust baking time, usually shorter). Just make sure whatever you use is well-greased and dusted.
FAQ (Frequently Asked Questions)
Got questions? I’ve got answers (and probably some sassy commentary).
- **Can I make these ahead of time?** Well, technically, you can prepare the batter and chill it in the ramekins for up to 24 hours. But honestly, for that ultimate molten core, freshly baked is king. Why deny yourself the instant gratification?
- **How do I know when it’s done?** The edges should look set and slightly puffed, but the center should still have a noticeable wobble when you gently shake the ramekin. If it looks completely solid, you’ve gone too far!
- **What if my fondant doesn’t have a gooey center?** Ah, the tragedy! It means you probably overbaked it. Less time next time, friend! Every oven is a little different, so don’t be afraid to adjust.
- **Can I use margarine instead of butter?** Well, technically yes, but why hurt your soul (and your tastebuds) like that? Butter is king for a reason – superior flavor and texture. Just use butter, trust me.
- **Can I double the recipe?** Absolutely! Just make sure you have enough ramekins and oven space. The baking time should remain roughly the same.
- **What’s the best way to serve these?** Warm, right out of the oven, with a scoop of vanilla bean ice cream, a dollop of whipped cream, or some fresh raspberries. A dusting of cocoa powder or powdered sugar is also a nice touch.
Final Thoughts
And there you have it! Your very own, incredibly impressive, utterly delicious Chocolate Fondant Cakes. You’ve conquered the molten chocolate mountain, and you did it with style (and probably a little chocolate on your nose, but that’s fine). Now go impress someone—or yourself—with your new culinary skills. You’ve earned it! Seriously, pat yourself on the back. You’re basically a wizard. Go forth and enjoy every single gooey bite!


