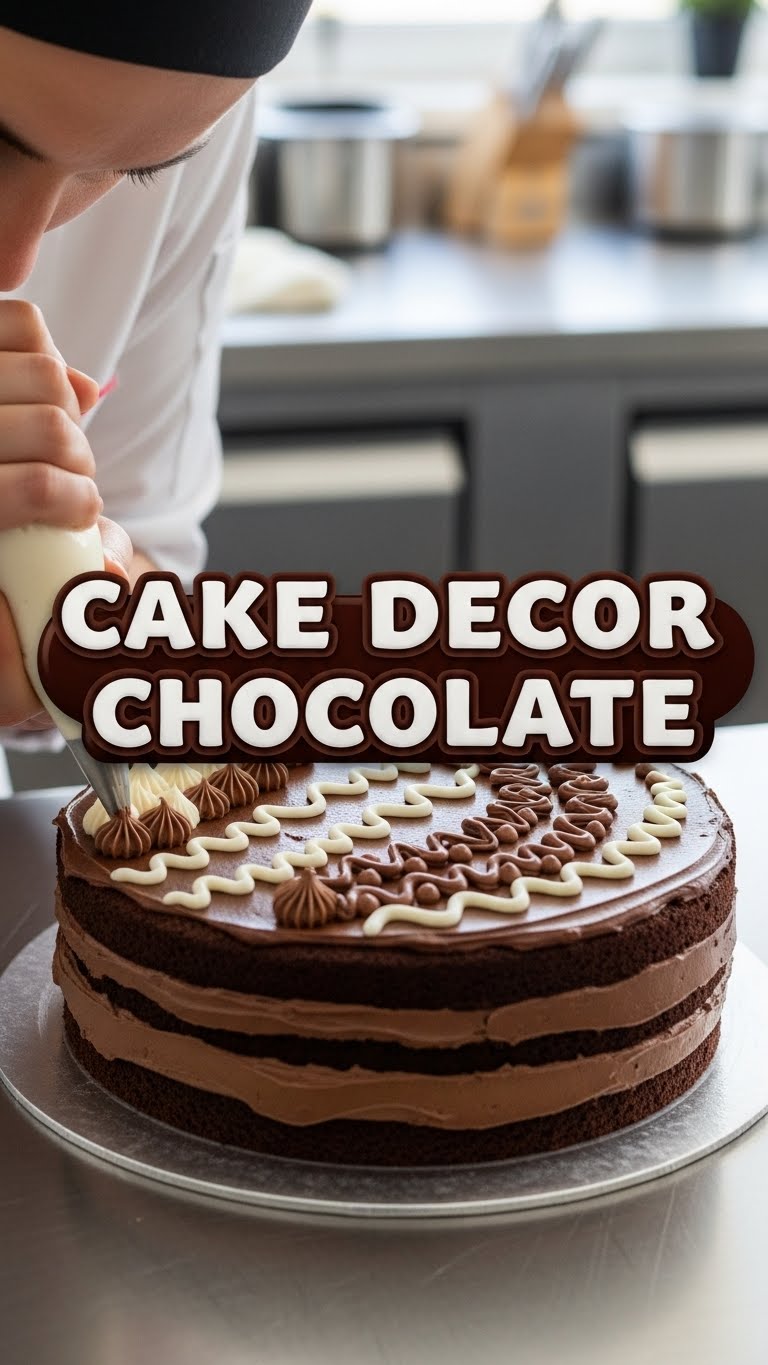
So, you’ve baked a cake (bravo, you!), and now it’s sitting there, looking a little… naked. You want to make it fancy, but the thought of complex fondant work makes your eye twitch, right? Or maybe you just need an excuse to eat more chocolate? Yeah, I hear you. Let’s make some glorious, easy-peasy chocolate magic for your cake that even a sleep-deprived sloth could master. No judgment here, just deliciousness.
Why This Recipe is Awesome
Because, my friend, it’s basically the culinary equivalent of a warm hug. It’s **idiot-proof**, I swear! Even I, someone who once mistook salt for sugar (don’t ask), managed to pull this off. It’s versatile enough to drip dramatically down the sides of your masterpiece, act as a glorious frosting, or even dip a few strawberries if you’re feeling extra fancy. Plus, it only takes like, five minutes. Seriously, what’s not to love?
Ingredients You’ll Need
- **Chocolate (Good Quality, please!):** About 8 ounces (225g) of semi-sweet, dark, or milk chocolate chips or finely chopped bars. Don’t cheap out here; your cake deserves better than waxy mystery chocolate.
- **Heavy Cream (The Fattier, The Better):** 1 cup (240ml). This is where the magic happens, folks. Think of it as the chocolate’s best friend.
- **(Optional, but highly recommended) Butter:** 1 tablespoon, unsalted. For that extra glossy sheen and silky mouthfeel. Because, why not?
- **(Optional) A Splash of Vanilla Extract:** 1/2 teaspoon. Just to make things smell extra dreamy.
Step-by-Step Instructions
- **Prep Your Chocolate:** Get your chocolate chips or finely chopped chocolate into a heat-proof bowl. Glass or ceramic works great. Make sure your bowl is dry, water is chocolate’s arch-nemesis!
- **Heat the Cream:** Pour your heavy cream into a small saucepan. Heat it over medium heat until it just begins to simmer and tiny bubbles appear around the edges. **Do not boil!** We’re warming, not scalding.
- **Pour & Wait:** Immediately pour the hot cream over your chocolate in the bowl. Let it sit undisturbed for about 5 minutes. This gives the hot cream time to melt the chocolate gently. Patience, young Jedi.
- **Stir ’til Silky:** After 5 minutes, grab a whisk and start stirring from the center outwards. Keep going until all the chocolate is melted, and you have a smooth, glossy, irresistible ganache. If you’re adding butter or vanilla, stir them in now until fully incorporated.
- **Cool Down Time:** Now, this is crucial for decorating. For a pourable glaze (drip cake style), let it cool slightly, about 10-15 minutes, until it’s still warm but thickened. For a thicker frosting or piping consistency, let it cool at room temp for 1-2 hours, stirring occasionally, or pop it in the fridge for 30-45 minutes (stirring every 15 minutes) until it reaches your desired consistency. **Pro Tip:** Don’t let it get too cold, or it’ll be too stiff!
Common Mistakes to Avoid
- **Boiling the Cream:** Remember, we want warm, not volcano-hot. Boiling can scorch the cream and make your ganache greasy. Rookie mistake!
- **Stirring Immediately:** Resist the urge to stir the moment you pour the cream. That 5-minute sit-time is essential for proper melting.
- **Using Cheap Chocolate:** We already talked about this. You wouldn’t put budget tires on a Ferrari, would you? Treat your cake like a Ferrari.
- **Over-cooling:** You know that feeling when you’ve waited too long to eat ice cream, and it’s a solid block? Don’t do that to your ganache. If it gets too stiff, a quick 10-second zap in the microwave (stirring well!) can bring it back.
- **Getting Water In It:** Chocolate and water don’t mix. Even a tiny drop can make your ganache seize and become grainy. Use dry utensils and bowls, **FYI**.
Alternatives & Substitutions
Feeling rebellious? Here are some tweaks:
- **Different Chocolates:** Wanna go super dark? Go for it! Milk chocolate for a sweeter, milder flavor? Absolutely. White chocolate works too, but can be a bit trickier to get super smooth; just keep stirring!
- **Flavor Boosters:** Instead of vanilla, try a splash of coffee liqueur (like Kahlúa), a dash of orange zest, peppermint extract, or even a pinch of chili powder for a spicy kick. Get wild!
- **Less Fat?** You *can* use half-and-half, but the ganache won’t be as rich or set as firmly. IMO, stick to heavy cream for the best results. You’re making cake, not dieting, right?
FAQ (Frequently Asked Questions)
- **”Can I use margarine instead of butter?”** Well, technically, you could, but why hurt your soul like that? Butter adds flavor and gloss that margarine just can’t replicate. Stick to the good stuff.
- **”My ganache is too thin! Help!”** Don’t panic! It just needs to cool more. Pop it in the fridge for 10-15 minute intervals, stirring after each, until it thickens up.
- **”My ganache is grainy/seized! What did I do wrong?”** Uh oh. This usually means it got too hot, or some water got into it. Sometimes you can save it by adding a tablespoon of hot cream and stirring vigorously. If not, don’t despair; it still tastes good on ice cream!
- **”How long does ganache last?”** In an airtight container in the fridge, it’ll last about 1-2 weeks. Reheat gently in the microwave or over a double boiler.
- **”Can I whip this for a lighter frosting?”** Oh, you absolutely can! Once it’s cool and firm (like peanut butter consistency), whip it with an electric mixer until light and fluffy. It’s divine!
Final Thoughts
See? That wasn’t so scary, was it? You’ve just whipped up a fancy-pants cake decoration that will make everyone think you spent hours slaving away. Now go impress someone—or yourself, because let’s be real, you deserve it—with your new culinary superpowers. And maybe, just maybe, lick the bowl clean. I won’t tell. Happy decorating!


