So you’re craving something warm, chocolatey, and utterly divine but the thought of spending an entire afternoon in the kitchen just to satisfy that sweet tooth feels… exhausting? Same, girl, same. We get it. Life’s busy, attention spans are short, and sometimes you just need cake, like, five minutes ago. Good news: This isn’t that fussy, “perfect French patisserie” kind of recipe. This is the ‘throw-it-together-and-still-look-like-a-culinary-genius’ kind of chocolate cake. You ready to dive in?
Why This Recipe is Awesome
Okay, let’s be real. There are a million chocolate cake recipes out there. But this one? This one is special. Why? Because it’s practically **idiot-proof**. And trust me, if *I* can make it without setting off the smoke alarm or accidentally creating a new form of carbon, you absolutely can too. It’s rich, it’s moist, it’s comforting, and it pretty much guarantees instant gratification (and a temporary escape from all your problems, just sayin’). Plus, it uses super common ingredients, so you probably already have most of them lurking in your pantry. No fancy-schmancy trips to specialty stores needed! Win-win, right?
Ingredients You’ll Need
Get ready to assemble your delicious arsenal! Here’s what you’ll need to whip up this chocolate dream. Don’t worry, nothing too exotic here.
- All-Purpose Flour: 1 ½ cups. The backbone of our cakey dreams.
- Granulated Sugar: 1 ½ cups. Because sweetness is a non-negotiable.
- Unsweetened Cocoa Powder: ½ cup. Make it a good quality one for maximum chocolatey impact! Dark and dreamy, just like your favorite rom-com lead.
- Baking Soda: 1 teaspoon. For that glorious rise!
- Baking Powder: ½ teaspoon. More lift, darling, more lift!
- Salt: 1 teaspoon. Don’t skip this! It enhances all the chocolate goodness.
- Large Eggs: 2. Room temperature, if you’re feeling fancy, but straight from the fridge works too, IMO.
- Milk: 1 cup. Any kind you have. Whole, 2%, even almond milk works in a pinch!
- Vegetable Oil: ½ cup. Or canola oil. This is our secret weapon for a super moist cake.
- Vanilla Extract: 2 teaspoons. A splash of pure magic.
- Boiling Water: 1 cup. Yes, boiling! It makes the cocoa bloom and intensifies the flavor. Trust the process!
Step-by-Step Instructions
Alright, apron on (or not, we don’t judge), let’s bake some magic!
- Preheat & Prep: First things first, preheat your oven to **350°F (175°C)**. Seriously, do it now. Then, grease and flour a 9×13 inch baking pan. A well-prepared pan means no sticky situations later, and nobody wants that kind of drama.
- Mix the Dry Goods: In a large mixing bowl, whisk together the flour, sugar, cocoa powder, baking soda, baking powder, and salt. Make sure there are no lumpy bits. We’re going for smooth sailing here.
- Add the Wet Crew (Almost All of It): To your dry ingredients, add the eggs, milk, vegetable oil, and vanilla extract. Beat on medium speed with an electric mixer for about 2 minutes. Scrape down the sides of the bowl to make sure everything is incorporated. The batter will be thick, and that’s totally fine.
- The Secret Weapon (Boiling Water!): Now, carefully pour in the boiling water. The batter will look very thin, like soup, and you might panic. Don’t! Whisk it in until just combined. This is what makes your cake incredibly moist and chocolatey. **Do not overmix!**
- Bake It Up: Pour the thin batter into your prepared 9×13 inch pan. Pop it into the preheated oven and bake for **30-35 minutes**, or until a wooden skewer or toothpick inserted into the center comes out clean.
- Cool Down: Once baked, let the cake cool in the pan on a wire rack for about 10-15 minutes. Then, if you’re feeling brave, you can invert it onto the rack to cool completely. Or, if you’re like me, just let it chill in the pan and frost it there. Easier clean-up, amirite?
Common Mistakes to Avoid
We’ve all been there. Baking mishaps are part of the journey! But here are a few things to keep in mind to steer clear of common cake disasters:
- Forgetting to Preheat the Oven: Rookie mistake! Seriously, don’t put your cake in a cold oven. It affects the rise and texture. Patience, young Padawan.
- Overmixing the Batter: Once you add the wet ingredients, mix until just combined. Overmixing develops the gluten in the flour, leading to a tough, dry cake. Nobody wants a cake that doubles as a frisbee.
- Opening the Oven Door Too Soon: I know it’s tempting to peek, but resist! Opening the door, especially in the first 20 minutes, can cause your cake to sink in the middle. Let it do its thing!
- Not Greasing and Flourishing Your Pan Properly: If your cake sticks to the pan, it’s a sad day. Take the extra minute to butter and flour thoroughly. Or use parchment paper if you’re feeling extra cautious (and smart!).
- Substituting Baking Soda and Baking Powder Wily-Nily: They’re not the same! Baking soda needs an acid to activate, while baking powder has its own built-in acid. This recipe uses both, so stick to the script.
Alternatives & Substitutions
Feeling creative? Or maybe you’re missing an ingredient? No stress! Here are some easy swaps and additions:
- No Milk? No Problem! You can use buttermilk for an even richer, tangier cake (reduce baking soda slightly, or just trust the recipe). Or, if you’re really in a bind, water with a splash of lemon juice or vinegar (let it sit for 5 mins to ‘sour’) can mimic buttermilk.
- Oil vs. Butter: While oil makes this cake super moist, you can technically use melted butter for a different flavor profile. Just know the texture might be slightly less tender. **IMO, stick with the oil for this specific recipe’s texture magic.**
- Amp Up the Chocolate: Stir in a cup of chocolate chips or chunks with the dry ingredients. Because more chocolate is always, always a good idea.
- Coffee Boost: Want to deepen that chocolate flavor without making it taste like coffee? Add 1-2 teaspoons of instant espresso powder to the dry ingredients. It’s a secret baker’s trick that makes the chocolate sing!
- Gluten-Free Option: Yes, you can! Substitute the all-purpose flour with a 1:1 gluten-free baking blend. Just keep an eye on the baking time as GF flours can sometimes behave a little differently.
FAQ (Frequently Asked Questions)
Got questions? We’ve got answers (and maybe a little sass!).
- Can I use margarine instead of butter? Well, technically yes, you can. But why hurt your soul like that? Margarine might work, but butter offers a superior flavor and texture. If you have it, use the good stuff!
- How do I know when the cake is truly done? The toothpick test is your BFF! Insert a wooden skewer or toothpick into the very center of the cake. If it comes out clean or with a few moist crumbs attached (not wet batter!), it’s done.
- My cake sank in the middle! What happened? Oh no! This often happens if you opened the oven door too early, underbaked it, or sometimes if there was too much leavening (baking soda/powder). Learn from it, and next time, resist the urge to peek!
- Can I make this as cupcakes instead? Absolutely! Divide the batter among cupcake liners, filling each about two-thirds full. Bake for **18-22 minutes**, or until a toothpick comes out clean.
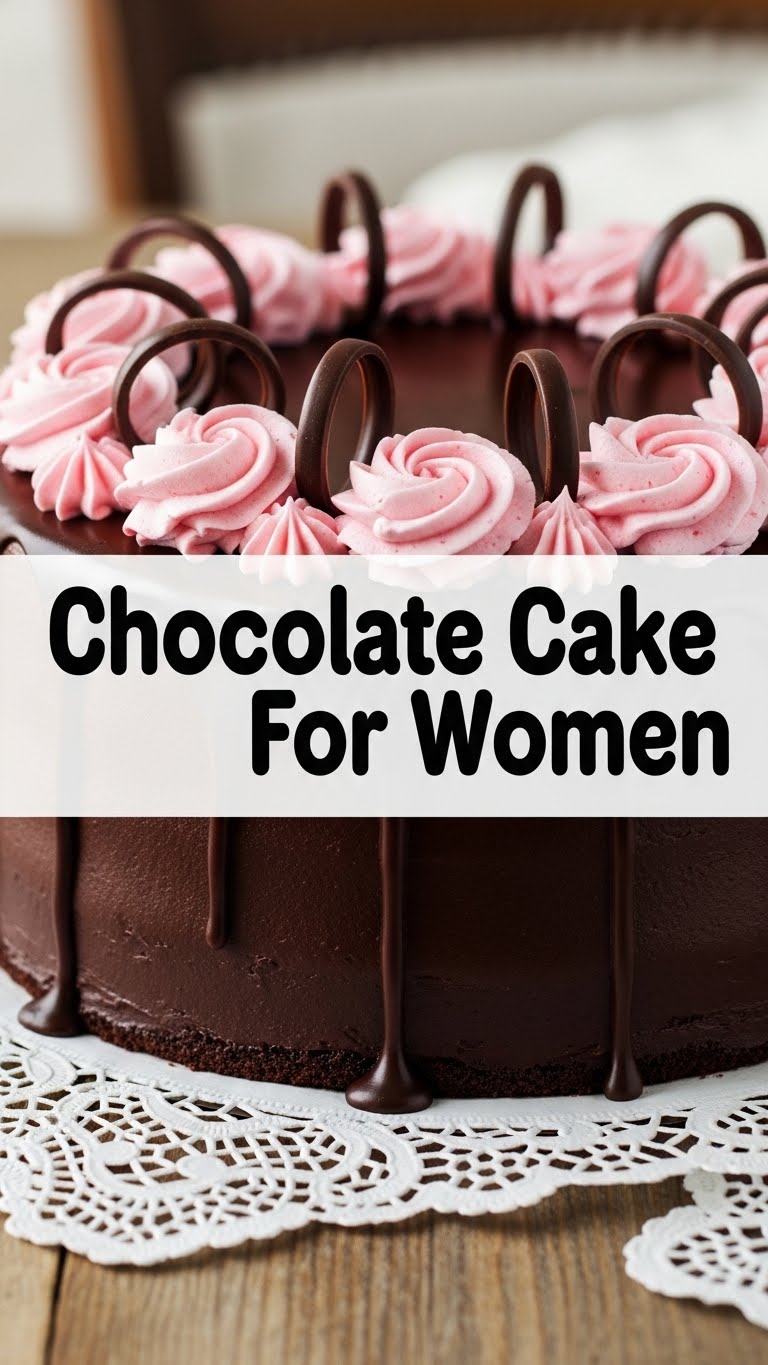
- What kind of frosting should I use? Girl, whatever makes your heart sing! A simple chocolate buttercream, a quick chocolate ganache, or even a cream cheese frosting would be divine. Or just a dusting of powdered sugar if you’re feeling minimalist (or just want to eat it faster).
- Can I make this cake ahead of time? You bet! This cake stays wonderfully moist for a few days at room temperature (covered, of course). It also freezes beautifully, unfrosted, for up to a month. Just wrap it well!
- Is this cake really “for women”? What does that even mean? Haha, good question! It means it’s for anyone who identifies as a woman and wants a damn good, fuss-free chocolate cake. It’s for celebrating yourself, your friends, and maybe just getting through a Tuesday. Basically, it’s for *you*.
Final Thoughts
So there you have it! A chocolate cake recipe that’s as easygoing as your favorite weekend PJs, but tastes like you put in all the fancy effort. This isn’t just a cake; it’s a little slice of joy, a stress-reliever, and a delicious way to tell yourself (or someone else) that they’re worth it. Now go on, get baking! You’ve earned this little indulgence. And hey, don’t forget to take a picture before you devour it all. Now go impress someone—or just yourself—with your new culinary skills. You’ve totally earned it!


