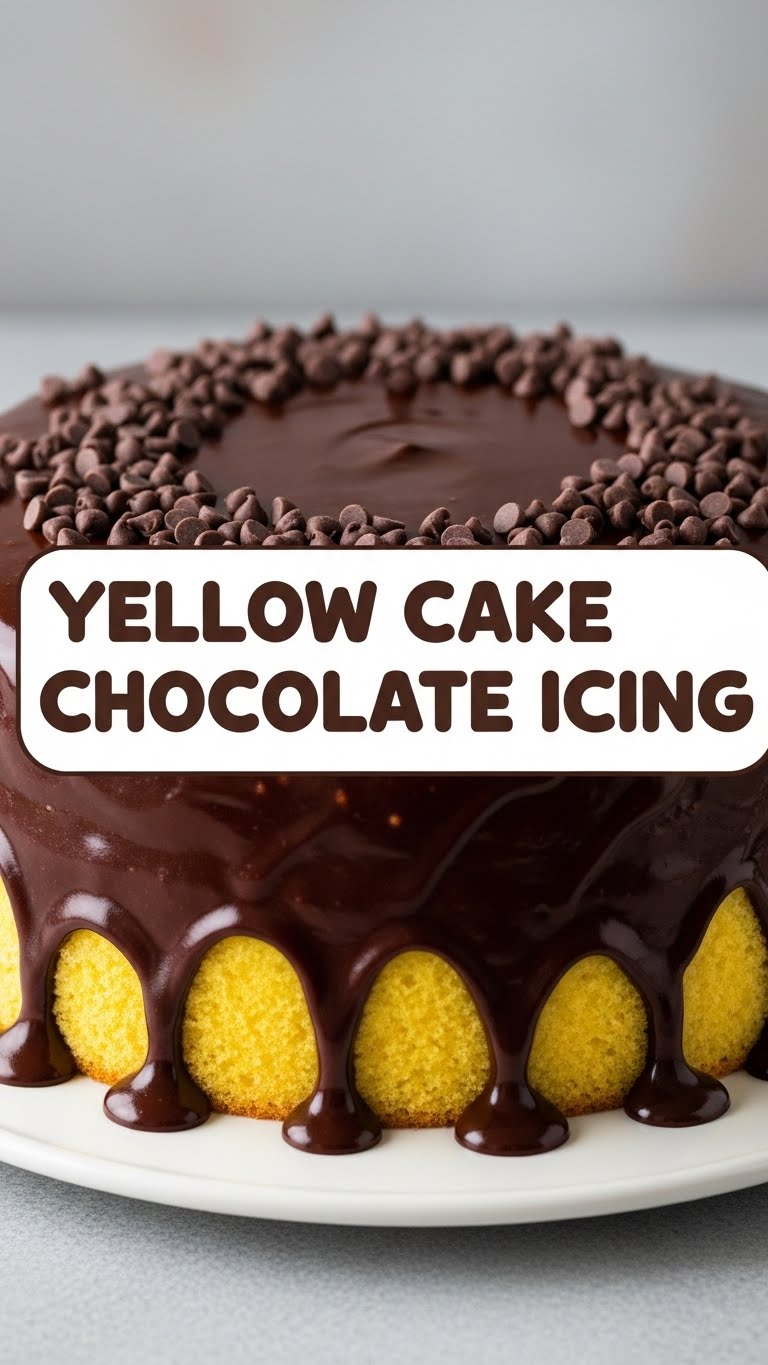
So, you’re looking at your fridge, realizing ‘dinner’ might just be another cereal bowl, but your sweet tooth is screaming for something *more*? Been there, pal. We’re about to fix that, deliciously, with a classic combo that never disappoints: fluffy yellow cake with rich chocolate icing. Get ready for some serious comfort food vibes without the serious effort!
Why This Recipe is Awesome
Okay, first off, this isn’t some fancy-pants, multiple-day affair. This is your “I need cake and I need it *now*” kind of cake. It’s **dangerously easy**, like, “even your pet goldfish could probably follow these steps” easy. Seriously, it’s idiot-proof, I even managed it without a single catastrophic incident (which, trust me, is saying something). Plus, yellow cake with chocolate icing? It’s a classic for a reason, people. It’s the culinary equivalent of a warm hug on a bad day, but, like, way tastier. You’re welcome.
Ingredients You’ll Need
No need for obscure ingredients you can only find in a magic forest. Just your basic pantry heroes!
For the Yellow Cake:
- 2 ½ cups All-Purpose Flour: The backbone of all deliciousness.
- 1 ¾ cups Granulated Sugar: Because sweetness is life.
- 1 tbsp Baking Powder: Our little leavening hero, making sure it’s not a sad, flat cake.
- ½ tsp Baking Soda: The other leavening hero, working with the buttermilk.
- ½ tsp Salt: Don’t skip it, it makes everything else taste better. Trust me, it’s an **MVP** for flavor balance.
- 1 cup (2 sticks) Unsalted Butter: Room temp, please! Cold butter is the enemy of fluffy cake.
- 3 Large Eggs: Also room temp! Warm eggs emulsify better, science stuff.
- 2 tsp Vanilla Extract: Go for the good stuff, it makes a huge difference.
- 1 cup Buttermilk: The secret to an extra tender crumb. If you don’t have it, don’t panic, I got a trick (see substitutions!).
For the Chocolate Buttercream Icing:
- ½ cup (1 stick) Unsalted Butter: Again, room temp. Are you seeing a pattern here?
- 3 cups Powdered Sugar (Confectioners’ Sugar): Essential for smooth, non-gritty icing. Sift it if you’re feeling fancy.
- ¾ cup Unsweetened Cocoa Powder: The chocolatey goodness.
- 1 tsp Vanilla Extract: More vanilla, because why not?
- ¼ cup Milk (any kind): Just a splash to get that perfect consistency.
- Pinch of Salt: Balances the sweetness and makes the chocolate pop.
Step-by-Step Instructions
Let’s get this delicious show on the road!
For the Cake:
- **Preheat & Prep**: Get your oven to 350°F (175°C). Grease and flour two 8-inch round cake pans. Or, even better, line the bottoms with parchment paper and grease the sides. Don’t skip this, unless you like your cake stuck to the pan, which is just sad.
- **Dry Mix**: In a large bowl, whisk together the flour, sugar, baking powder, baking soda, and salt. Give it a good whisk to make sure everything’s evenly distributed. Easy peasy.
- **Wet Mix**: In another medium bowl, cream your softened butter until it’s light and fluffy, about 2-3 minutes. Beat in the eggs one at a time, mixing well after each addition, then stir in the vanilla extract.
- **Combine**: Gradually add the dry ingredients to the wet, alternating with the buttermilk. Start and end with the dry ingredients. **Don’t overmix!** Mix only until just combined and no streaks of flour remain. Overmixing makes tough cake, and nobody wants that.
- **Bake It**: Divide the batter evenly between your two prepped pans. Bake for 25-30 minutes, or until a wooden skewer or toothpick inserted into the center comes out clean.
- **Cool Down**: Let the cakes cool in the pans for 10-15 minutes before carefully flipping them onto a wire rack to cool completely. Patience, young padawan! Frosting a warm cake is a melty disaster, trust me on this one.
For the Icing:
- **Butter Up**: In a medium bowl, cream the softened butter using an electric mixer until it’s smooth and fluffy.
- **Add Dry**: Gradually beat in the powdered sugar and cocoa powder until combined. It might look a bit crumbly at first – totally normal.
- **Flavor Time**: Stir in the vanilla extract, milk, and salt. Beat on medium-high speed for another 2-3 minutes until the icing is light, fluffy, and perfectly spreadable. If it’s too thick, add more milk a teaspoon at a time. Too thin? A bit more powdered sugar. You got this!
Assemble!
Once your cakes are completely cool (and I mean *completely*), spread a generous layer of icing on top of one cake layer. Carefully place the second layer on top. Then, go wild and frost the top and sides of the whole cake. Use an offset spatula or the back of a spoon to get those smooth (or delightfully rustic) finishes. Ta-da!
Common Mistakes to Avoid
We’ve all been there, made these blunders. Learn from my (and countless others’) mistakes!
- **Cold ingredients**: Trying to bake with butter and eggs straight from the fridge? Tsk tsk. Your cake will thank you for letting them chill (pun intended) at room temp first. It helps everything mix smoothly and creates a better texture.
- **Overmixing the batter**: This isn’t a race! Mix until *just* combined. Too much mixing develops gluten, leading to a tough, dry cake. Nobody wants a hockey puck, do they?
- **Not preheating the oven**: Just like you wouldn’t jump into a cold shower (unless you’re into that), your cake needs a consistent, hot environment from the get-go to rise properly.
- **Frosting a warm cake**: I cannot stress this enough. Unless you’re going for a “deconstructed, melted mess” look (which is rarely appetizing), wait until your cakes are **completely cool**. Seriously, like, hours. Or even overnight.
Alternatives & Substitutions
Life happens, ingredients run out. Here are some quick fixes:
- **No buttermilk? No problem!**: Mix 1 cup of regular milk (any kind!) with 1 tablespoon of lemon juice or white vinegar. Let it sit for 5 minutes until it curdles slightly. Voila, homemade buttermilk!
- **Butter**: Can you use margarine instead of butter? Well, technically yes, but why hurt your soul like that? Butter tastes better, IMO. But in a pinch, margarine will work for the cake, though it might change the flavor slightly. For the frosting, stick to butter for the best texture and taste.
- **Cocoa powder**: Dutch-processed vs. natural? For this recipe, either works. Dutch-processed gives a darker, less acidic chocolate flavor. Natural is a bit fruitier. Choose your fighter!
- **Flour**: All-purpose is king here. Self-rising isn’t ideal because we’re adding our own leavening.
FAQ (Frequently Asked Questions)
Got questions? I’ve got (casual) answers!
- **”Can I make this gluten-free?”** Yep! Use a good quality 1:1 gluten-free baking flour blend. Most work beautifully in yellow cake recipes.
- **”My icing is too thick/thin! Help!”** Too thick? Add milk a teaspoon at a time until it’s perfect. Too thin? Add more powdered sugar a tablespoon at a time. It’s a delicate dance, but you’ll get there!
- **”Can I use less sugar?”** You *can*, but it might affect the texture a bit and obviously, it’ll be less sweet. This is cake, not a health food. Embrace the sweetness!
- **”How long does the cake last?”** Covered tightly at room temp, about 3-4 days. In the fridge, maybe 5-6 days. If it lasts that long, you’re a stronger person than I am.
- **”Can I make cupcakes instead?”** Absolutely! This recipe makes about 24 cupcakes. Fill cupcake liners about 2/3 full and bake for 18-22 minutes, or until a toothpick comes out clean. Easy party trick!
Final Thoughts
And there you have it, champ! A perfectly delicious, utterly comforting yellow cake with chocolate icing, made by *you*. Go ahead, pat yourself on the back. You just conquered dessert and probably made your kitchen smell heavenly. Now go impress someone—or yourself—with your new culinary skills. You’ve earned that slice (or two!). Enjoy every crumb!


