So you’ve got this glorious orange chocolate cake, huh? Or maybe you just bought a plain chocolate one and thought, “Hmm, this needs a citrusy glow-up!” Either way, you’re here, and that means you’re ready to turn that lovely bake into a showstopper that screams, “I totally know what I’m doing in the kitchen!” (Even if you’re secretly Googling ‘how to not burn water’). No stress, no complicated techniques, just pure, unadulterated decorating fun. Let’s make that cake Instagram-famous!
Why This Decoration “Recipe” Is Awesome
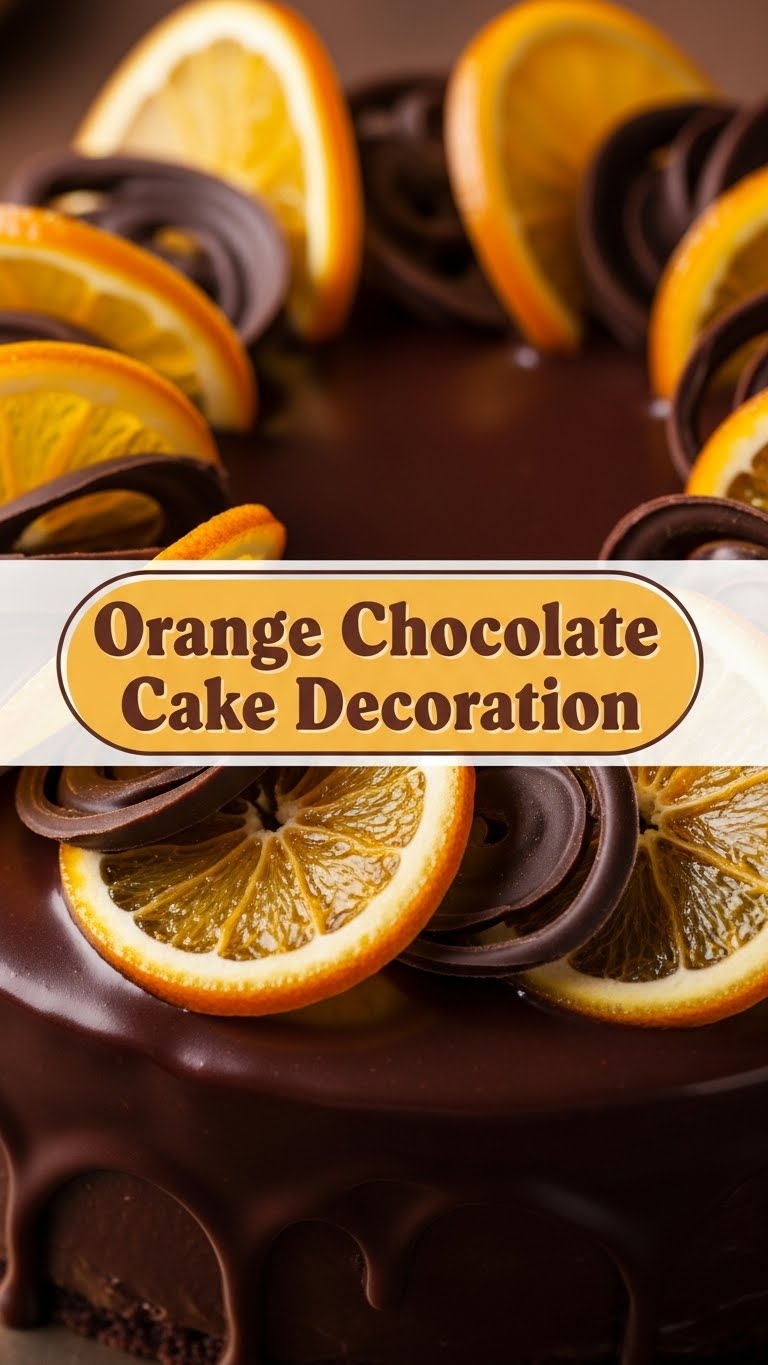
Because it’s **idiot-proof**. Seriously, even if your artistic skills peaked with stick figures, you’re going to nail this. This isn’t about perfectly piped rosettes (unless you want to, you overachiever, you). It’s about combining two classic flavors, orange and chocolate, in a way that looks sophisticated but takes minimal effort. You’ll impress your friends, your family, or just your cat (who, let’s be honest, is already impressed by your ability to open a can). Plus, the vibrant orange against the rich chocolate? A visual feast!
Ingredients You’ll Need
Alright, gather your goodies. Think of these as your art supplies for edible masterpieces.
- **Good Quality Dark Chocolate** (100g / 3.5 oz): The good stuff! Chips, a bar, whatever. Just not that waxy ‘chocolate-flavored’ abomination. We’re aiming for delicious here.
- **Heavy Cream** (100ml / ~1/2 cup): To make our ganache silky smooth. No sad, lumpy chocolate allowed.
- **One Large Orange**: Preferably unwaxed, unless you like your zest tasting like a candle. We need the zest and maybe some pretty slices.
- **Optional Sparkle & Shine** (but highly recommended):
- **Candied Orange Peel**: For that extra gourmet flair. Store-bought is totally fine, don’t @ me.
- **Extra Chocolate Bar**: For elegant chocolate shavings or curls.
- **Fresh Mint Leaves**: A tiny pop of green makes everything look fancier.
- **Edible Gold Dust/Spray**: Because why not? We’re celebrating!
Step-by-Step Instructions
Let’s get this party started! Make sure your cake is completely cooled before you start, otherwise, it’ll be a melty disaster. You’ve been warned!
- **Whip Up That Ganache:**
- Chop your dark chocolate into small pieces and place it in a heatproof bowl.
- In a small saucepan, gently heat the heavy cream until it’s just about to simmer (you’ll see tiny bubbles around the edges). **Don’t boil it!**
- Pour the hot cream over the chopped chocolate. Let it sit for about 5 minutes to melt the chocolate, then stir gently from the center outwards until it’s perfectly smooth and glossy. If it’s too thick, add a tiny bit more warm cream; too thin, let it cool a bit or add a *smidge* more chocolate.
- Let the ganache cool for about 15-20 minutes. It needs to be slightly thickened but still pourable for that dreamy drip effect.
- **Get Zesty:**
- While your ganache is chilling, grab your orange. Using a microplane or the fine side of a grater, carefully zest the entire orange. **Only get the orange part, not the bitter white pith underneath!** This stuff is pure gold for flavor and aroma.
- **Slice & Dice (Optional but Pretty):**
- If you want those beautiful orange slices, thinly slice about a quarter of your orange. You can leave the peel on for rustic charm or carefully remove it if you prefer.
- For an extra touch, you can lightly candy these slices by simmering them in a simple sugar syrup for a few minutes, then drying them. Or just use them fresh!
- **The Great Drip & Drizzle:**
- Carefully pour or spoon your slightly cooled ganache over the top of your cake. Start from the center and gently push it towards the edges, letting it drip down the sides for that elegant “drip cake” look. **Don’t overthink it; messy drips look artful!**
- If you want more controlled drips, you can use a spoon or even a squeeze bottle to apply the ganache directly to the edges.
- **The Orange Finale:**
- Sprinkle your fresh orange zest generously over the top of the ganache while it’s still slightly wet, so it sticks.
- Artfully arrange your orange slices or candied orange peel on top. You can stack them, lay them flat, or go wild!
- If using, add a few fresh mint leaves for color, some chocolate shavings (use a vegetable peeler on your extra chocolate bar for easy curls!), and a spritz of edible gold.
Common Mistakes to Avoid
Learn from my questionable life choices, and skip these decorating faux pas!
- **Applying Ganache to a Warm Cake:** Rookie mistake! Your ganache will melt, slide off, and you’ll end up with a chocolate puddle, not a masterpiece. **Cake must be stone cold!**
- **Overheating the Cream for Ganache:** Boiling cream can cause the chocolate to seize or become grainy. Gently heated is key.
- **Zesting the White Pith:** That bitter white stuff under the orange skin? It’s a flavor killer. Only the bright orange zest, please!
- **Over-Decorating:** Sometimes less is more. Don’t feel like you need to use *all* the things. Pick a few elements and let them shine.
- **Panicking:** It’s cake! It’s meant to be fun. If a drip goes wonky, embrace it. It’s “rustic.”
Alternatives & Substitutions
Feeling adventurous or missing an ingredient? No worries, we’ve got options!
- **Chocolate Swap-Out:** Not a dark chocolate fan? Use **milk chocolate** for a sweeter ganache, or even **white chocolate** for a striking contrast (though it might be a bit sweeter). Adjust cream amount slightly as white chocolate can be trickier.
- **Citrus Twist:** While we’re all about orange here, you could totally use **lemon or lime zest** for a different, zesty kick. Just remember the theme is “Orange Chocolate,” so maybe save the full-on lime party for another time.
- **Lazy Ganache Hack:** In a real pinch (or just *really* lazy)? Use a good quality, store-bought **chocolate fudge sauce** or **chocolate syrup** for the drizzle. It won’t be as rich, but it gets the job done.
- **No Fresh Orange Slices?** Use **dried orange slices** (you can usually find them in the spice aisle or online) for a gorgeous, rustic look. Or just rely solely on the zest and chocolate shavings!
- **Other Garnishes:** Think **cocoa nibs** for crunch, a sprinkle of **sea salt** for a gourmet touch, or even **chocolate covered coffee beans** for an extra flavor kick.
FAQ (Frequently Asked Questions)
Got questions? I probably do too, but here are some answers anyway!
- **Can I use chocolate chips instead of a bar for the ganache?**
Absolutely! Most chocolate chips are formulated to hold their shape, so they might take a *tiny* bit longer to melt, but they work perfectly fine for ganache. - **How far in advance can I decorate my cake?**
For optimal freshness and visual appeal, I’d say within 24 hours. The orange zest is best when fresh, and the ganache looks its best soon after setting. - **What if my ganache is too thick/thin?**
If it’s too thick, gently warm it over a double boiler or in short bursts in the microwave, adding a teaspoon of warm cream at a time until it’s right. If it’s too thin, let it cool longer, or stir in a small amount of finely chopped chocolate. Patience, young grasshopper! - **Do I need fancy tools for this?**
Nope! A saucepan, a bowl, a whisk (or spoon!), and a microplane/grater are pretty much all you need. No fancy piping bags required, unless you’re feeling extra. - **Can I skip the orange zest?**
Well, technically yes, but why hurt your soul like that? The zest is where so much of the aromatic orange flavor and visual pop comes from. It’s super easy, **IMO** it’s a non-negotiable for “Orange Chocolate” decorations!
Final Thoughts
And there you have it, superstar! You’ve officially conquered the art of orange chocolate cake decoration. Go ahead, take a bow (and a picture, obviously!). Whether you’re serving this to guests or just devouring it solo with a fork in the kitchen (no judgment, we’ve all been there), know that you’ve created something beautiful and delicious. Now go impress someone—or yourself—with your new culinary skills. You’ve earned it!


