Ever have one of those days where you desperately need chocolate, but also, like, can’t be bothered to put on real pants, let alone spend hours in the kitchen? Yeah, me too. Good news: I’ve got your back with a Butter Chocolate Cake that’s so easy, it practically bakes itself. (Okay, not *actually*, but it’s close enough!)
Why This Recipe is Awesome
Okay, so why this cake and not some fancy-pants patisserie creation? Simple: This recipe is like that super chill friend who’s always there for you. It’s **foolproof**, seriously. I’ve made it after a questionable amount of wine (don’t judge!) and it still turned out amazing. Plus, it’s packed with that rich, buttery goodness that makes you wanna do a happy dance. And let’s be real, who doesn’t need more reasons to happy dance?
Ingredients You’ll Need
- Unsalted Butter (1 cup / 2 sticks), softened: Because everything’s better with butter. Don’t even try to skimp here.
- Granulated Sugar (2 cups): For that sweet, sweet bliss.
- Large Eggs (4), at room temperature: ‘Cause science. Or magic, whatever.
- All-Purpose Flour (2 ¼ cups): The sturdy backbone of our cake. Sift it if you’re feeling fancy.
- Unsweetened Cocoa Powder (¾ cup): The chocolatey hero! Don’t use the sweetened stuff unless you want a sugar coma.
- Baking Powder (1 teaspoon): Our little lift-off agent.
- Baking Soda (1 teaspoon): Teamed up with baking powder for max fluff.
- Salt (½ teaspoon): Balances all that sweetness. Don’t skip it!
- Buttermilk (1 cup): The secret to ultimate moistness. If you don’t have it, scroll down for a quick hack!
- Vanilla Extract (2 teaspoons): Makes everything smell and taste like a dream.
Step-by-Step Instructions
- Prep Time! Preheat your oven to 350°F (175°C). Grease and flour two 8-inch round cake pans. Don’t be shy with the grease; we want easy release!
- Cream it Real Good: In a large bowl, beat the softened butter and sugar together until they’re light and fluffy. This usually takes about 3-5 minutes with an electric mixer. You’re basically whipping happiness.
- Eggcellent Addition: Add the eggs one at a time, mixing well after each addition. Scrape down the sides of the bowl to make sure everything’s incorporated. No egg left behind!
- Dry Mix Fun: In a separate bowl, whisk together the flour, cocoa powder, baking powder, baking soda, and salt. Give it a good whisk to get rid of any lumps.
- Alternating Awesomeness: Now, here’s the dance: Add about a third of the dry ingredients to the butter mixture, mix just until combined. Then, add half the buttermilk, mix. Repeat with another third of dry, then the rest of the buttermilk, then the final third of dry. **Don’t overmix!** As soon as it’s combined, stop. Overmixing leads to sad, tough cake.
- Vanilla Vibes: Stir in the vanilla extract. Give it a quick mix, just enough to incorporate.
- Pan it Out: Divide the batter evenly between your two prepared cake pans. Give them a gentle tap on the counter to release any air bubbles.
- Bake Baby Bake! Pop them in the preheated oven for 25-30 minutes, or until a wooden skewer inserted into the center comes out clean.
- Cool Down: Let the cakes cool in the pans for about 10-15 minutes before inverting them onto a wire rack to cool completely. Patience is a virtue here, my friend.
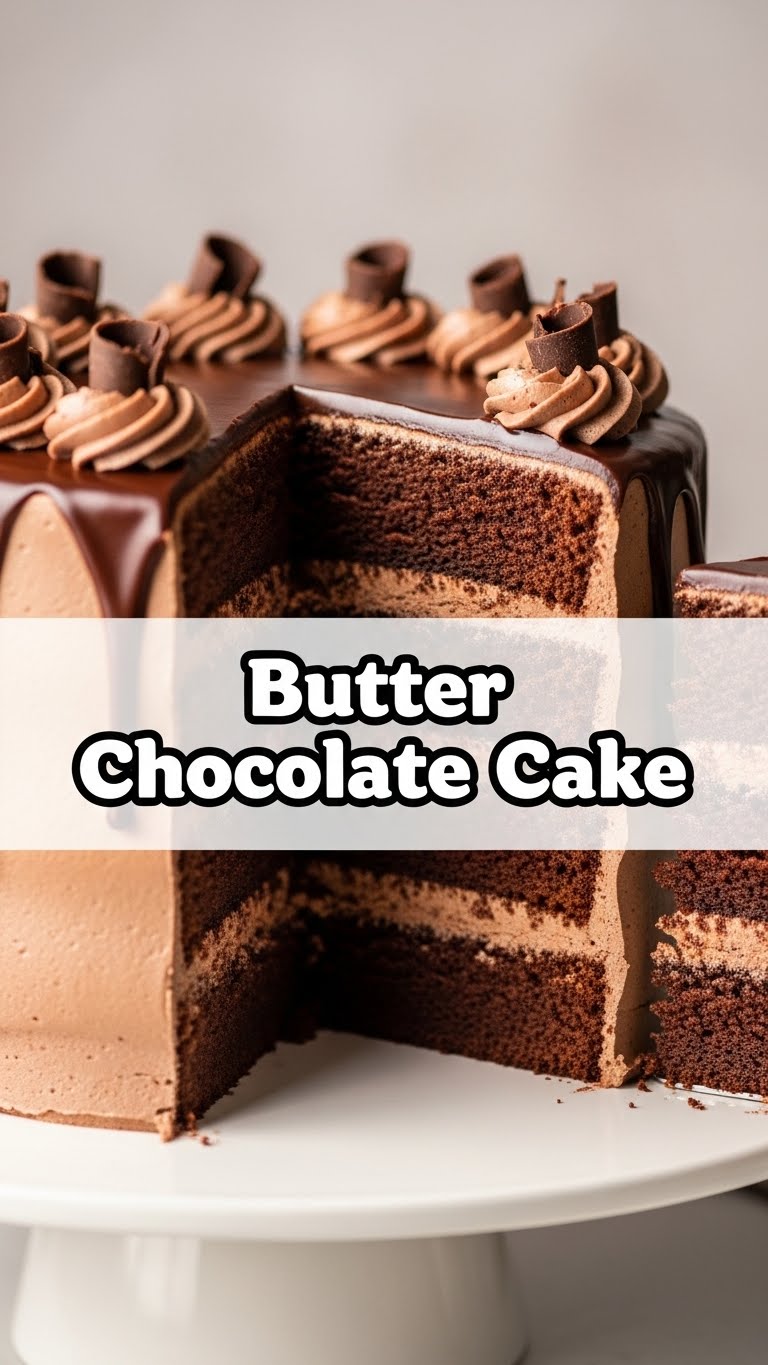
- Frosting Time (Optional but highly recommended): Once completely cool, frost your heart out with your favorite chocolate ganache or buttercream. Or just eat it plain. I won’t tell.
Common Mistakes to Avoid
- Forgetting to preheat the oven: Rookie move! Your cake won’t rise properly if it goes into a cold oven. Plan ahead, people.
- Overmixing the batter: This is the arch-nemesis of moist cake. Mix until just combined, then back off. Your arms (and the cake) will thank you.
- Not using room temperature ingredients: Especially the butter and eggs. They emulsify better and give you a smoother, more even batter. Cold ingredients? Sad, lumpy batter.
- Opening the oven door too early: Resist the urge! The cake needs that consistent heat to set. Peek only after 20 minutes, if you must.
- Not greasing and flouring the pans properly: Hello, stuck cake! A tragic fate. Be thorough!
Alternatives & Substitutions
- No Buttermilk? No Problem! Mix 1 cup of regular milk with 1 tablespoon of white vinegar or lemon juice. Let it sit for 5-10 minutes until it curdles. Voilà! Your **DIY** buttermilk is ready. You’re welcome.
- Cocoa Powder: You can use Dutch-processed cocoa powder for a darker, less acidic cake, but regular unsweetened works perfectly fine. Don’t swap it for hot chocolate mix, though, unless you want a sugar bomb that probably won’t bake right.
- Butter: While I preach butter, you *could* use a high-quality baking margarine in a pinch. But like, why? **Butter is flavor, butter is life.**
- Gluten-Free: Swap the all-purpose flour for a 1:1 gluten-free baking blend that contains xanthan gum. You might need to adjust baking time slightly.
FAQ (Frequently Asked Questions)
- Can I make this into cupcakes? Absolutely! Just fill cupcake liners about two-thirds full and bake for 18-22 minutes. Keep an eye on them!
- How long does this cake last? Covered at room temperature, it’s good for 3-4 days. In the fridge, up to a week. If it lasts that long, you have more willpower than I do.
- My cake came out dry! What happened? Usually, it’s either overbaking (use that skewer test!) or overmixing the batter. Or maybe you forgot the buttermilk hack?
- Can I freeze the cake? Yep! Wrap individual unfrosted layers tightly in plastic wrap, then foil. They’ll keep in the freezer for up to 2-3 months. Thaw at room temp before frosting.
- Do I have to sift the flour and cocoa? While not strictly required for this recipe to work, **sifting makes a noticeable difference** in the lightness and tenderness of your cake. It’s worth the extra minute!
- Is unsalted butter really that important? Yes, **IMO**. It gives you control over the salt content. If you *only* have salted butter, reduce the added salt in the recipe by half a teaspoon.
Final Thoughts
See? I told you it was easy! Now you’ve got a fantastic, buttery, chocolatey cake that’s ready to impress your friends, your family, or just your Netflix binge-watching self (no judgment here!). Go forth, my culinary friend, and conquer that cake. You’ve totally earned that slice… or two. Enjoy!


