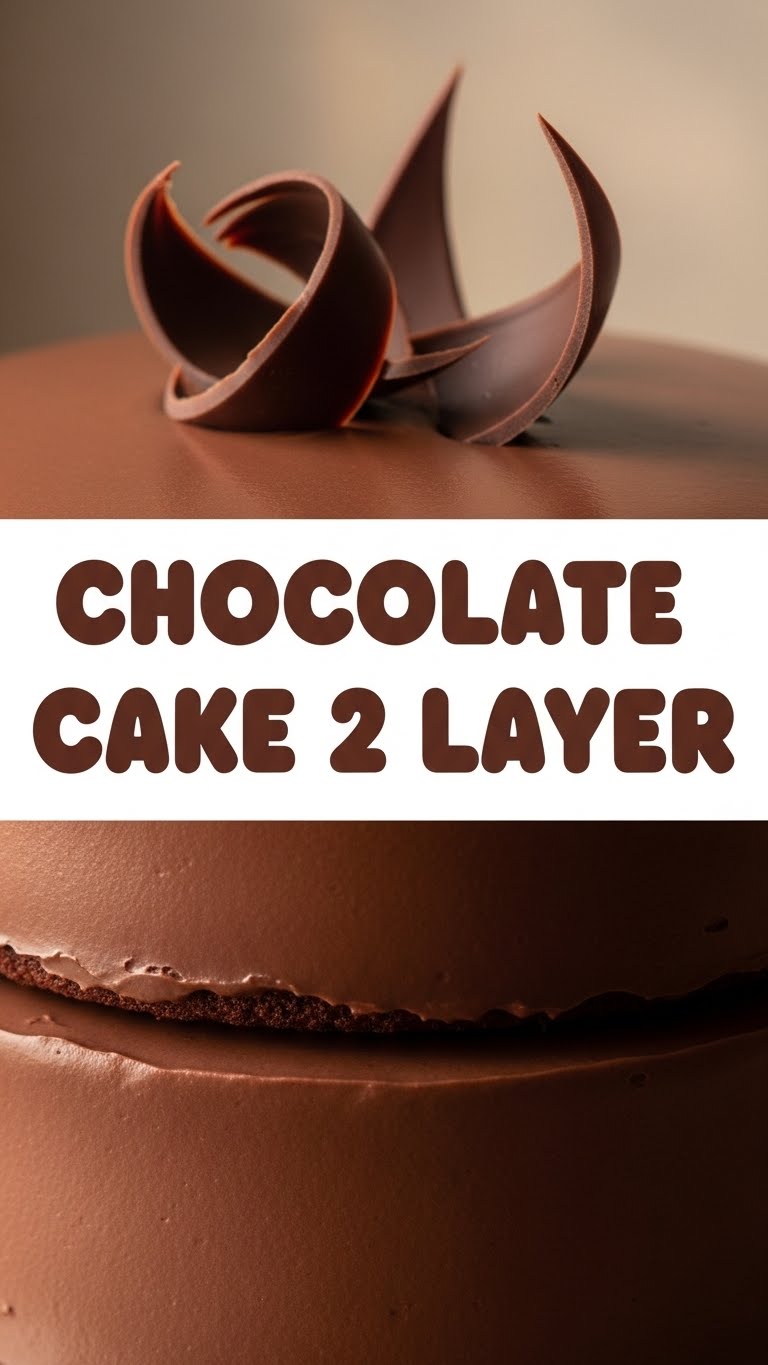
So, your sweet tooth is doing a tango, and you’re dreaming of chocolate, but the thought of a complicated recipe makes you want to curl up with a bag of chips instead? Been there, done that, bought the T-shirt. Good news: I’ve got your back with a chocolate cake recipe that’s so ridiculously easy, you’ll wonder why you ever bought those store-bought sad excuses for dessert. Get ready to impress yourself (and anyone else lucky enough to be around).
Why This Recipe is Awesome
Listen, this isn’t just a chocolate cake; it’s a hug in cake form. And guess what? You don’t need a culinary degree or a spirit guide to make it. Seriously, it’s so straightforward, even your pet goldfish could probably guide you through it if it had opposable fins. It’s **foolproof**, deliciously moist, and comes together faster than you can say “chocolate coma.” Plus, it uses common pantry staples, so no obscure ingredients hunting expeditions needed. Winning!
Ingredients You’ll Need
Gather your troops, future chocolate cake legend! Here’s the line-up:
For the Cake Layers:
- 1 ¾ cups all-purpose flour: Because we’re not fancy pants here. Just good ol’ flour.
- 1 ¾ cups granulated sugar: Sweetness is key, my friend.
- ¾ cup unsweetened cocoa powder: The darker, the better for that deep chocolate flavor. No sad, pale cakes allowed!
- 1 ½ teaspoons baking soda: Our magical leavening agent.
- 1 teaspoon baking powder: Yep, both! Double the fluff factor.
- 1 teaspoon salt: Balances everything out and makes the chocolate sing. Don’t skip it!
- 2 large eggs: Room temperature, if possible, for better emulsification. Science!
- 1 cup whole milk: Or 2% if that’s all you’ve got.
- ½ cup vegetable oil: Keeps things super moist. Canola or sunflower works too.
- 2 teaspoons vanilla extract: The more, the merrier, IMO.
- 1 cup boiling water (or hot coffee): Our secret weapon for ultimate moistness! Coffee enhances chocolate, trust me on this.
For the Chocolate Buttercream Frosting:
- 1 cup (2 sticks) unsalted butter: Softened, not melted. Real butter is king, your taste buds will thank you.
- 3 ½ cups powdered sugar (confectioners’ sugar): Sifted, unless you enjoy lumpy frosting (you don’t).
- ¾ cup unsweetened cocoa powder: Again, for that glorious chocolate punch.
- ½ teaspoon salt: Just a tiny pinch to cut the sweetness.
- ½ cup whole milk (or heavy cream): Adjust as needed for desired consistency.
- 1 teaspoon vanilla extract: Because vanilla makes everything better.
Step-by-Step Instructions
- Prep Your Stage: Preheat your oven to 350°F (175°C). Grease and flour two 8-inch round cake pans. Or, even better, line the bottoms with parchment paper for easy release. **Don’t skip the prep!**
- Dry Mix Magic: In a large bowl, whisk together the flour, sugar, cocoa powder, baking soda, baking powder, and salt. Make sure there are no lumps of cocoa lurking.
- Wet Mix Wonder: In a separate medium bowl, whisk together the eggs, milk, vegetable oil, and vanilla extract until well combined.
- Combine & Conquer: Pour the wet ingredients into the dry ingredients. Mix on low speed with an electric mixer (or by hand with a whisk) until *just* combined. **Avoid overmixing!**
- The Hot Stuff: Carefully pour the boiling water (or hot coffee) into the batter. Whisk until smooth. The batter will be thin, don’t panic! This is what makes it super moist.
- Bake It Up: Divide the batter evenly between your prepared cake pans. Bake for 30-35 minutes, or until a wooden skewer inserted into the center comes out clean or with a few moist crumbs.
- Cool Down: Let the cakes cool in the pans for about 10-15 minutes. Then, carefully invert them onto a wire rack to cool completely. **Patience is a virtue here!**
- Frosting Time! While the cakes cool, make the frosting. In a large bowl, beat the softened butter with an electric mixer until creamy (about 2 minutes).
- Sugar & Cocoa Bomb: Gradually add the sifted powdered sugar, cocoa powder, and salt to the butter, beating on low speed until combined.
- Smooth Operator: Slowly add the milk (or cream) and vanilla extract. Increase speed to medium-high and beat for another 2-3 minutes until light and fluffy. If it’s too thick, add a tiny bit more milk; too thin, add more powdered sugar.
- Assemble Your Masterpiece: Once the cakes are completely cool, place one layer on your serving plate. Spread a generous amount of frosting on top. Place the second layer on top and frost the entire cake. Get creative, or just slop it on—it’s your cake!
- Devour: Slice, serve, and bask in the glory of your delicious creation!
Common Mistakes to Avoid
Nobody’s perfect, but we can avoid these rookie errors, right?
- Overmixing the Batter: Your cake will be tougher than a dollar-store steak. Mix just until combined, then stop.
- Not Preheating the Oven: Impatience is not a virtue here. Give your oven a good 15-20 minutes to reach temperature. Otherwise, your cake might not rise properly.
- Opening the Oven Door Too Early: Resist the urge! Let it bake for at least 20-25 minutes before peeking, or your beautiful cake might sink in the middle.
- Not Cooling Cakes Completely: Warm cake + frosting = sad, melty mess. Seriously, just don’t do it. Let them chill out completely.
- Skimping on Ingredients: Good ingredients make good cake, simple as that. Don’t cheap out on the cocoa or real butter for the frosting!
Alternatives & Substitutions
Feeling rebellious? Here are a few swaps that won’t totally ruin your delicious efforts:
- Milk Swap: Out of whole milk? Use 2%, or even buttermilk for a slightly tangier, super moist cake. For dairy-free, almond milk or oat milk works too.
- Oil Alternatives: Melted coconut oil (if you like the flavor) or even unsweetened applesauce can replace some of the oil for a lighter cake, though the texture might change slightly.
- Coffee Haters Unite: If coffee isn’t your jam, just use plain boiling water. The coffee just deepens the chocolate flavor; it won’t make your cake taste like a latte.
- Frosting Flair: Not a fan of buttercream? Try a rich chocolate ganache or even a cream cheese frosting for a tangy twist. Feeling wild? Throw in some mini chocolate chips for extra chocolatey goodness in the batter or frosting.
FAQ (Frequently Asked Questions)
Got questions? I’ve got (casual) answers!
- Can I use instant coffee instead of brewed? Absolutely! Just make sure it dissolves well in the hot water before adding to the batter. Stronger is better for flavor.
- My cake sank in the middle, what happened?! Ugh, the worst! Probably overmixed, oven door opened too soon, or expired baking soda/powder. **Check those dates, friend!**
- Can I make this cake ahead of time? You bet! The unfrosted cake layers can be baked a day or two ahead, wrapped tightly in plastic wrap, and stored at room temperature. Frost the day you plan to serve.
- Why is my cake dry? Most likely, it was overbaked. Keep a close eye on that toothpick test—as soon as it comes out clean (or with a few moist crumbs), pull those babies out!
- Can I use margarine instead of butter for the frosting? Well, technically yes, but why hurt your soul like that? Butter is king for flavor and texture, **IMO**. Margarine just won’t give you that rich, creamy deliciousness.
- How do I store leftover cake? Cover any leftover cake loosely and store at room temperature for up to 3 days, or in the fridge for up to 5 days. Though, honestly, “leftover cake” is a rare phenomenon in my house.
Final Thoughts
See? Told ya it wasn’t rocket science! You just whipped up a show-stopping, moist, and utterly delicious two-layer chocolate cake like it was no big deal. You’re basically a kitchen wizard now, congratulations! Go on, give yourself a pat on the back (and maybe a slice of cake). Now go impress someone—or yourself—with your new culinary skills. You’ve earned it, you glorious chocolate-wielding genius!
