Alright, listen up, buttercup. You’ve got that craving, right? That deep, dark, chocolatey whisper in your soul? But also, you’re pretty sure “complicated” isn’t in your vocabulary right now. Good news: I got you. We’re about to dive headfirst into a Chocolate Cake Oreo recipe that’s so easy, it practically bakes itself. Well, almost.
Why This Recipe is Awesome
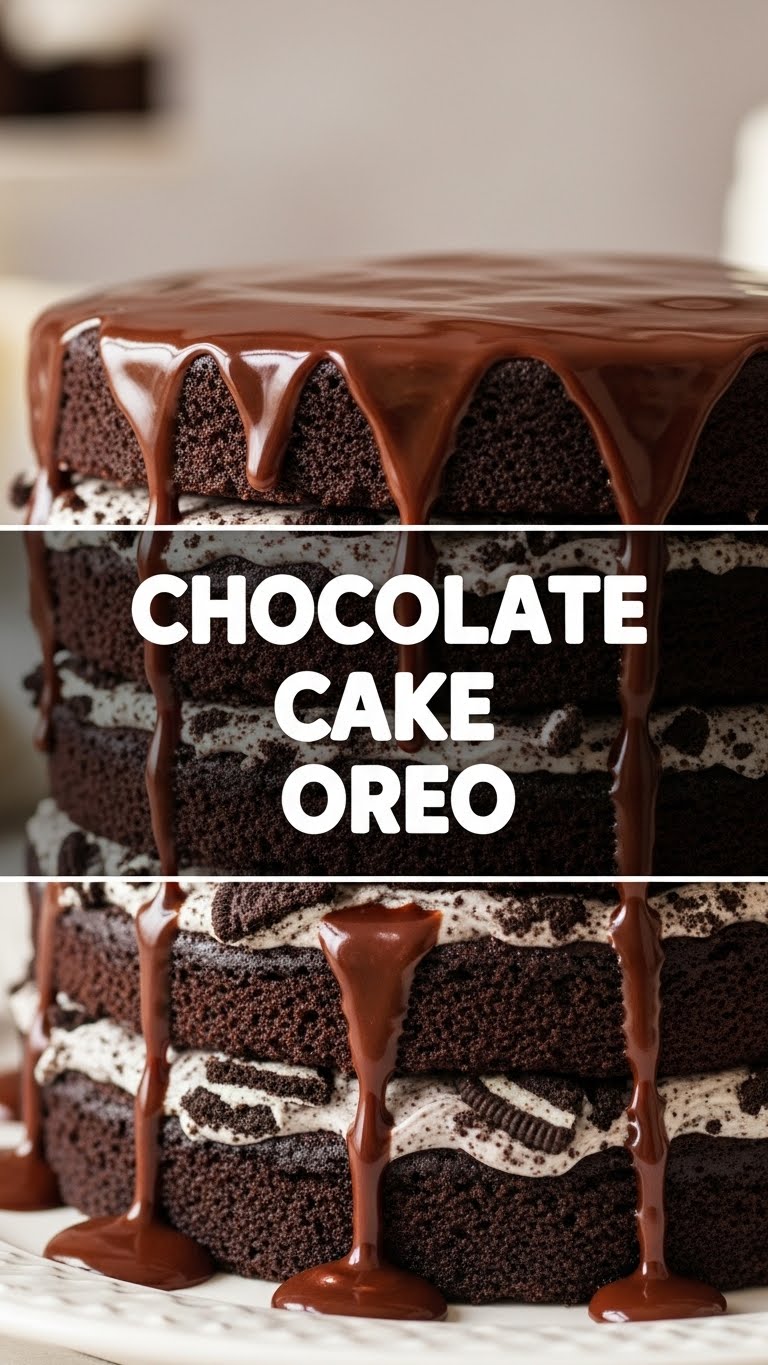
First off, it involves Oreos. Enough said? We’re talking about a rich, moist chocolate cake that gets cozy with the undisputed king of sandwich cookies. It’s a flavor combo that literally can’t fail. Seriously, it’s like a party in your mouth, and everyone’s invited. Plus, this recipe is super forgiving, so even if your kitchen skills are currently at “boil water” level, you’ll nail this. It’s **idiot-proof**, I swear, even I didn’t mess it up, and that’s saying something. You get maximum deliciousness for minimum effort, which, let’s be real, is always the goal, right?
Ingredients You’ll Need
Gather ’round, my sweet-toothed friends. Here’s what you’ll need for this masterpiece. Nothing too fancy, I promise.
- All-Purpose Flour: The white stuff. About 1 ½ cups. Don’t worry, we won’t get fancy with cake flour today.
- Granulated Sugar: Sweet, sweet sugar. 1 ½ cups of it. Your dentist might judge, but who cares when there’s cake?
- Unsweetened Cocoa Powder: ½ cup. Unsweetened, please! We’re adding *lots* of other sweet things, trust me.
- Baking Soda: 1 ½ teaspoons. This is your cake’s little lift ticket to fluffy town.
- Salt: ½ teaspoon. Yes, even in cake. It balances everything out and makes the chocolate taste even chocolatier. Trust the process.
- Large Eggs: 2, at room temperature. Happy eggs make happy cakes!
- Milk: 1 cup. Any kind works, but whole milk makes it extra lush.
- Vegetable Oil: ½ cup. This is key for moisture, so don’t skimp!
- Vanilla Extract: 2 teaspoons. The secret weapon for making everything taste better.
- Hot Water: ½ cup. Not boiling, just hot. It helps bloom the cocoa for ultimate flavor.
- OREOS: 1 full package (about 15.3 oz). The star of the show! Get extra, for “testing” purposes and topping. **You know you want to.**
- Your Favorite Chocolate Frosting: 1 can (16 oz) or a homemade batch if you’re feeling extra. No judgment for store-bought, IMO!
Step-by-Step Instructions
Okay, apron on (or not, I’m not your mom), let’s do this!
- Preheat & Prep: Preheat your oven, you brilliant baker, to 350°F (175°C). Grease and flour a 9×13 inch baking pan. Don’t skip this unless you want a cake stuck forever. Parchment paper is also a great idea for easy removal!
- Whisk the Dry Stuff: In a large bowl, whisk together the flour, sugar, cocoa powder, baking soda, and salt. Get it all nicely combined. No lumps, please!
- Add the Wet Ingredients: In a separate bowl, lightly beat the eggs. Then add the milk, vegetable oil, and vanilla extract to the dry ingredients. Mix until *just* combined. Overmixing makes sad, tough cakes, and we don’t do sad cakes.
- Stir in Hot Water: Carefully pour in the hot water. Stir until the batter is smooth. It’ll be thin, and that’s totally normal!
- Bake It Up: Pour the batter into your prepared pan. Bake for about 30-35 minutes. A toothpick inserted into the center should come out clean. When in doubt, give it another 5 mins.
- Cool Down: Let the cake cool completely in the pan on a wire rack. This is the hardest part. Seriously. Don’t try to frost a warm cake unless you want a melted, crumbly mess. Patience, grasshopper.
- Oreo Attack!: While the cake cools, crush about 10-15 Oreos in a zip-top bag with a rolling pin (or a food processor if you’re feeling fancy). Set aside.
- Frost & Garnish: Once the cake is fully cooled, slather on that glorious chocolate frosting. Then, sprinkle your crushed Oreos generously over the top. Don’t be shy!
Common Mistakes to Avoid
Listen, we all make mistakes. But let’s try to avoid these rookie errors, shall we?
- Not Preheating the Oven: Your oven isn’t a mind-reader. Give it some time to warm up to the correct temperature. A cold oven equals a sad, unevenly baked cake.
- Overmixing the Batter: I said it once, I’ll say it again: **overmixing leads to tough cakes.** Mix until just combined. Lumps are okay, a gluten-y brick is not.
- Trying to Frost a Warm Cake: This is like trying to ice-skate uphill. Messy, frustrating, and ultimately, you’ll just have melted frosting and ripped cake. Be patient, friend!
- Forgetting the Oreos: Is it even an Oreo cake then? No. The answer is no. This is a crucial step!
- Not Greasing the Pan Properly: You’ve spent all this time baking, don’t let your cake get stuck! Grease and flour thoroughly.
Alternatives & Substitutions
Feeling a little rebellious? Here are some ways to shake things up, or just use what you’ve got.
- Milk: Any milk works! Dairy, almond, oat… just use something liquid. Unless you’re going for a brick, then skip it.
- Oil: Vegetable, canola, even melted coconut oil if you’re feeling tropical. Butter works too, but oil often makes for a moister cake. Your call!
- Frosting: Store-bought is fine, as mentioned! But if you’re feeling like a kitchen wizard, a homemade buttercream or cream cheese frosting would be divine. Want to get extra wild? Try a peanut butter frosting!
- Oreo Variations: Instead of classic Oreos, try Golden Oreos for a vanilla vibe, or even one of their fun limited-edition flavors if you’re feeling adventurous. Why not?
- Adding Chips: Feel free to fold in ½ cup of chocolate chips into the batter for an extra chocolatey punch. More chocolate is never a bad idea.
FAQ (Frequently Asked Questions)
Got questions? I’ve got (casual and humorous) answers!
- Can I make this in a different pan size? Yeah, probably, but you’ll need to adjust the baking time. A cupcake pan means less time (18-22 mins), a bigger pan might mean more. Just keep an eye on it!
- My cake sank in the middle, what happened? Oh, the horror! Usually, that means too much leavening (baking soda), or you opened the oven door too early, letting cold air in. Patience, young padawan!
- Can I skip the Oreos? Why would you even ask that? This is a *Chocolate Cake Oreo* recipe! Sacrilege! You can *reduce* them, but skipping is just… wrong.
- How long does it last? Assuming you don’t eat it all in one sitting (good luck!), covered at room temperature for 3-4 days. In the fridge, it’ll last a bit longer, maybe up to a week.
- Is it *really* idiot-proof? Listen, if I can pull this off without setting off the smoke detector, you definitely can. Trust me.
- Can I freeze this cake? Yep! Wrap slices (or the whole thing unfrosted) tightly in plastic wrap and then foil. It’ll keep for about 2-3 months. Thaw at room temp.
Final Thoughts
So there you have it, your ticket to chocolatey, Oreo-y bliss. This isn’t just a cake; it’s a declaration of delicious independence. You just made something awesome, and you probably had fun doing it. Now go forth and conquer that kitchen! And maybe save a slice for me? Just kidding… mostly. You’ve earned this, so enjoy every glorious crumb!


