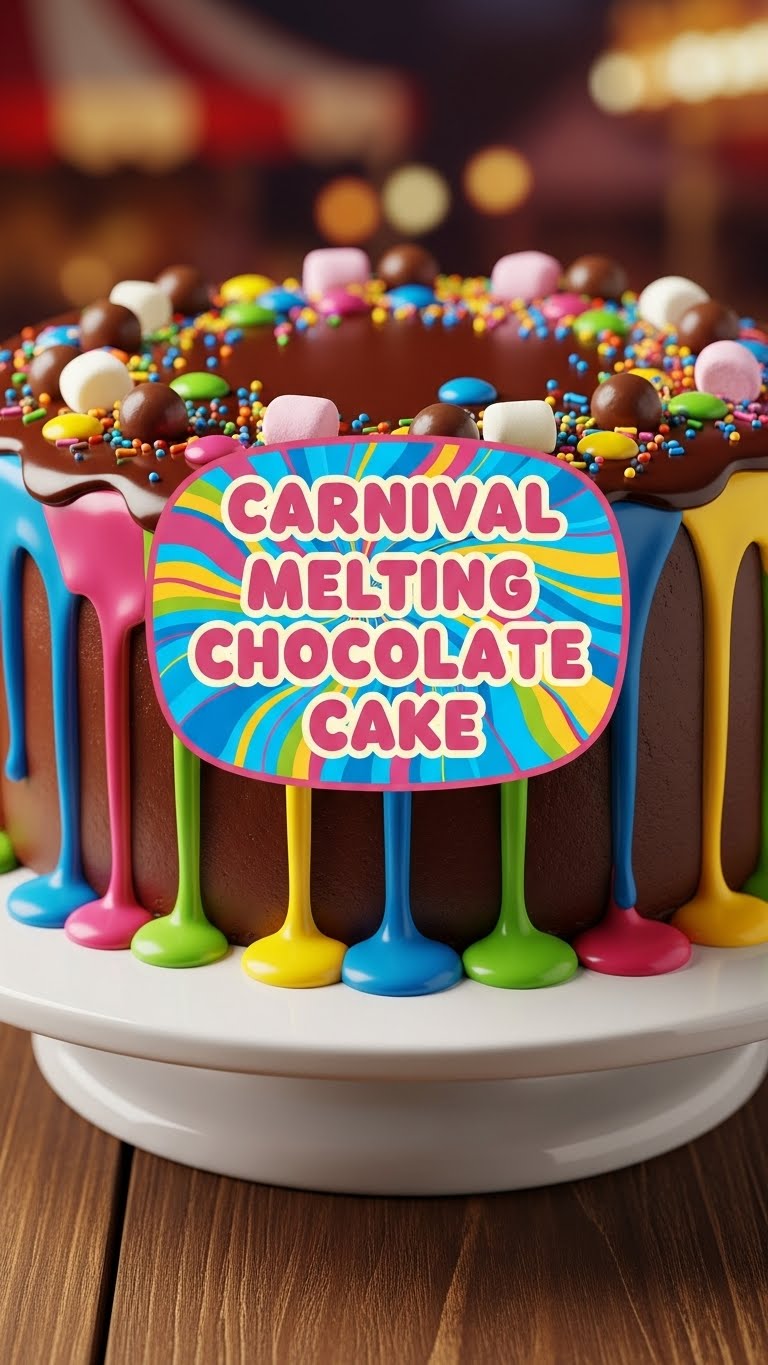
So you’re craving something tasty but too lazy to spend forever in the kitchen, huh? Same. But what if I told you there’s a dessert so decadent, so ridiculously easy, it’s practically magic? Enter the Carnival Melting Chocolate Cake – because your taste buds deserve a party, even if your effort levels are stuck in ‘naptime’ mode.
Why This Recipe is Awesome
Look, we all love fancy desserts, but sometimes you just need pure, unadulterated chocolatey joy without the drama. This cake? It’s your culinary superhero. It’s got that ‘wow’ factor when you cut into it and the chocolate just oozes out like a lava flow from a very happy volcano. Plus, it’s practically impossible to mess up, even if your oven tries to personally sabotage you. Seriously, if I can do it, you can too. It’s the ultimate ‘I-whip-this-up-on-a-whim’ showstopper that makes everyone think you’re a genius.
Ingredients You’ll Need
- Good quality dark chocolate (at least 60% cocoa) – around 200g. Think fancy chocolate bar, not the stuff you eat on Halloween. This is the star of the show!
- Unsalted butter – 150g. Yes, butter. Don’t even *think* about margarine unless you want to hurt my feelings.
- Large eggs – 3 of ’em. Room temp if you can remember, but not the end of the world if you forget.
- Granulated sugar – 100g. Sweetness!
- All-purpose flour – 50g. Just a little bit to hold things together, not make it dry.
- A pinch of salt – To make all that chocolate sing! It really makes a difference.
- Cocoa powder (for dusting) – Optional, but makes it look fancy AF.
- Ice cream or berries (for serving) – Because why stop at just cake? Treat yo’ self!
Step-by-Step Instructions
- Preheat your oven to a cozy 180°C (350°F). Lightly grease and flour a 6-inch (15cm) round cake tin. This helps it not stick, obviously.
- Melt the chocolate and butter. In a heatproof bowl set over a saucepan of simmering water (that’s a bain-marie, you fancy chef!), combine the chopped chocolate and butter. Stir until smooth and gloriously shiny. Remove from heat and let it cool slightly – we don’t want to scramble the eggs in the next step!
- Whisk eggs and sugar. In a separate bowl, whisk the eggs and sugar together until light and fluffy. You’re aiming for pale yellow and a bit airy; this adds lightness to your cake.
- Combine wet ingredients. Gently fold the slightly cooled chocolate mixture into the egg mixture. Be gentle, we don’t want to lose all that lovely air you just whisked in!
- Add dry ingredients. Sift the flour and salt into the chocolate mixture. Fold it in carefully until just combined. Don’t overmix! Lumps are okay, a tough cake is not.
- Pour and bake. Pour the batter into your prepared cake tin. Bake for 20-25 minutes. The edges should be set, but the center should still be gloriously wobbly – that’s your gooey goodness in the making!
- Cool and serve. Let it cool in the tin for 10-15 minutes (this is crucial for the melting effect!) before carefully inverting it onto a serving plate. Dust with cocoa powder if you’re feeling extra. Serve warm with ice cream or berries for the ultimate indulgence.
Common Mistakes to Avoid
- Overbaking it: This is the *number one* sin when it comes to a melting chocolate cake. If it’s firm all the way through, you’ve just got a regular chocolate cake, not a melting marvel. Aim for that jiggly center!
- Not letting it cool in the tin: Impatience is a virtue, but not here. Give it those 10-15 minutes. It helps the edges firm up enough to hold that molten core when you flip it. Trust the process!
- Using bad chocolate: Seriously, life’s too short for subpar chocolate. Go for quality; it really shines through in this recipe.
- Overmixing the flour: You’ll develop the gluten, making your cake tough. Gentle folds are key to a tender cake.
Alternatives & Substitutions
- Chocolate: Feeling adventurous? Try milk chocolate for a sweeter cake, or even white chocolate (though it won’t be “melting chocolate cake” anymore, just a very nice molten white chocolate cake!). You can also mix in some chili flakes for a subtle kick, or orange zest for a zesty twist.
- Butter: Can you use oil instead? Technically, yes, but the flavor won’t be as rich and buttery. IMO, stick to butter, it’s worth the caloric investment for this one.
- Flour: For a gluten-free version, swap the all-purpose flour for a GF baking blend or even just a tablespoon of cocoa powder. This cake doesn’t rely heavily on flour for structure anyway, so it’s a pretty easy swap.
- Serving: Vanilla ice cream is classic, but a scoop of raspberry sorbet or a dollop of freshly whipped cream works wonders too. Fresh berries cut through the richness beautifully, adding a lovely tart contrast.
FAQ (Frequently Asked Questions)
- Can I make this ahead of time? You *can*, but it’s truly best served warm to get that glorious melting center. If you absolutely must, gently reheat slices in the microwave for 15-20 seconds before serving. FYI, freshly baked is always superior!
- My cake didn’t melt! What went wrong? Probably overbaked, my friend. Next time, pull it out when the center still looks gloriously jiggly! It’s better to be slightly underbaked than overbaked for this one.
- Can I use a larger cake tin? You could, but the cake will be thinner and might bake faster, potentially losing the melt. Stick to the recommended 6-inch for best results. If you use an 8-inch, you might need to double the recipe.
- Do I really need good quality chocolate? Yes, yes, a thousand times yes! It’s the absolute star of the show. Don’t skimp here, trust me, your taste buds will thank you.
- What if I don’t have a bain-marie setup? No worries! You can microwave the chocolate and butter in 30-second bursts, stirring vigorously in between, until melted and smooth. Just be super careful not to burn it!
- Can I add nuts or other mix-ins? Absolutely! Chopped walnuts, pecans, or even mini chocolate chips (because more chocolate is always a good idea!) would be delicious. Add them with the flour.
Final Thoughts
See? I told you it was easy! Now you’ve got a dessert that looks like it came straight from a fancy patisserie but took minimal effort. Go on, impress someone – or, more realistically, just impress yourself – with your new culinary superpowers. You’ve earned that chocolatey hug. Happy baking, superstar!

