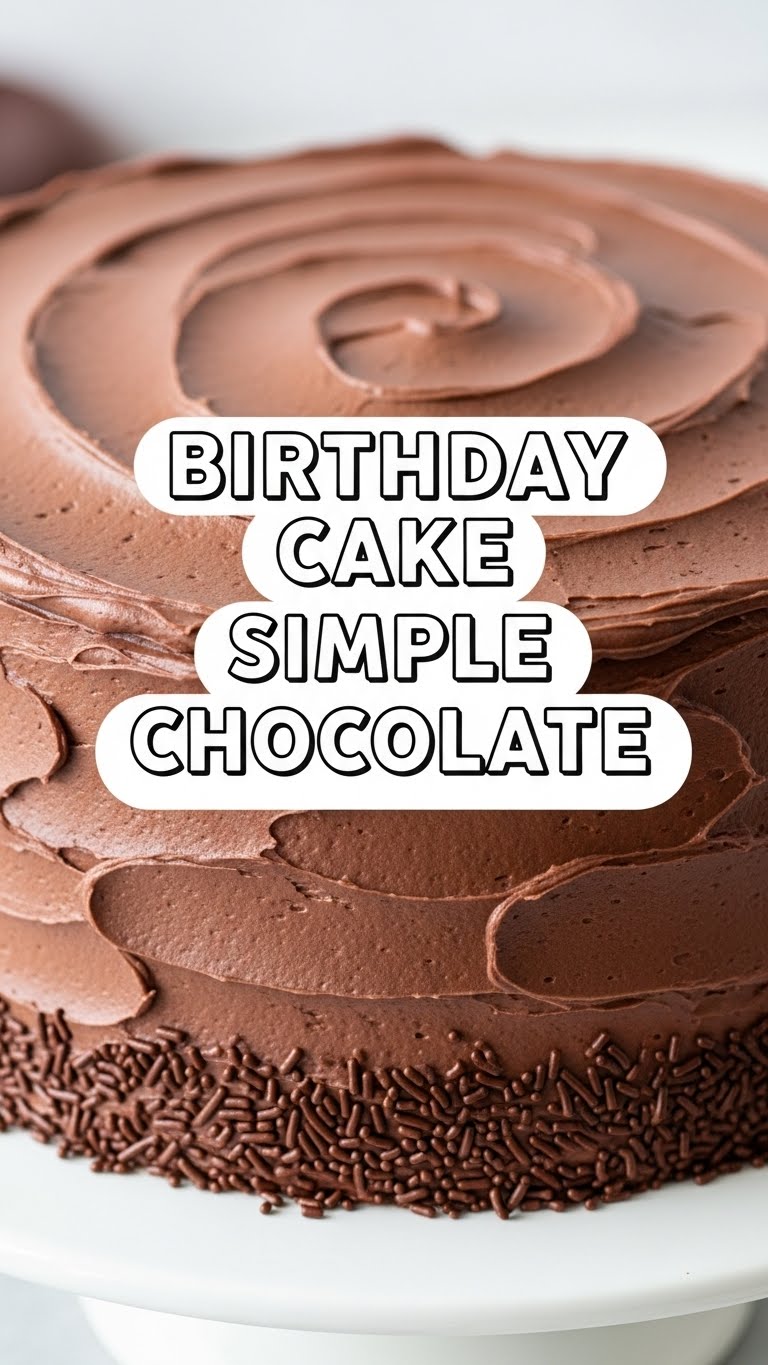
So, you’re craving something warm, gooey, chocolatey, and utterly delicious, but the thought of spending an entire afternoon in the kitchen wrestling with a complex recipe makes you want to just order takeout? Same. Been there, bought the extra-large chocolate bar. But what if I told you there’s a birthday cake recipe so simple, so forgiving, so utterly *perfect* for satisfying that chocolate craving without breaking a sweat (or your sanity)? Yep, it exists. And it’s calling your name.
Why This Recipe is Awesome
Let’s be real, life’s too short for complicated cakes. This isn’t just a simple chocolate cake; it’s your new best friend. It’s the kind of recipe that makes you look like a baking genius even if your usual culinary triumphs involve not burning toast. Seriously, it’s pretty much **idiot-proof**, and I say that with love, as someone who once mistook salt for sugar (don’t ask). This cake comes out moist, rich, and ridiculously chocolatey every single time. Plus, no fancy equipment needed – just your basic kitchen arsenal and a dream. And the best part? It uses pantry staples, so you probably have most of the ingredients chilling in your cupboards already. So yeah, get ready for bragging rights!
Ingredients You’ll Need
Gather ’round, my fellow chocolate enthusiasts! Here’s your loot list:
- All-Purpose Flour: About 1 ½ cups. The basic white stuff, not the self-rising kind unless you’re feeling adventurous and want a cake that climbs the walls.
- Granulated Sugar: 1 ½ cups. Because happiness, in my humble opinion, comes in granular form.
- Unsweetened Cocoa Powder: ½ cup. The darker, the richer, the better. Go for quality here; it makes a difference.
- Baking Soda: 1 teaspoon. Our little lift-off agent.
- Baking Powder: ½ teaspoon. More lift, because we want a fluffy cake, not a brick.
- Salt: 1 teaspoon. Just a pinch to make all those chocolatey flavors pop!
- Large Eggs: 2, at room temperature. Happy chickens make happy cakes, right?
- Whole Milk: 1 cup, at room temperature. Any milk works, but whole milk is the OG for moisture.
- Vegetable Oil: ½ cup. Or any neutral oil. This is our moisture secret weapon.
- Vanilla Extract: 2 teaspoons. Because vanilla makes everything better, even chocolate. It’s like magic.
- Hot Water or Coffee: 1 cup. This is the **game-changer** for super moist, intensely chocolatey cake. Trust me on this one.
For the Easy Chocolate Frosting:
- Unsalted Butter: ½ cup (1 stick), softened.
- Powdered Sugar (Confectioners’ Sugar): 3 cups. Sifted, if you’re fancy and hate lumps.
- Unsweetened Cocoa Powder: ½ cup. Again, good quality, please.
- Milk: ¼ cup. More if needed for desired consistency.
- Vanilla Extract: 1 teaspoon.
Step-by-Step Instructions
- Get Your Oven Ready: Preheat your oven to 350°F (175°C). Grease and flour a 9×13 inch baking pan, or two 8-inch round pans if you’re feeling layered. Don’t skip this, unless you want your cake to be “one with the pan.”
- Mix the Dry Stuff: In a large bowl, whisk together the flour, sugar, cocoa powder, baking soda, baking powder, and salt. Give it a good whisk to break up any lumps and ensure everything is evenly distributed.
- Combine the Wet Stuff (Mostly): In a separate medium bowl, whisk together the eggs, milk, vegetable oil, and vanilla extract.
- Bring Them Together: Pour the wet ingredients into the dry ingredients. Mix with a spatula or electric mixer on low speed until just combined. **Don’t overmix!** A few small lumps are totally fine.
- The Secret Weapon: Carefully stir in the hot water or hot coffee. The batter will be thin – don’t panic! This is exactly how it should be. This step is key for that amazing moist texture and deep chocolate flavor.
- Bake It Up: Pour the batter evenly into your prepared pan(s). Bake for 30-35 minutes for a 9×13 pan, or 25-30 minutes for round pans. You know it’s done when a toothpick inserted into the center comes out clean.
- Cool Down: Let the cake cool in the pan on a wire rack for about 15-20 minutes before attempting to flip it out. If using round pans, let them cool completely on the rack before frosting. Patience, young grasshopper.
- Whip Up the Frosting: While the cake cools, beat the softened butter with an electric mixer until creamy. Gradually add the powdered sugar and cocoa powder, alternating with the milk, until smooth and fluffy. Stir in the vanilla extract. If it’s too thick, add a tiny bit more milk; too thin, add more powdered sugar.
- Frost Away! Once the cake is completely cool (and I mean *completely*), spread that delicious frosting all over. Go wild, it’s your cake!
Common Mistakes to Avoid
Listen up, buttercup, these are easy to dodge if you know what you’re doing (and now you do!):
- Not Preheating the Oven: Seriously, this isn’t a suggestion, it’s a command. A cold oven equals a sad, unevenly baked cake. Rookie mistake!
- Overmixing the Batter: Once you add the wet to the dry, mix until *just* combined. Overmixing develops the gluten, making your cake tough and rubbery. We want cake, not a bouncy ball.
- Opening the Oven Door Too Early: Resist the urge! Opening the oven door lets out heat, causing your cake to sink in the middle. Give it at least 20-25 minutes before peeking.
- Not Cooling the Cake Enough Before Frosting: Unless you’re going for a lava cake vibe where the frosting just melts into a puddle, let that cake chill. **Completely cool** is the mantra here.
- Eyeballing Ingredients: Baking is a science, people. Precision matters, especially with flour and leavening agents. Use proper measuring cups and spoons!
Alternatives & Substitutions
Feeling adventurous? Or just missing an ingredient? Here are some simple swaps:
- Dairy-Free: Swap whole milk for your favorite plant-based milk (almond, soy, oat). Use a dairy-free butter alternative for the frosting.
- Gluten-Free: Use a 1:1 gluten-free all-purpose flour blend. Your cake might be a *tiny* bit denser, but still delicious!
- Coffee vs. Water: If you’re not a coffee fan, hot water works perfectly fine. But IMO, the coffee really enhances the chocolate flavor without making the cake taste like coffee. It’s a subtle depth!
- Frosting Fun: Don’t want chocolate frosting? Try a simple vanilla buttercream or even a cream cheese frosting. Feel free to add sprinkles, chocolate chips, or shaved chocolate on top for extra flair.
- Oil vs. Butter: You can swap vegetable oil for melted butter in the cake batter, but oil often gives a moister result. Your call!
FAQ (Frequently Asked Questions)
Got questions? I’ve got answers (mostly):
- Can I make this cake ahead of time? Absolutely! The unfrosted cake can be wrapped tightly and stored at room temperature for a day, or frozen for up to a month. Frosted cake keeps well at room temperature for 2-3 days, or in the fridge for up to 5 days.
- Do I need special cocoa powder? Regular unsweetened cocoa powder works great. If you have Dutch-processed cocoa, it will give a darker, less acidic flavor, which is also fantastic!
- How do I know when my cake is done baking? The trusty toothpick test! Insert a toothpick into the center of the cake. If it comes out clean (maybe with a few moist crumbs attached), you’re golden.
- Can I bake this in a different size pan? Yep! For cupcakes, bake for 18-22 minutes (yields about 24). For a bundt cake, increase baking time to 45-55 minutes. Just adjust accordingly and always do the toothpick test.
- Can I use margarine instead of butter for the frosting? Well, technically yes, but why hurt your soul like that? Butter is king for flavor and texture in frosting, just sayin’. Margarine can make it a bit greasy.
- My cake sank in the middle! What happened? Likely culprits: oven door opened too soon, oven temperature too low, or cake was underbaked. No worries, happens to the best of us!
- What if I don’t have milk? You can make a quick buttermilk substitute by adding 1 tablespoon of white vinegar or lemon juice to 1 cup of regular milk. Let it sit for 5-10 minutes until it curdles slightly.
Final Thoughts
See? I told you this was easy! You just whipped up a show-stopping chocolate cake, probably in your pajamas, and without breaking a sweat. You’re basically a professional baker now, don’t let anyone tell you otherwise. This simple chocolate cake is perfect for birthdays, Tuesdays, or any day ending in “y” when you just need a hug in cake form. So go forth and spread chocolatey joy! Now go impress someone—or yourself—with your new culinary skills. You’ve earned it!

